Tripods and Supports for Wildlife Photography: 2026 Edition
As photographers we often obsess over cameras and lenses, but one of the most underrated pieces of equipment remains the humble support system. Whether you’re sitting in a hide waiting for a lion to emerge at sunset or balancing on a windswept cliff to capture soaring eagles, the right tripod, monopod or gimbal head can be the difference between a sharp, impactful image and a blurry disappointment. In this guide I’ll share what I’ve learned about choosing and using supports in 2026, drawing on my own experience in the field and the latest advice from respected voices in the photographic community.
DISCLAIMER: we’re not comparing specific brands and models here, but rather exploring the difference between systems and tools, and what works better in the different situations.
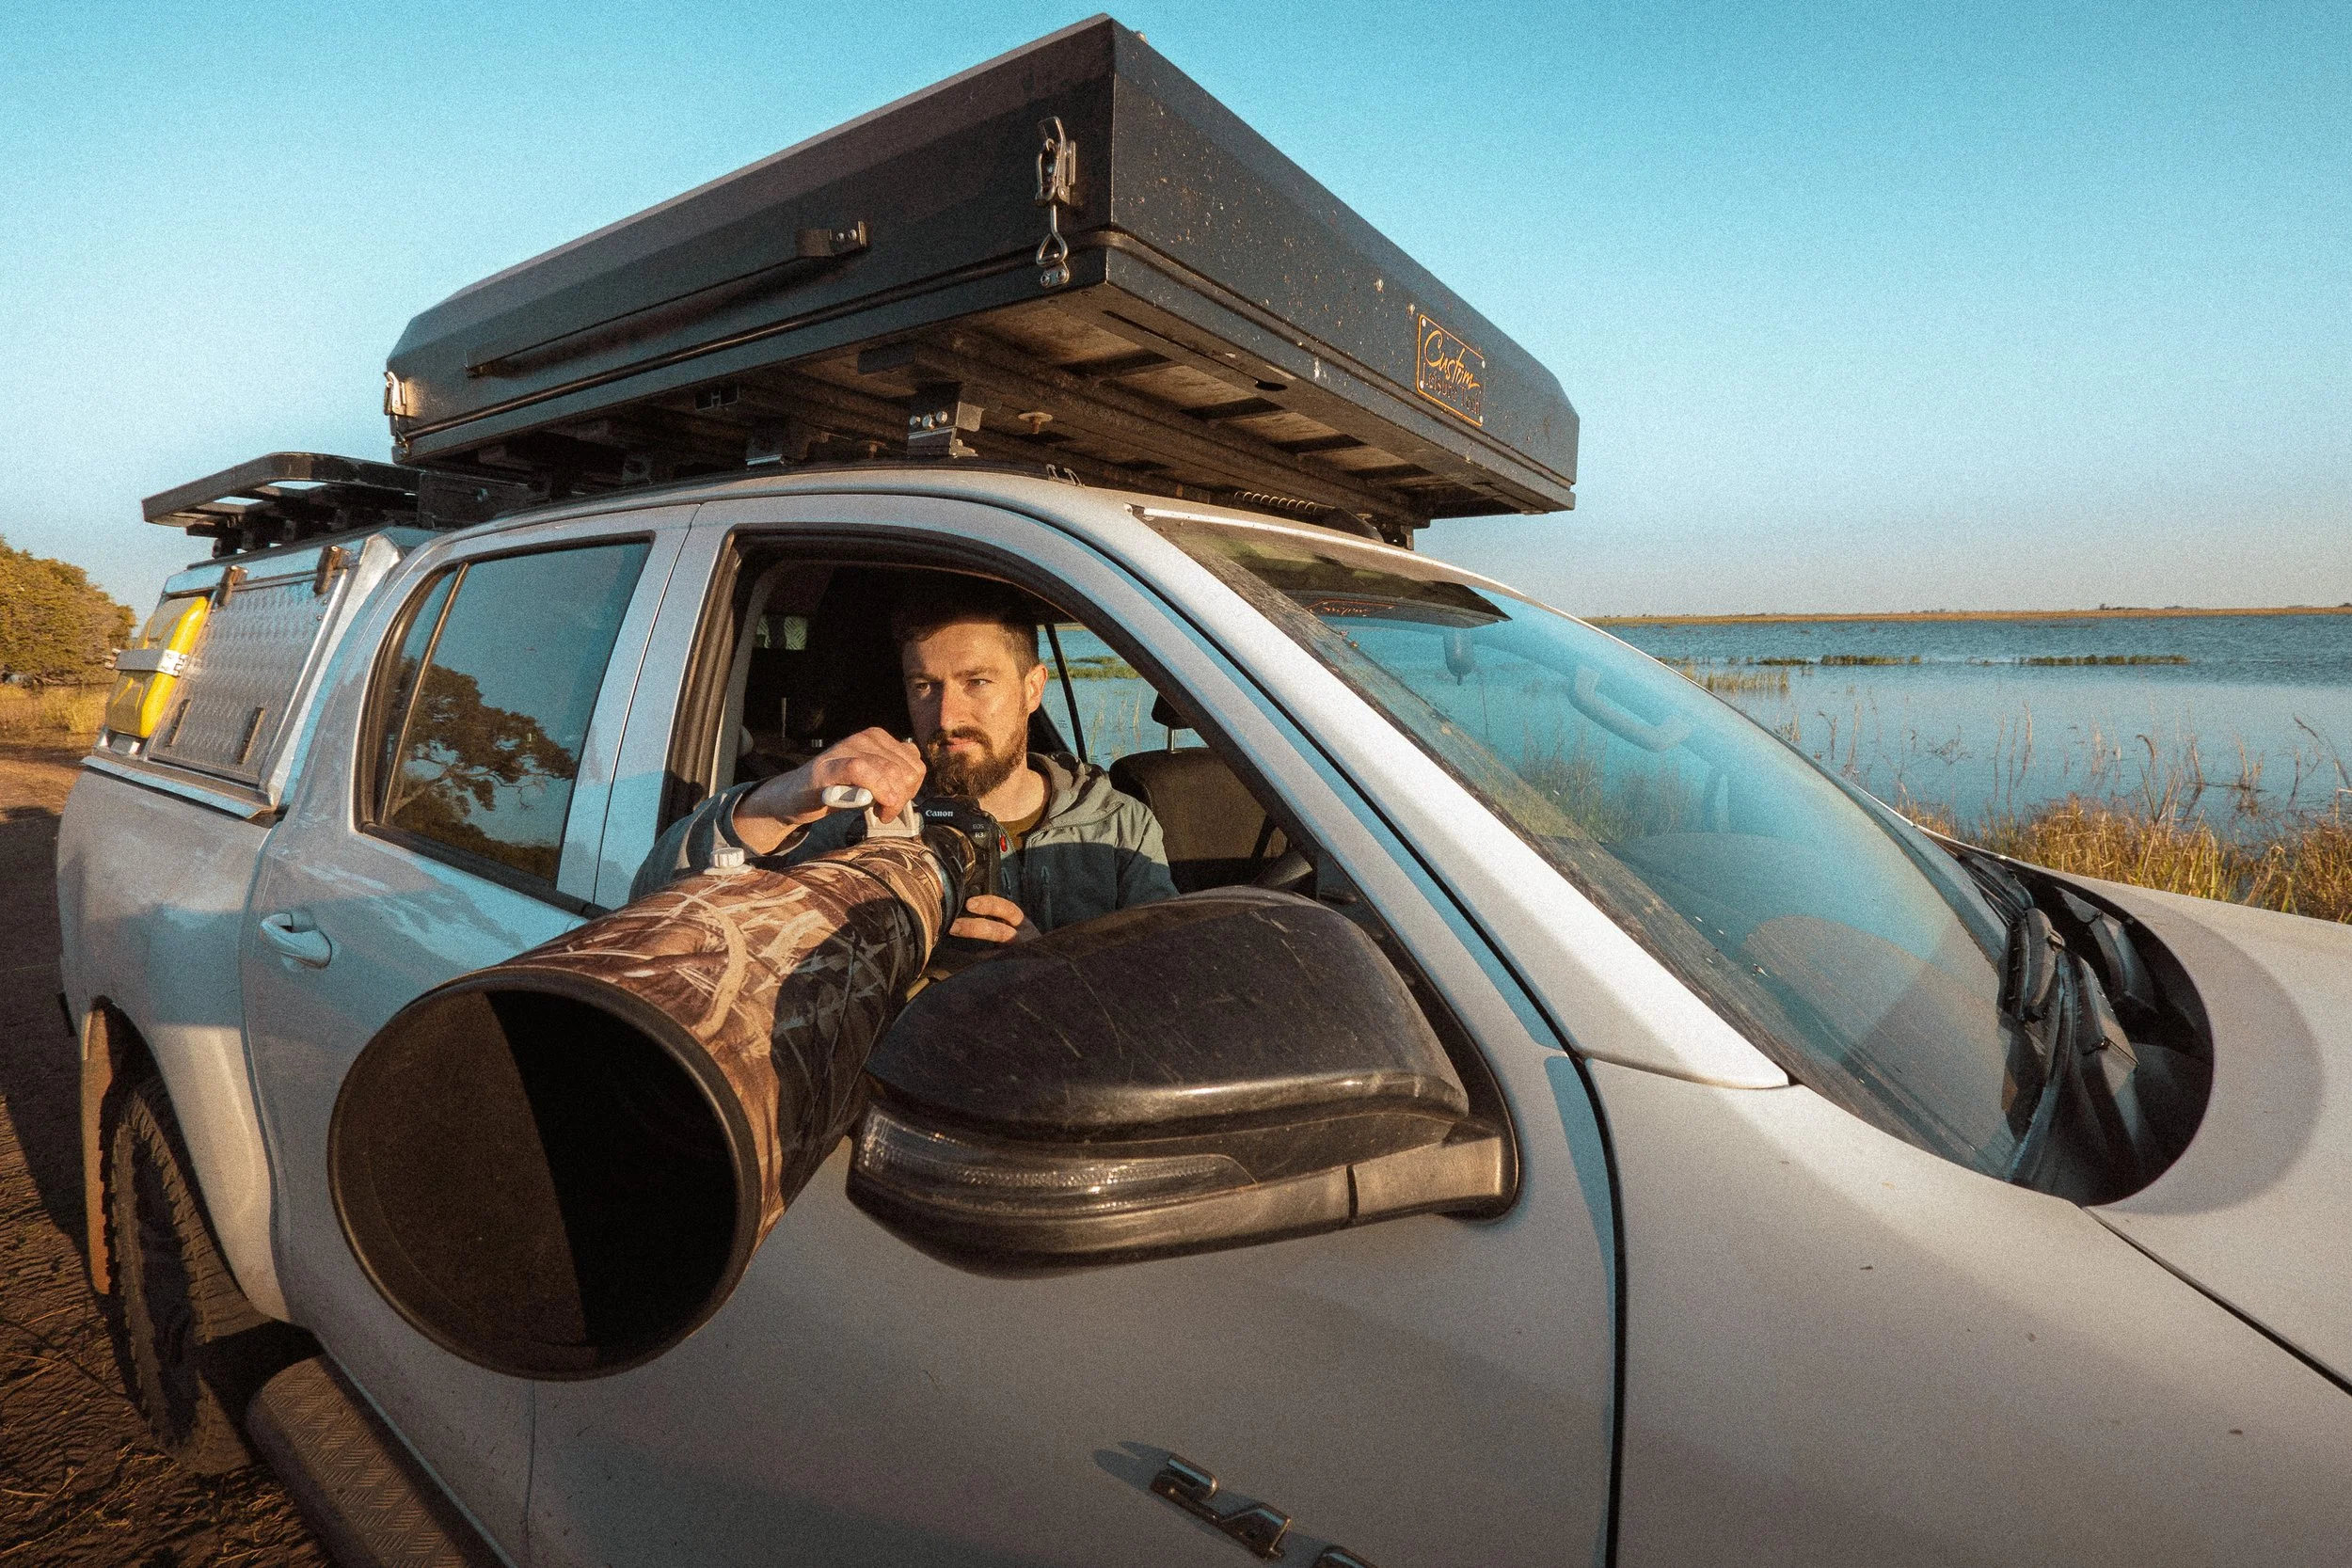
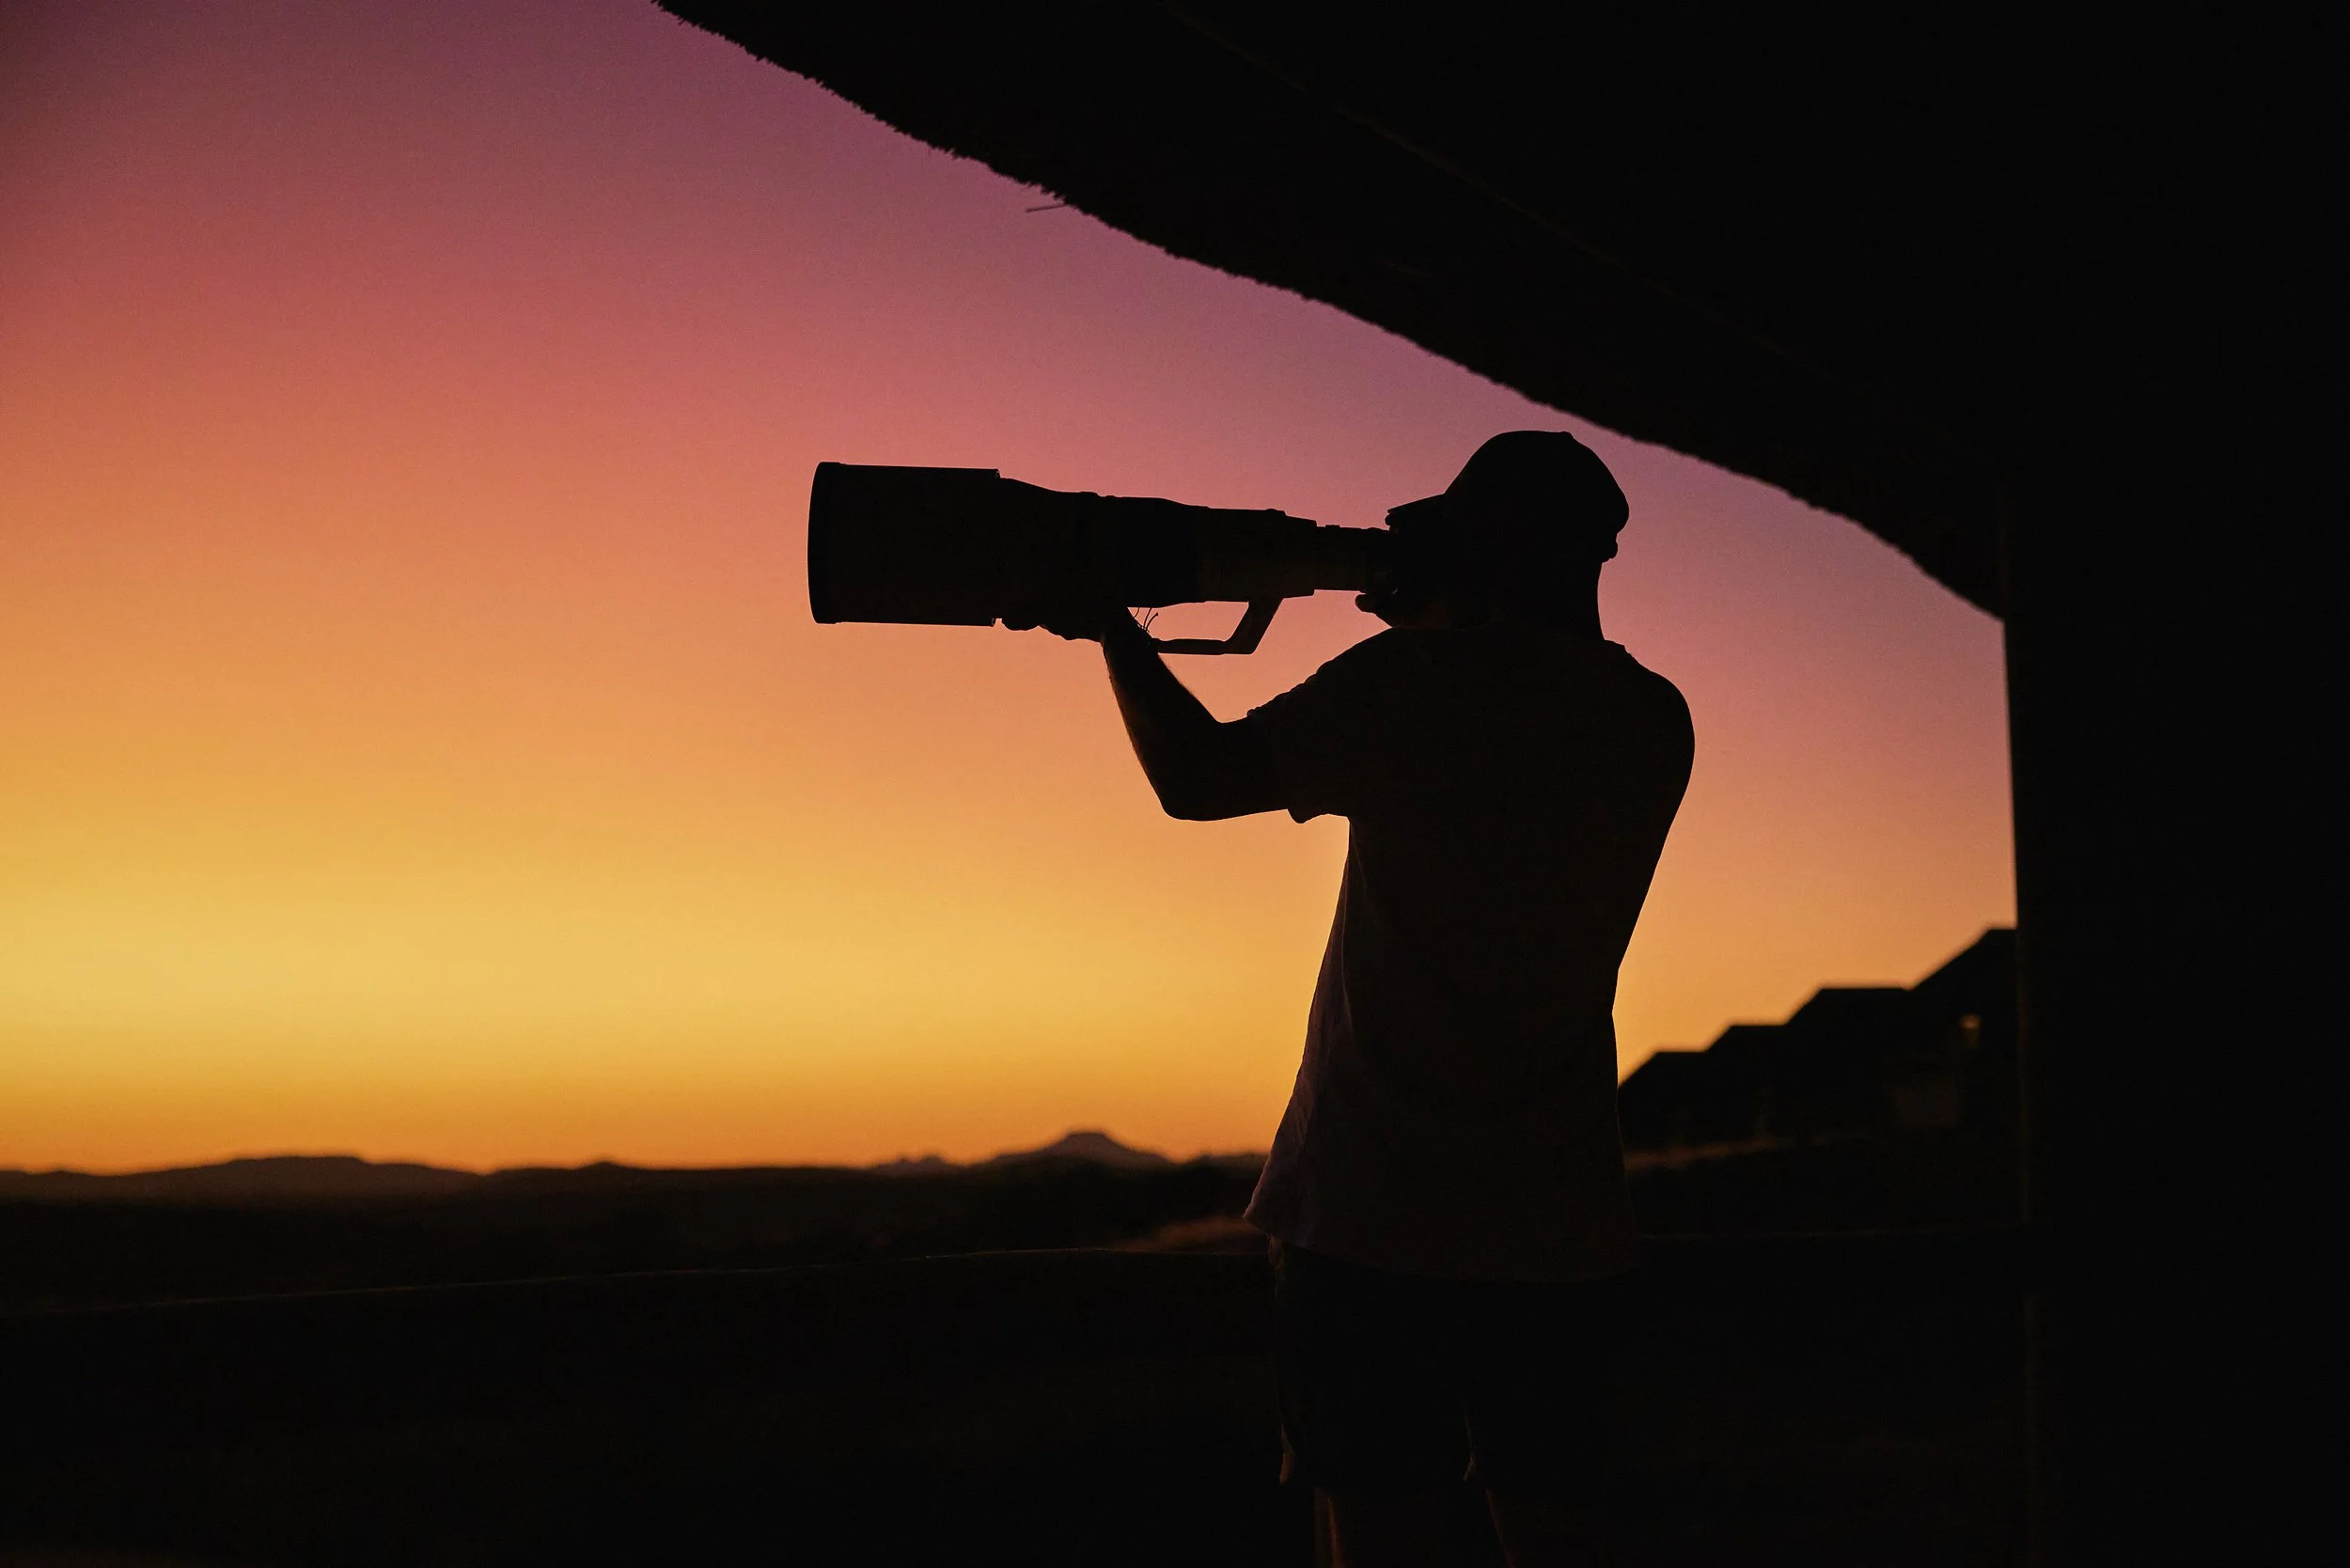
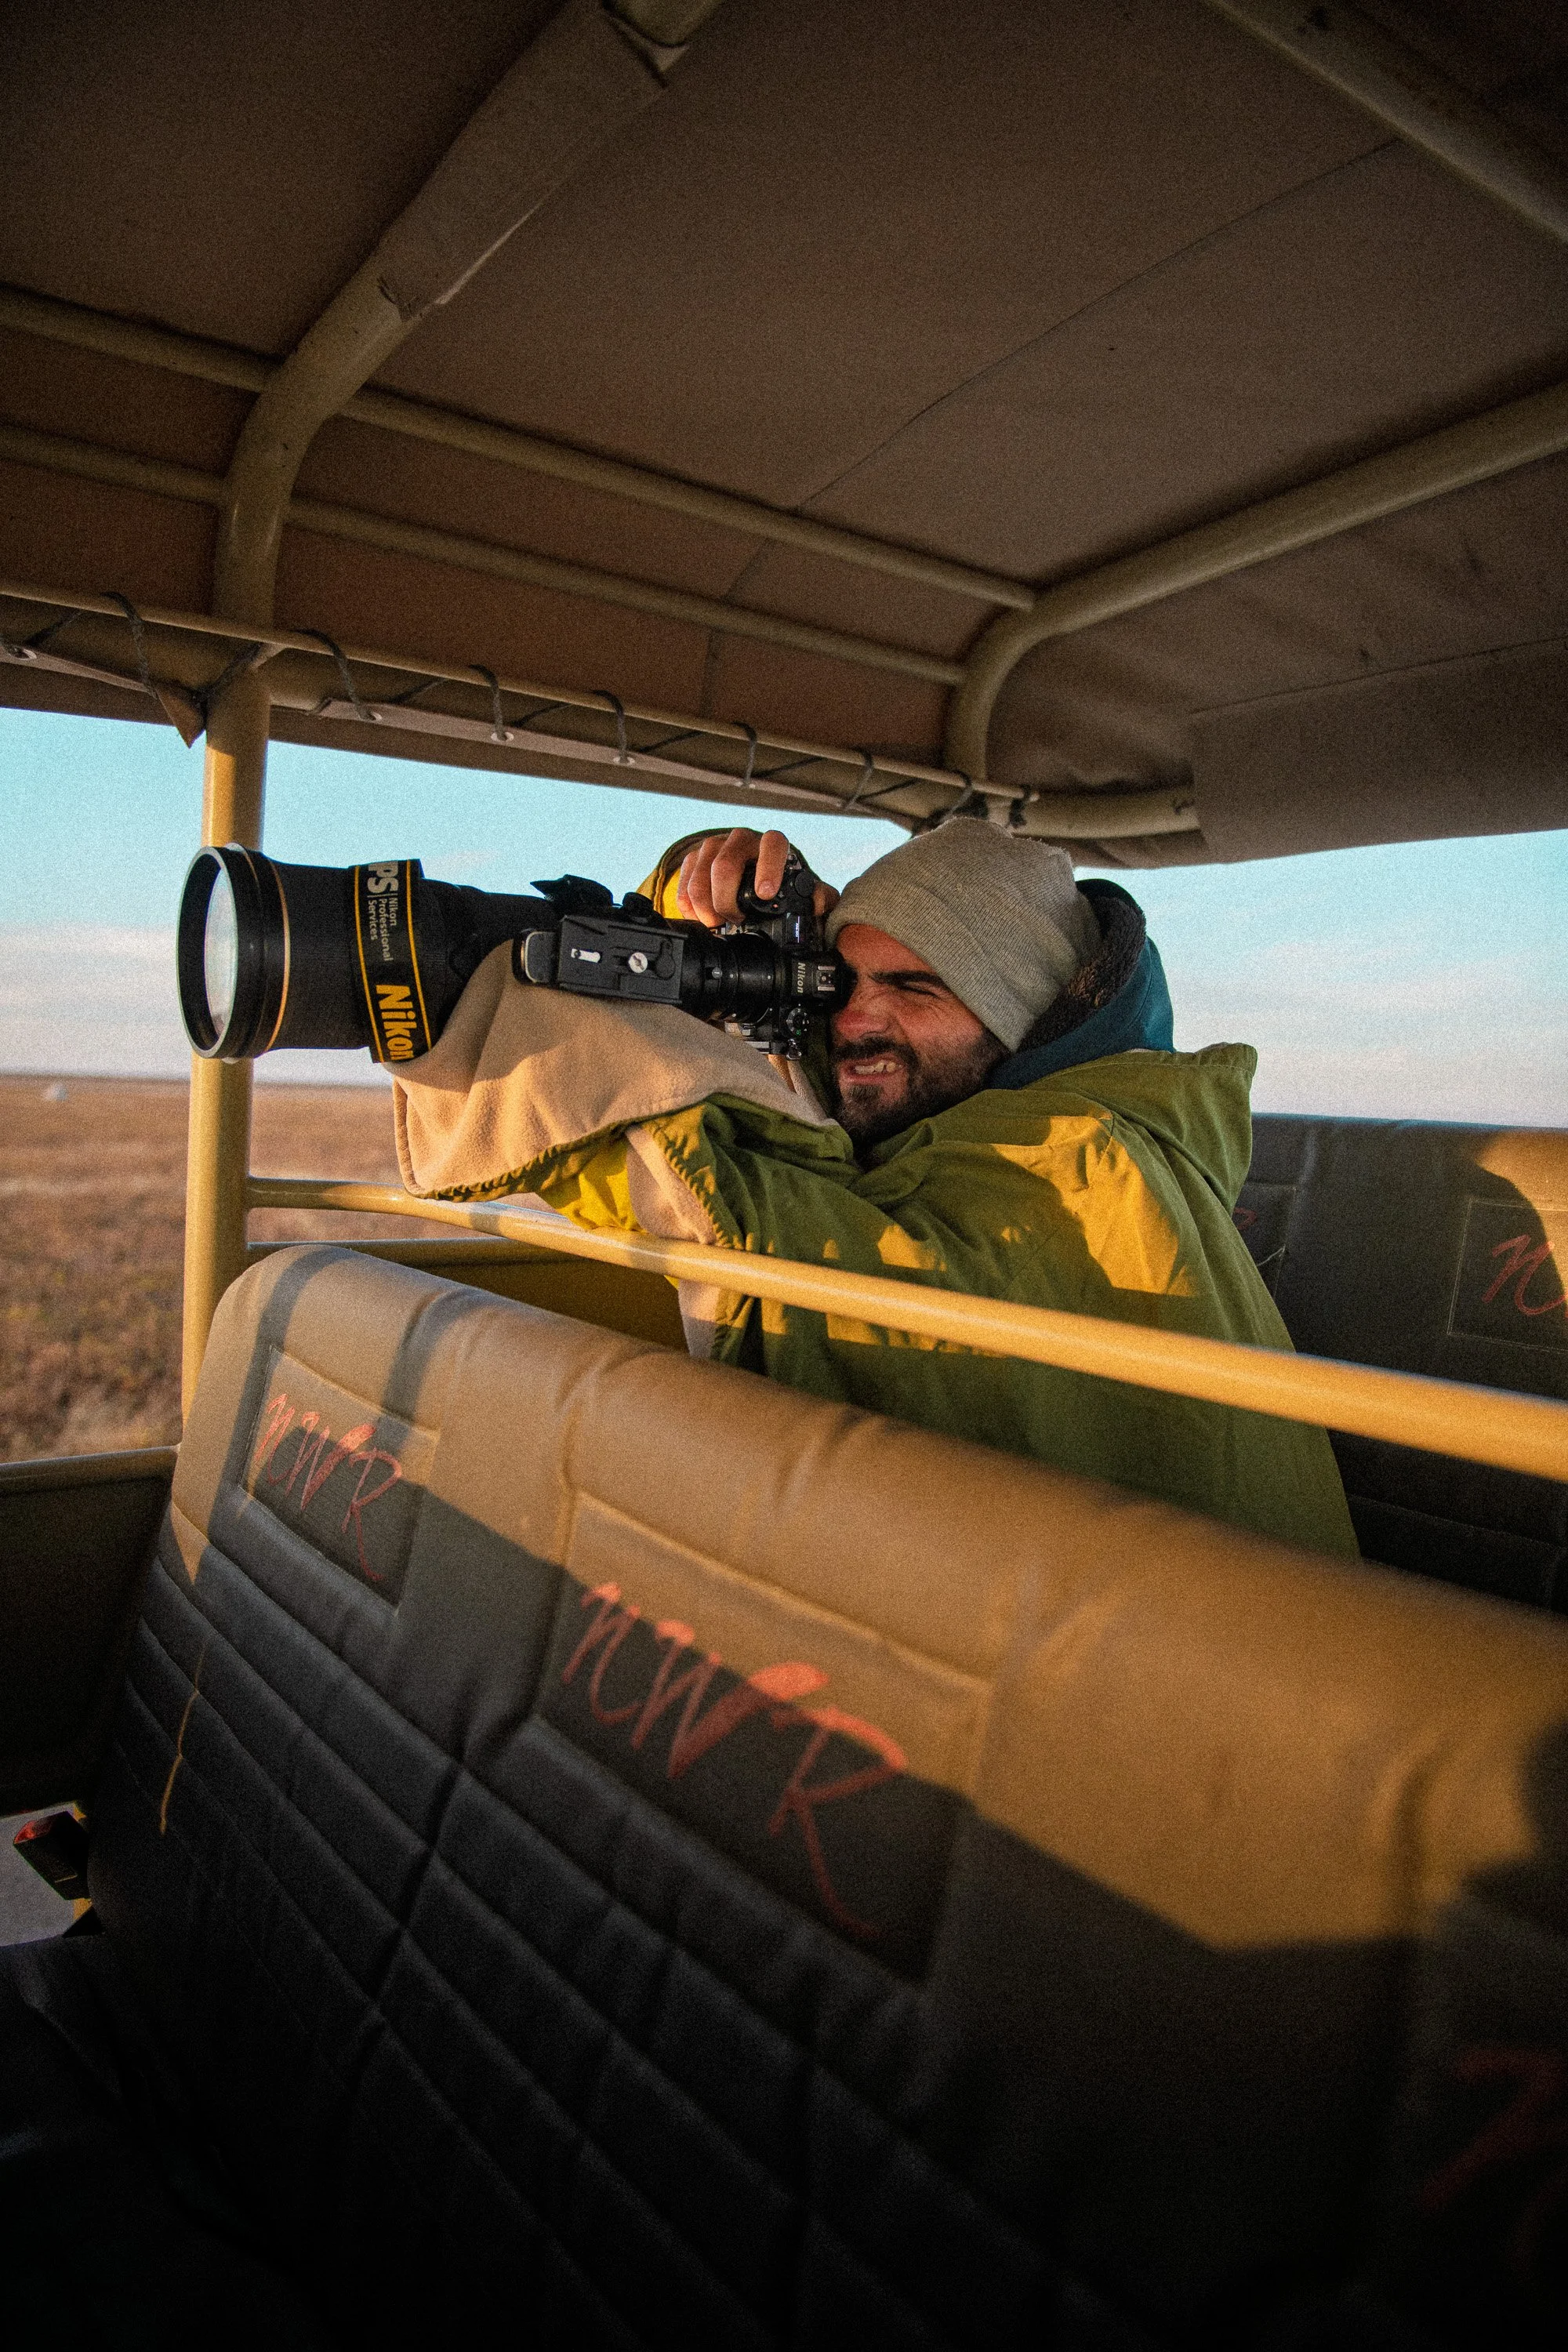
Sometimes a simple beanbag is the perfect solution. Chobe NP, Botswana, May 2025.
Why Supports Matter More Than Ever
Modern cameras and lenses are lighter and more capable than ever, yet wildlife photography pushes the limits of hand‑holding. Long telephoto lenses amplify every shake and low‑light situations force slower shutter speeds. Even if your camera has in‑body stabilization there’s no substitute for a solid base when photographing a distant leopard at dusk or tracking a kingfisher in dim woodland. Derek Nielsen emphasises that a tripod becomes indispensable when shooting in low light or at slow shutter speeds, where stability ensures sharp images, and I totally agree. At the same time, learning when to leave the tripod behind is equally important: you should know when to be flexible, using tripods when necessary but not letting them slow you down; sometimes hand‑holding and bracing against a tree yields more spontaneous results .
Understanding the Options
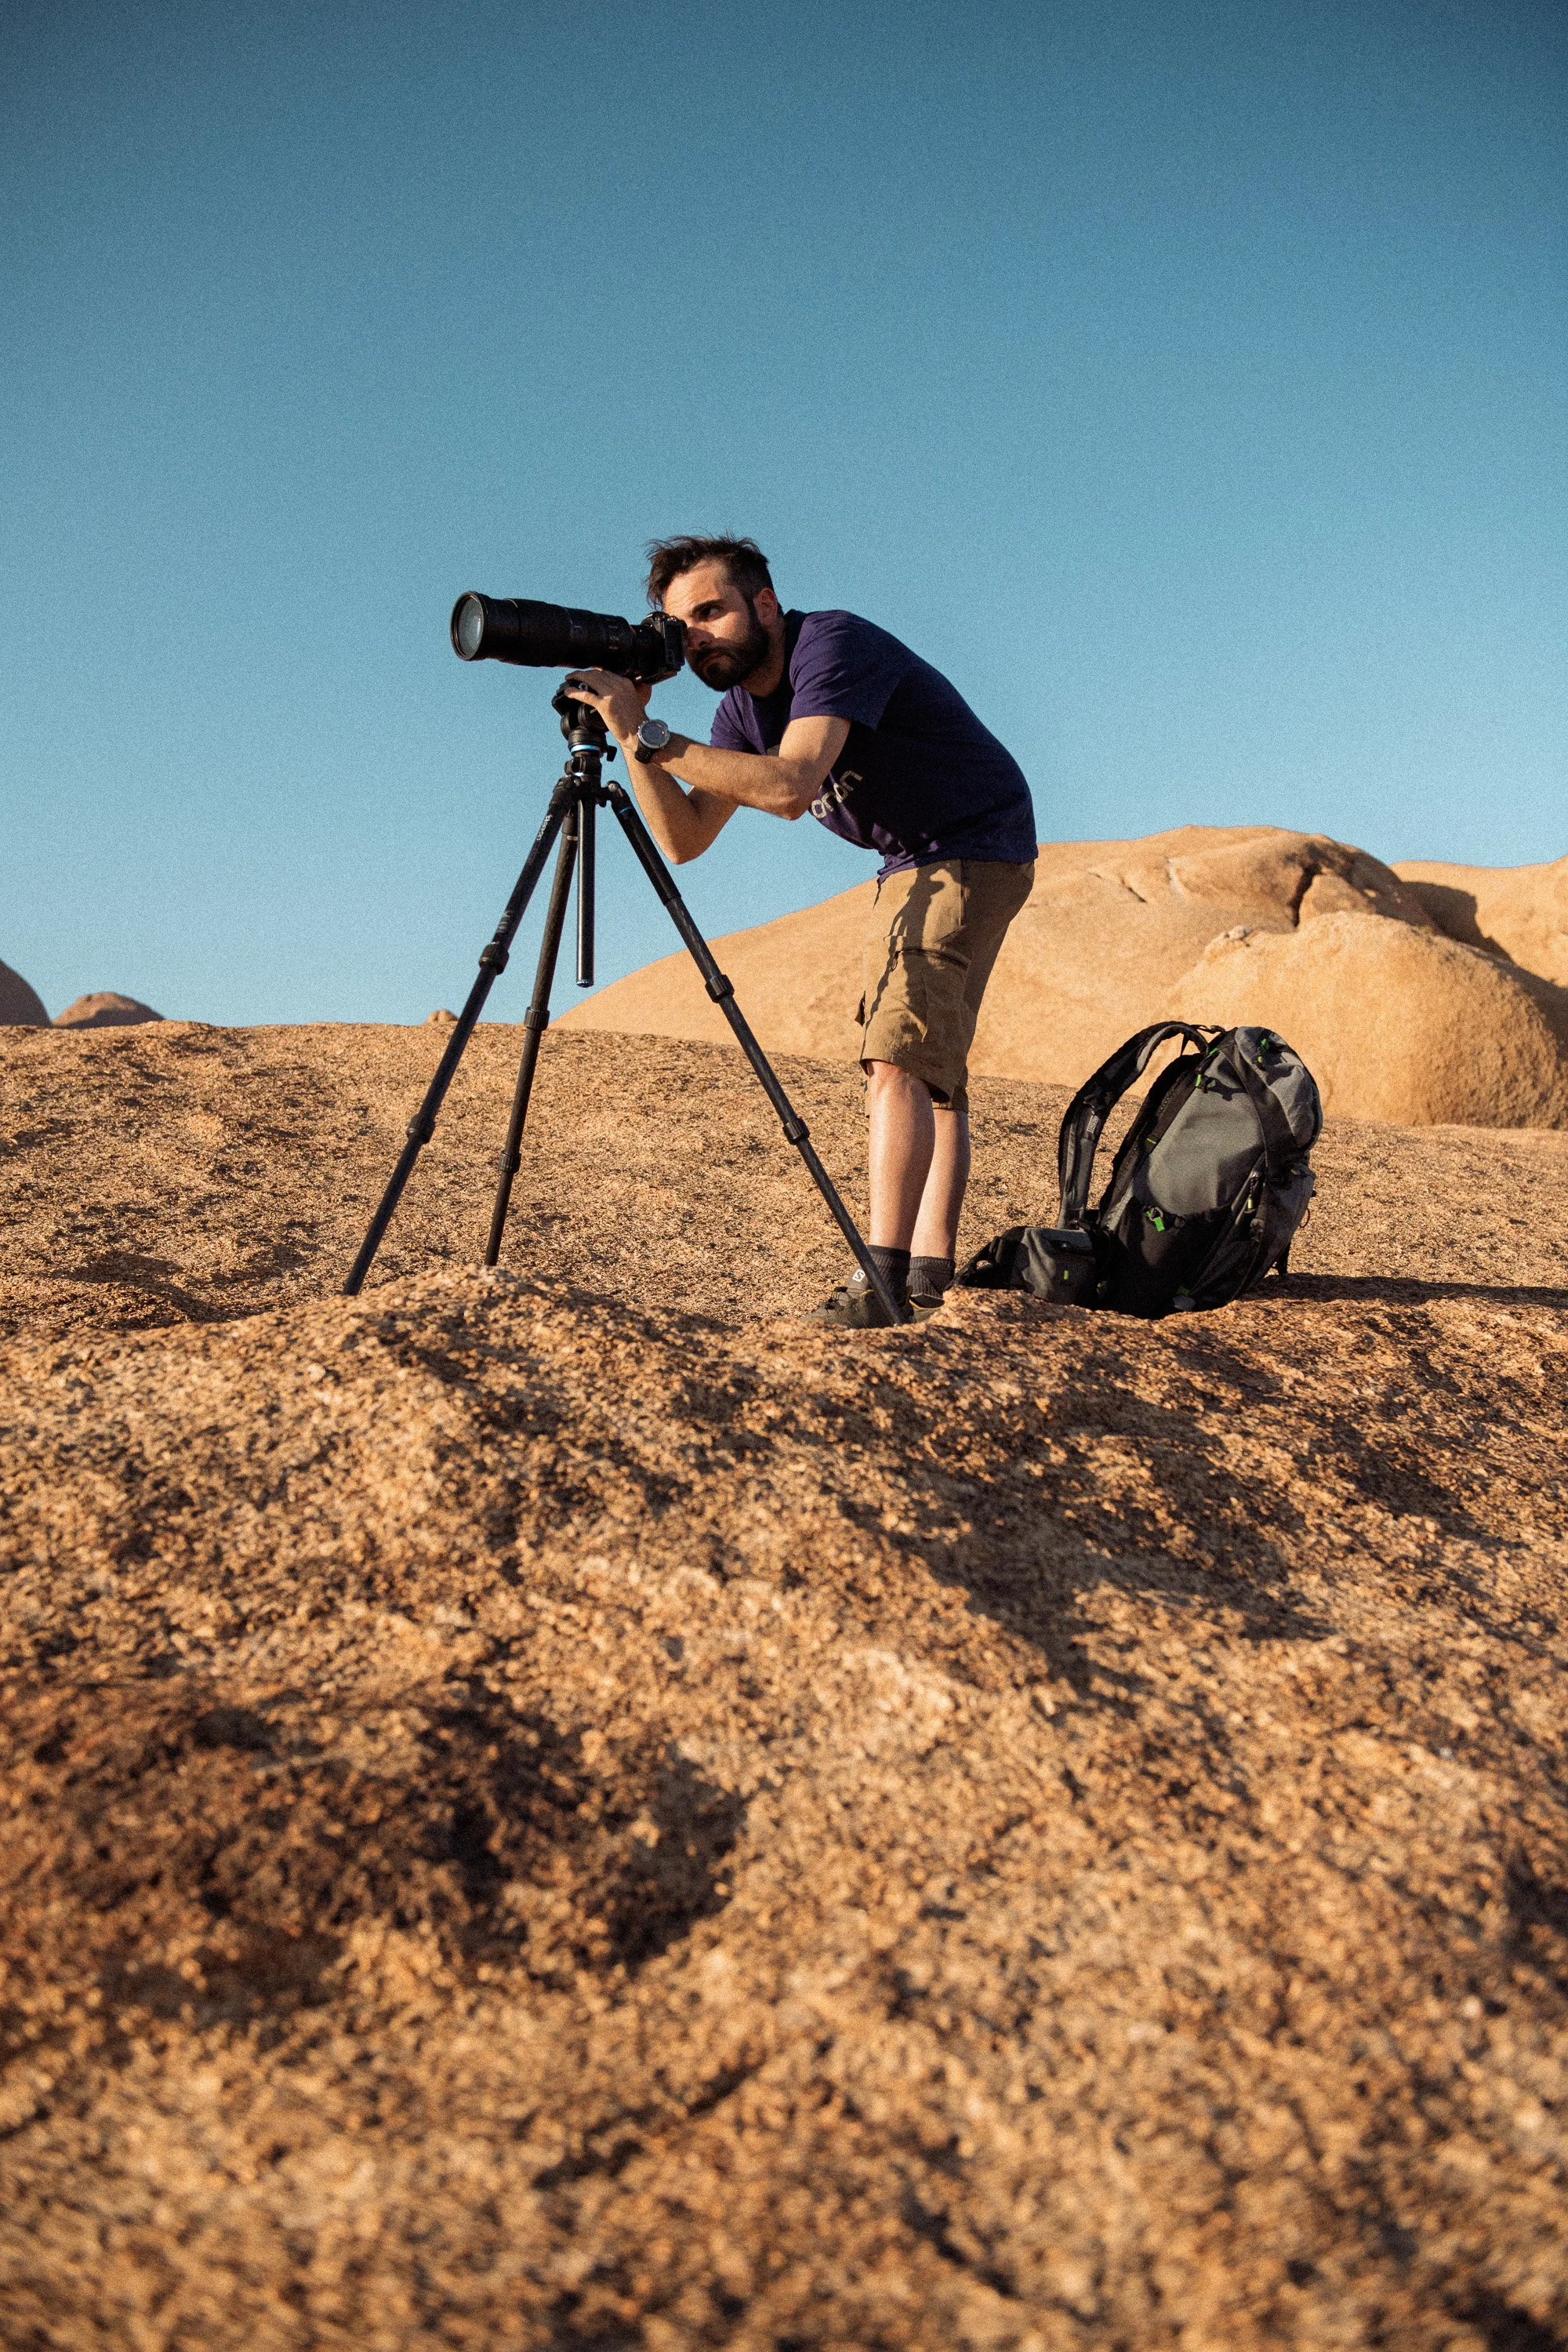
Tripods are the gold standard for stability. For wildlife work, look for legs made of carbon fibre – they’re strong yet lightweight, and they dampen vibration better than aluminium. Many models have twist locks you can operate with gloves on and can get low to the ground for eye‑level perspectives. Ideally a good tripod will support at least twice the weight of your heaviest camera‑lens combination. When measuring maximum height, ensure you can look through the viewfinder without extending the centre column; a raised column becomes a weak point and introduces wobble.
Monopods offer a balance between support and mobility. They’re ideal for tracking moving subjects like birds in flight or cheetahs on the hunt. A monopod reduces vertical movement, letting you swing the lens horizontally to follow your subject. Pair yours with a swivelling foot or a simple ball head. Because they have only one leg, monopods are also great when shooting in crowded hides or boats where tripod legs would be impractical. The downsides are that you can’t really take hands away from your camera and you cannot use them for long exposures - they’re only useful to stabilize a long telephoto lens.
Gimbal heads revolutionized wildlife photography by allowing heavy telephoto lenses to pivot smoothly on a tripod. They counterbalance the lens’s weight so you can move effortlessly in any direction. When photographing birds in flight or mammals in action, a gimbal lets you track unpredictable motion without fighting gravity. The best gimbals have improved bearing systems, making them lighter and smoother than older models.
Beanbags and ground pods fill the gap when tripods are unwieldy. In safari vehicles, a beanbag draped over a window frame or roof provides a stable rest and can be quickly repositioned. Ground pods or low plates offer a steady base at ground level, perfect for eye‑level perspectives of small mammals or birds. They are essential for situations where the animal is low to the ground and you need to shoot from its level.
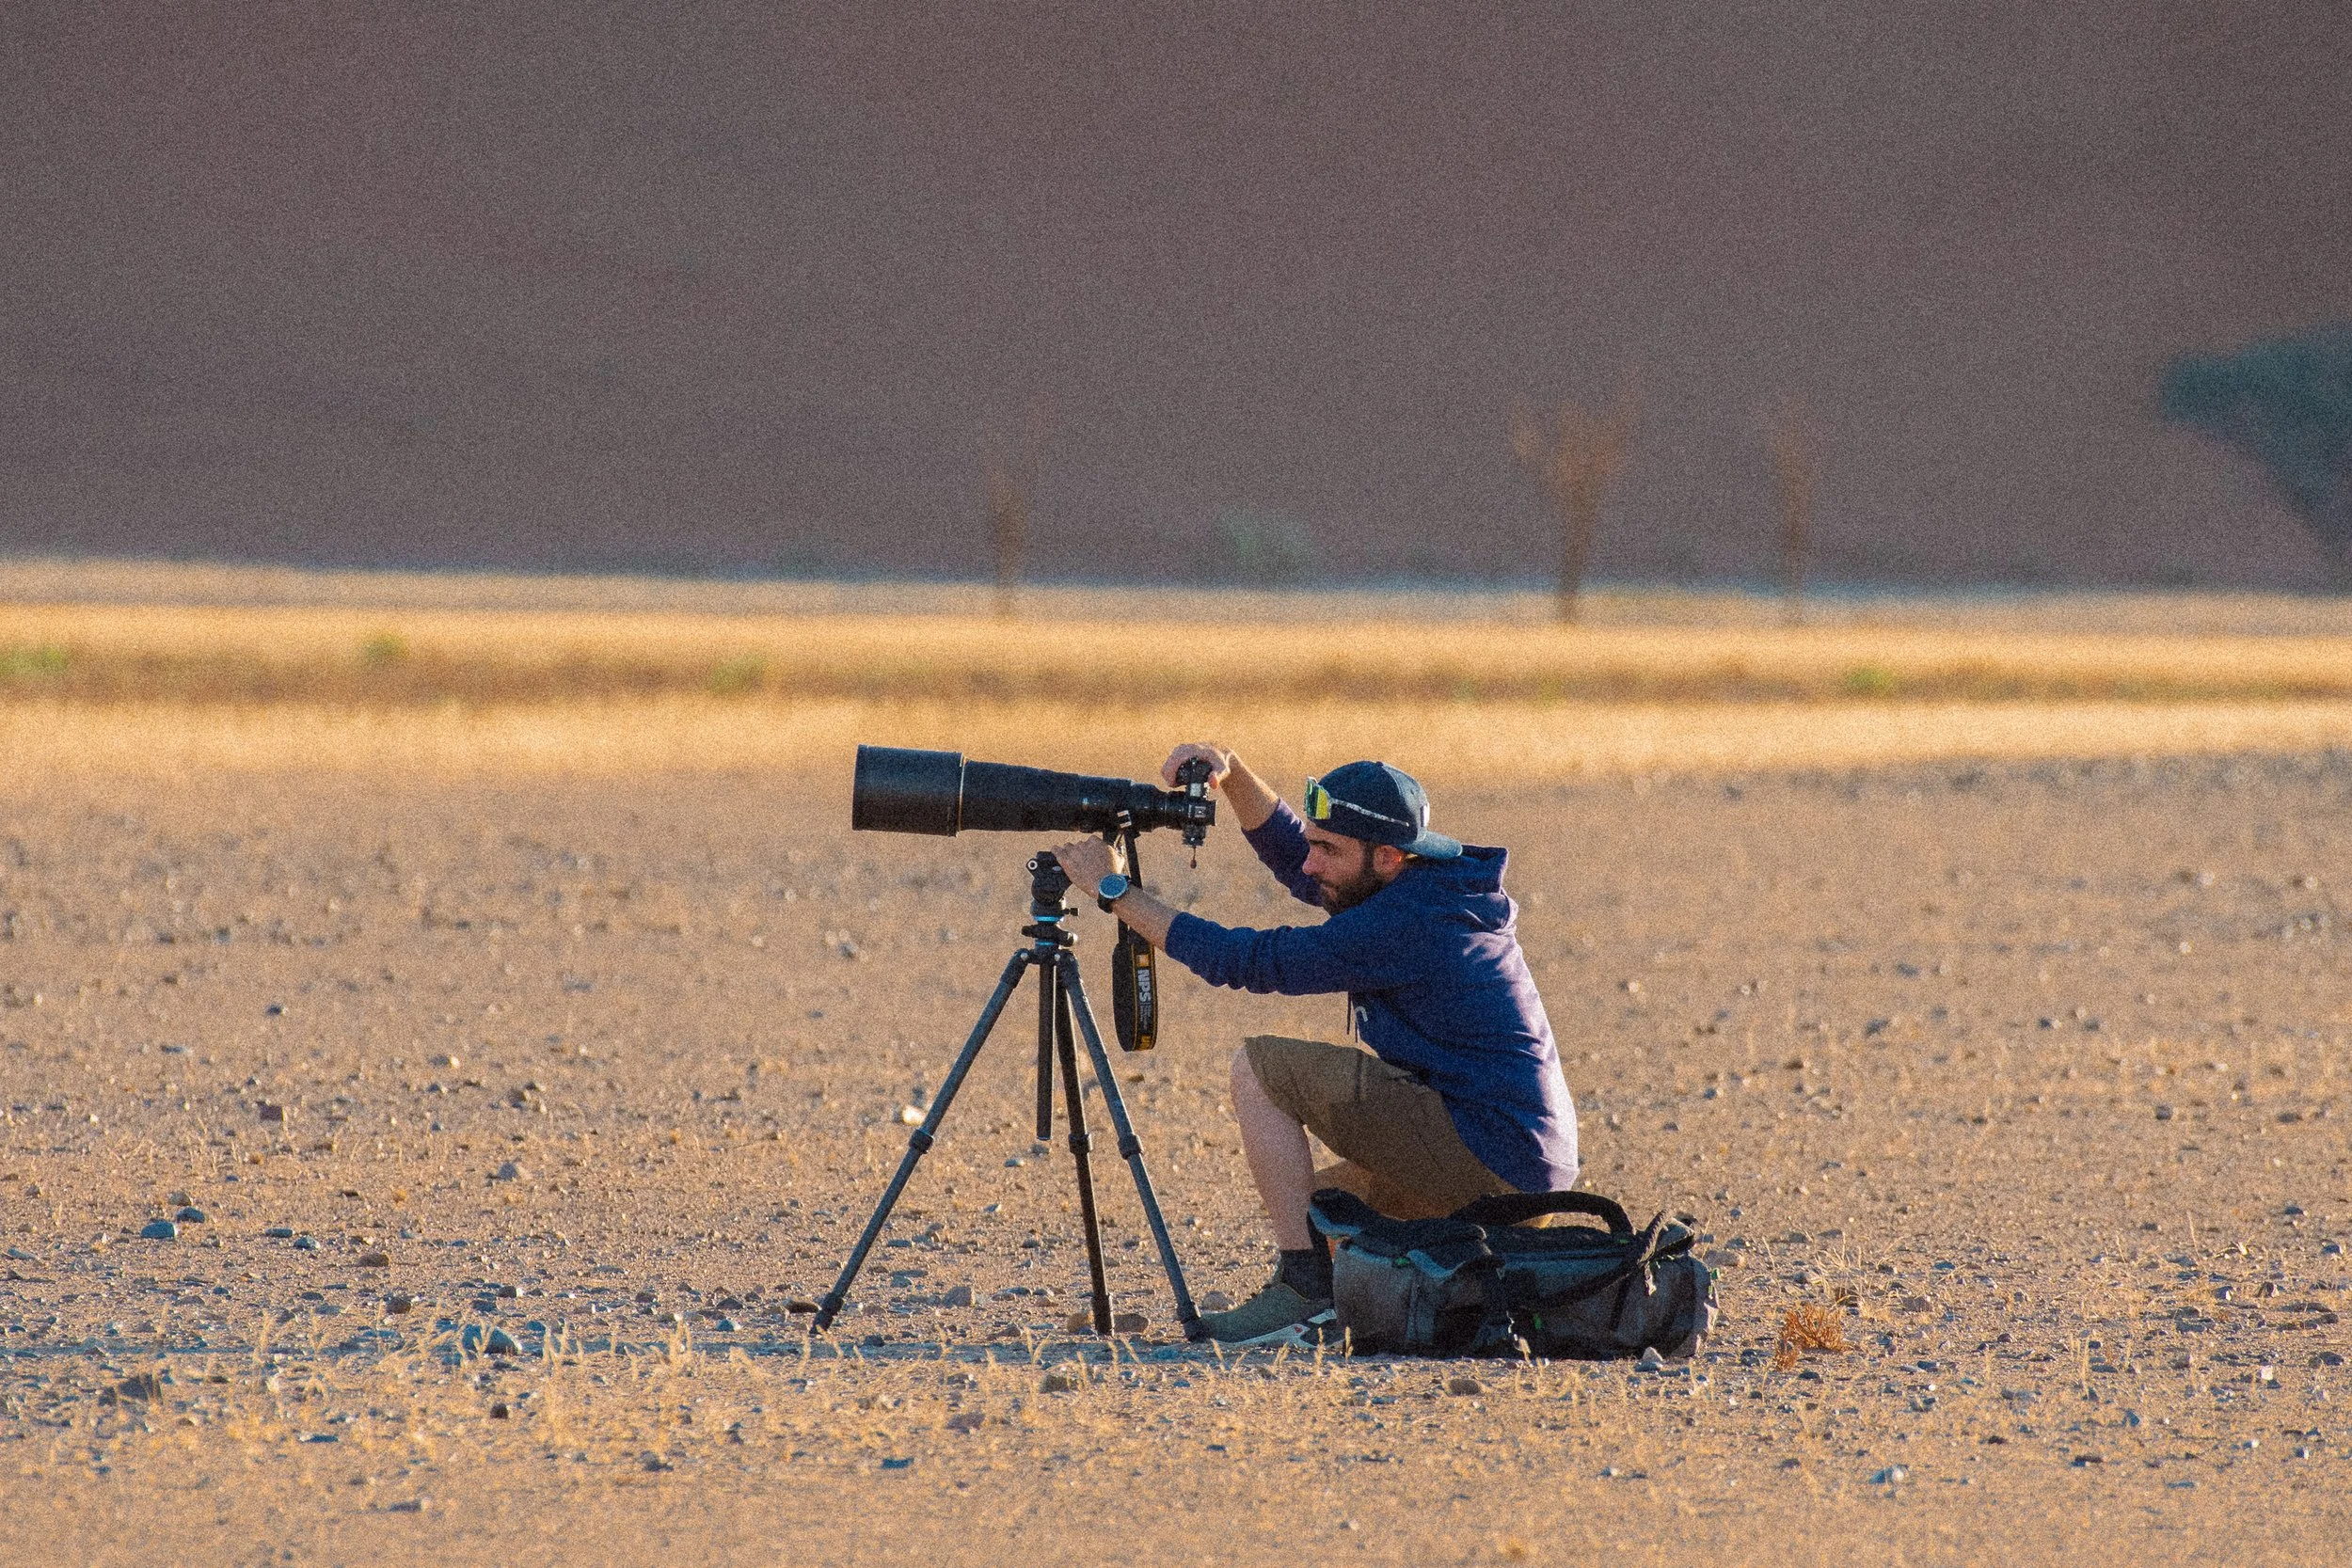
Shooting in Sossusvlei, Namibia, with a carbon fiber Manfrotto tripod and Nikon Z7II + 500mm f/4
Choosing the Right Support System
Your choice depends on the type of wildlife you photograph and the terrain you work in. For long lenses (400 mm or more), a tripod with a gimbal head is often the best solution. If you shoot mostly handheld with shorter telephotos, you may get by with a monopod. Consider the following factors:
Weight and portability: Carbon fibre tripods are light but more expensive; aluminium is cheaper but heavier. If you’re trekking long distances, every gram counts.
Load capacity: Always choose a support rated for more than your equipment weighs. Overloading a tripod or head can cause it to flex or fail.
Height: You should be able to look through the viewfinder comfortably without hunching or fully extending the centre column.
Ease of use: In cold or wet conditions, quick‑release clamps and large knobs make setup easier. Try different models before committing.
When shooting from a safari vehicle a tripod or monopod would be more a limitation than a help.
Even when there’s plenty of light, a tripod help us slowing down and frame more carefully.
Setups for Different Scenarios
Static Wildlife in Low Light
When waiting for nocturnal animals or dawn activity, a full tripod and gimbal head are invaluable. Long exposures demand absolute stability; even a small movement will blur stars or cause ghosting in a deer’s silhouette. To reduce vibration, keep the centre column retracted, hang a small weight from the hook under the tripod to dampen wind, and use a remote shutter release or the camera’s timer.
Action and BIF Photography
For birds in flight or predators running, a monopod paired with a quick‑release head offers the stability to counterbalance the lens while still allowing dynamic panning. Gimbals are ideal for heavy lenses if you’re staying relatively stationary, such as at a waterhole or hide. Keep your legs aligned under your hips for balance and practise pivoting from the waist to track movement smoothly.
On Safari Vehicles
Here, space is limited. I’ve found that a beanbag is the best way to go. Fill your beanbag with lightweight plastic pellets so you can carry it easily on flights. On some tours, I also bring a small clamp that attaches to the vehicle’s roof bars; it holds a ball head, offering a secure platform for long lenses.
Hiking and Backcountry Trips
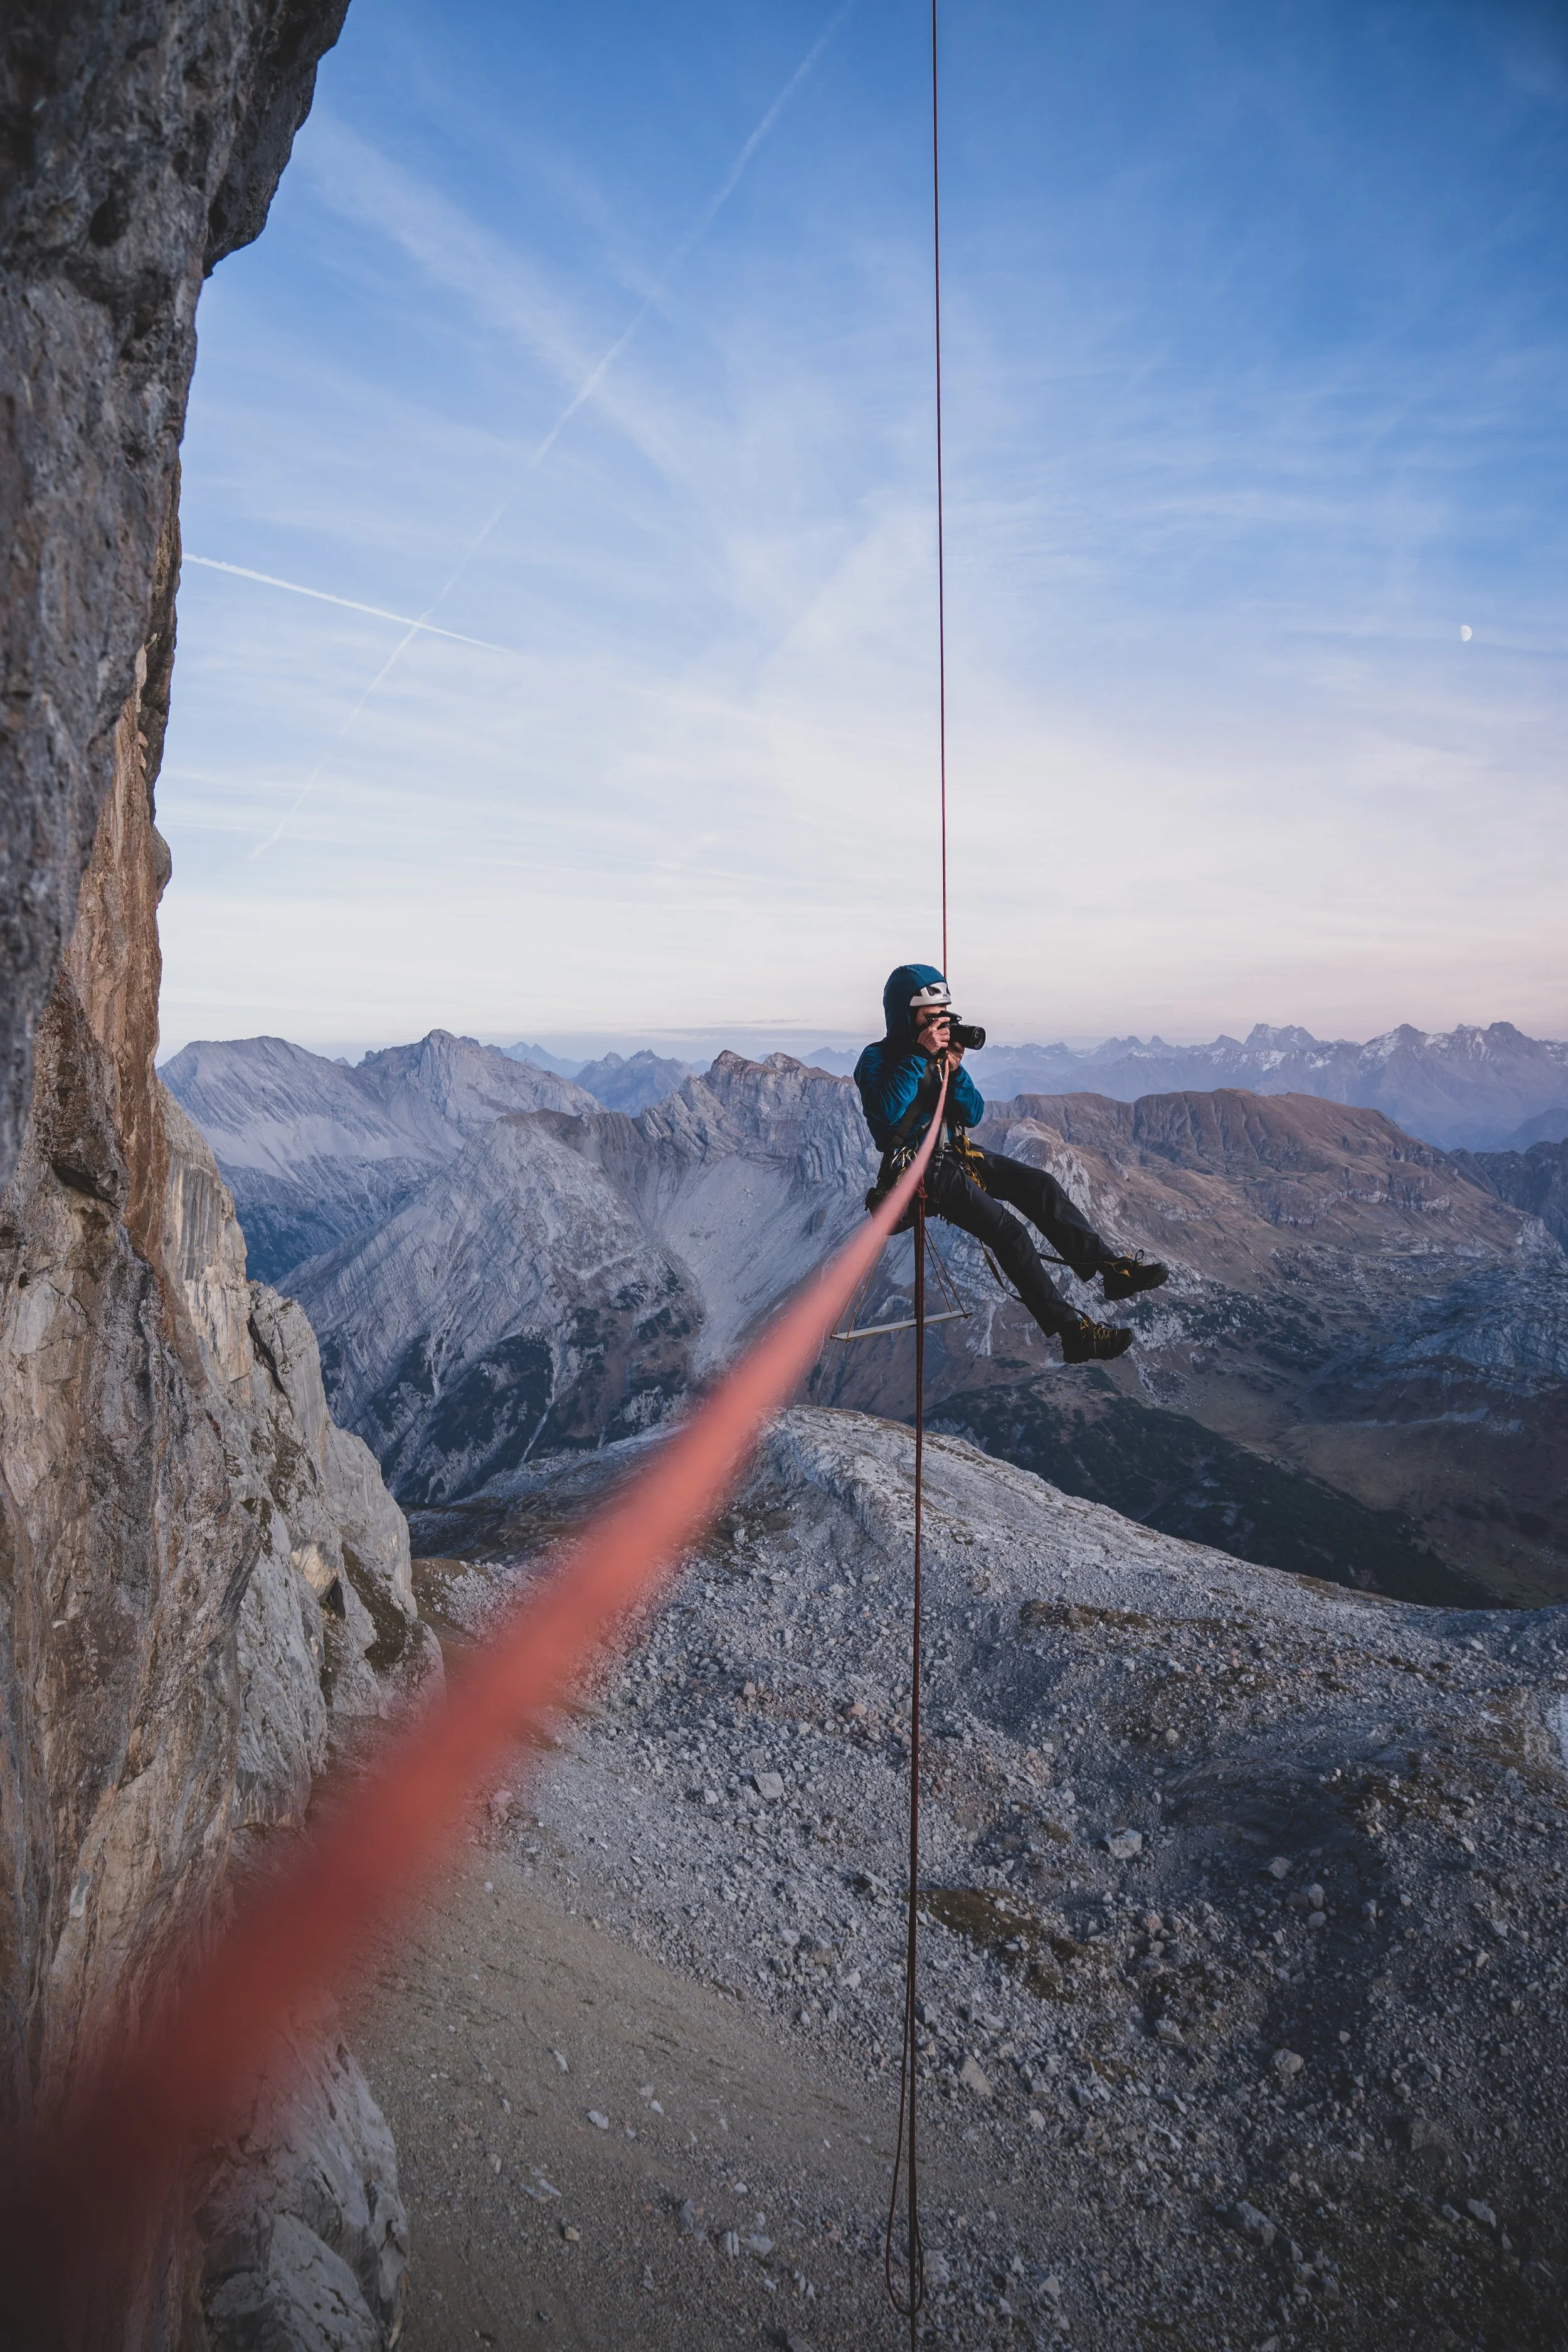
If you’re covering distance, think minimal. A lightweight tripod that collapses to fit inside or outside your pack keeps your kit manageable. Alternatively, a sturdy trekking pole can double as a monopod with the right attachment. Be prepared for improvisation; I’ve used backpacks, rocks and even my knee as makeshift supports when the right tool wasn’t available.

Sunset session somewhere around Mt. Kenya.
Practical Tips for Using Supports
• Practice at home. Familiarise yourself with your tripod or gimbal before your trip. Setting up smoothly allows you to focus on your subject rather than fumbling with locks.
• Keep it clean. After dusty safaris or sandy beaches, clean the leg sections and hinges to prevent grit from wearing down the locks.
• Use the landscape. Supports don’t replace using your environment. Lean against trees, rocks or your vehicle to provide extra stability when you decide to shoot handheld.
• Know when to ditch it. While supports are invaluable, there are times when spontaneity matters more. Sometimes leaving the tripod behind allows you to respond quickly to fleeting encounters . Be adaptable; your creativity should not be limited by your gear.
Earn Stability, Earn the Shot
In my workshops I often remind participants that our equipment should serve our creative vision rather than dictate it. Tripods, monopods and gimbals are tools that, when used thoughtfully, allow us to realise our ideas. The key is knowing which tool to use, mastering it beforehand and being willing to improvise when conditions change. When you’re under a sky ablaze with the Milky Way you need maximum stability and you can afford some extra time working on your tripod, while when watching a predator emerge from the shadows, the last thing you want is to be adjusting legs and knobs instead of capturing the moment.
Join Me in the Field
If you’d like to refine your craft alongside a small group of like‑minded photographers, I invite you to join one of my upcoming photography workshops. We’ll not only explore breathtaking locations but also practise setting up tripods and supports in real‑world situations, ensuring you’re prepared for whatever the wild throws at you.