The Canon R5 Mark II and Canon R1 are here. They’re fast, powerful, and packed with cutting-edge autofocus and video features. But despite all the hype—and despite using my cameras professionally every day—I’ve decided not to upgrade.
Not yet, anyway.
This isn’t because the new models aren’t incredible (they are). It’s because, right now, my gear isn’t what’s limiting my photography—and that might be true for you too.
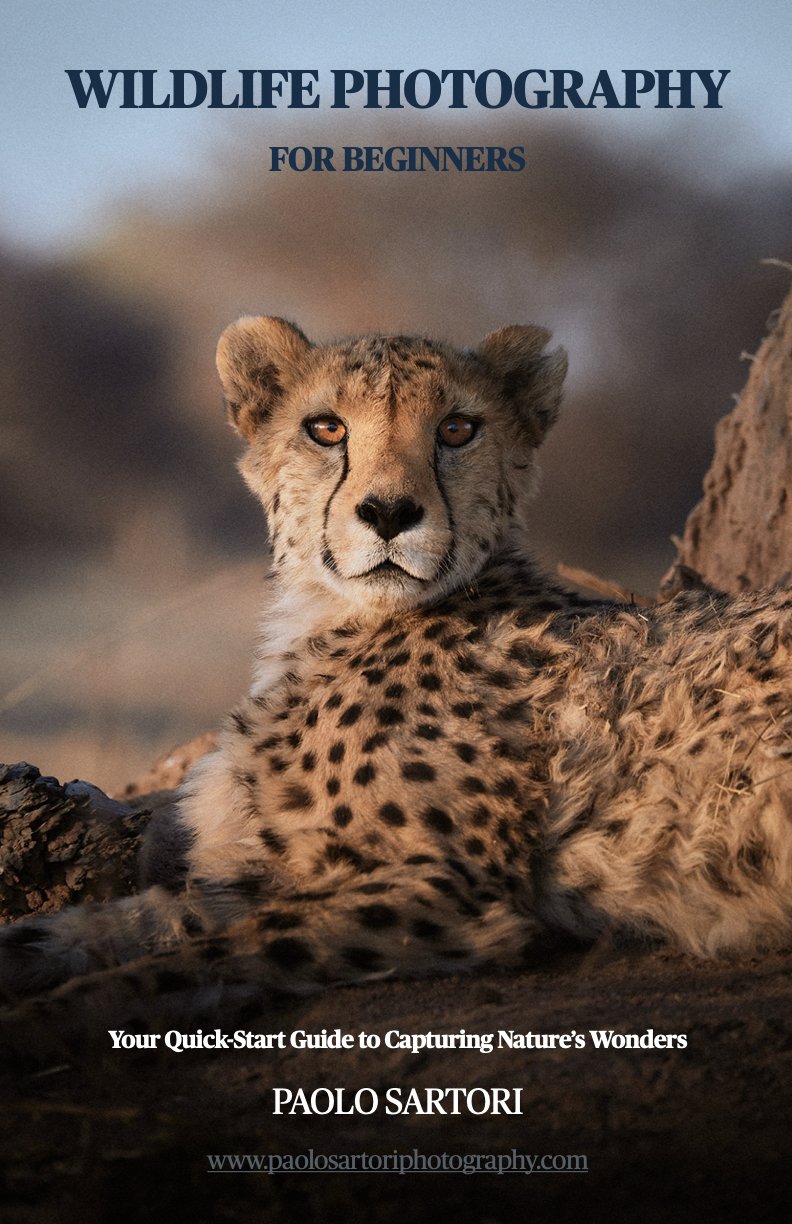
If you're feeling that familiar pressure to upgrade, this post is for you. And if you're looking to level up your photography without spending thousands on new cameras, make sure you grab my free wildlife photography eBook—it’s packed with gear tips, real-world advice, and camera setup strategies that actually make a difference.
👉 Download your free wildlife photography eBook here.

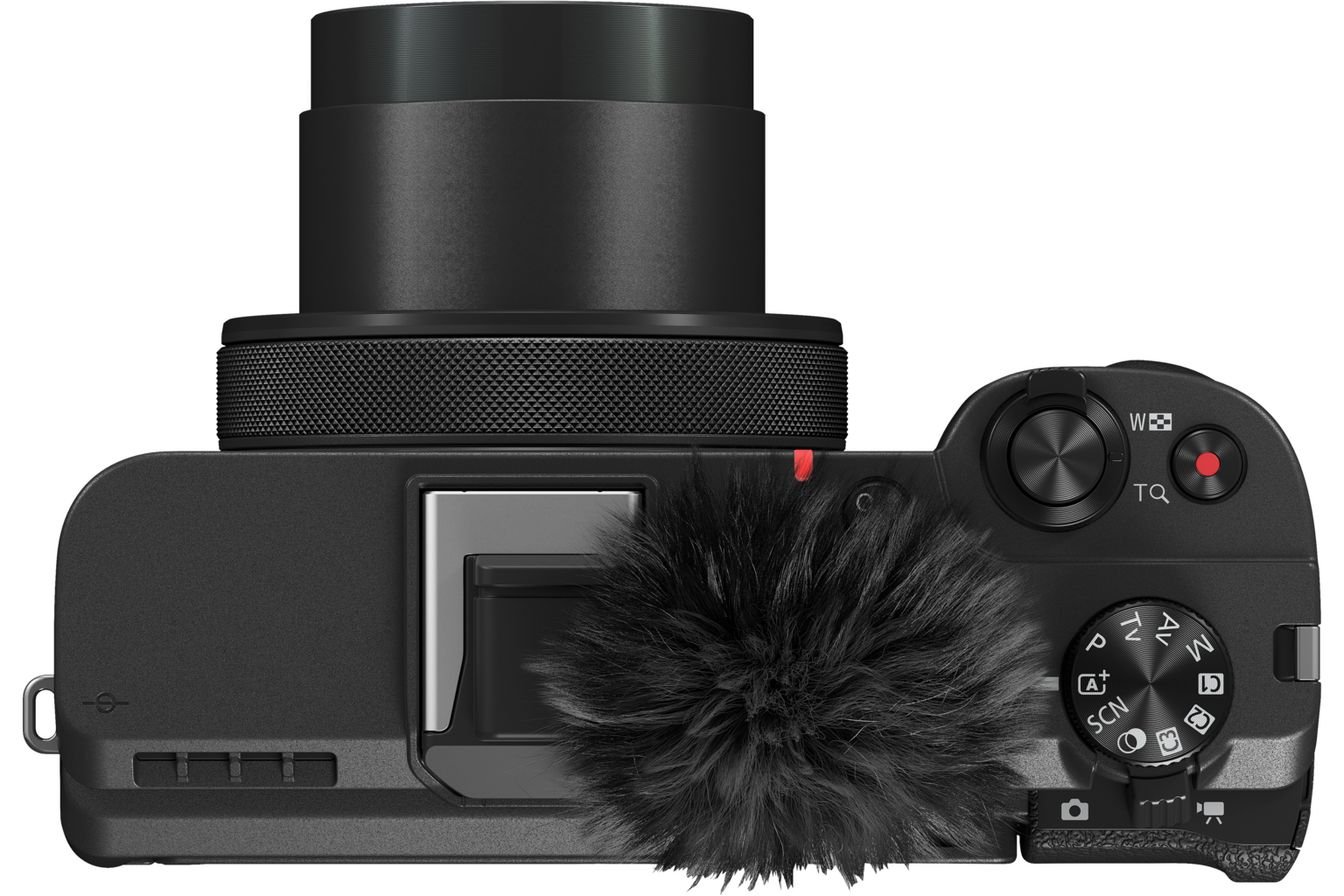
The R5 still delivers incredible results, even in 2025
What I’m Currently Using (And Why It Still Works)
My current setup is simple, battle-tested, and more than capable for professional wildlife work:
Canon R5 – My workhorse for high-resolution stills, hybrid video content, and travel. It offers incredible detail without overwhelming file sizes and handles challenging light remarkably well.
Canon R3 – My go-to for fast-moving wildlife, low-light situations, and harsh field conditions. Its autofocus tracking is unparalleled, and its ergonomic design allows for long shooting days without fatigue.
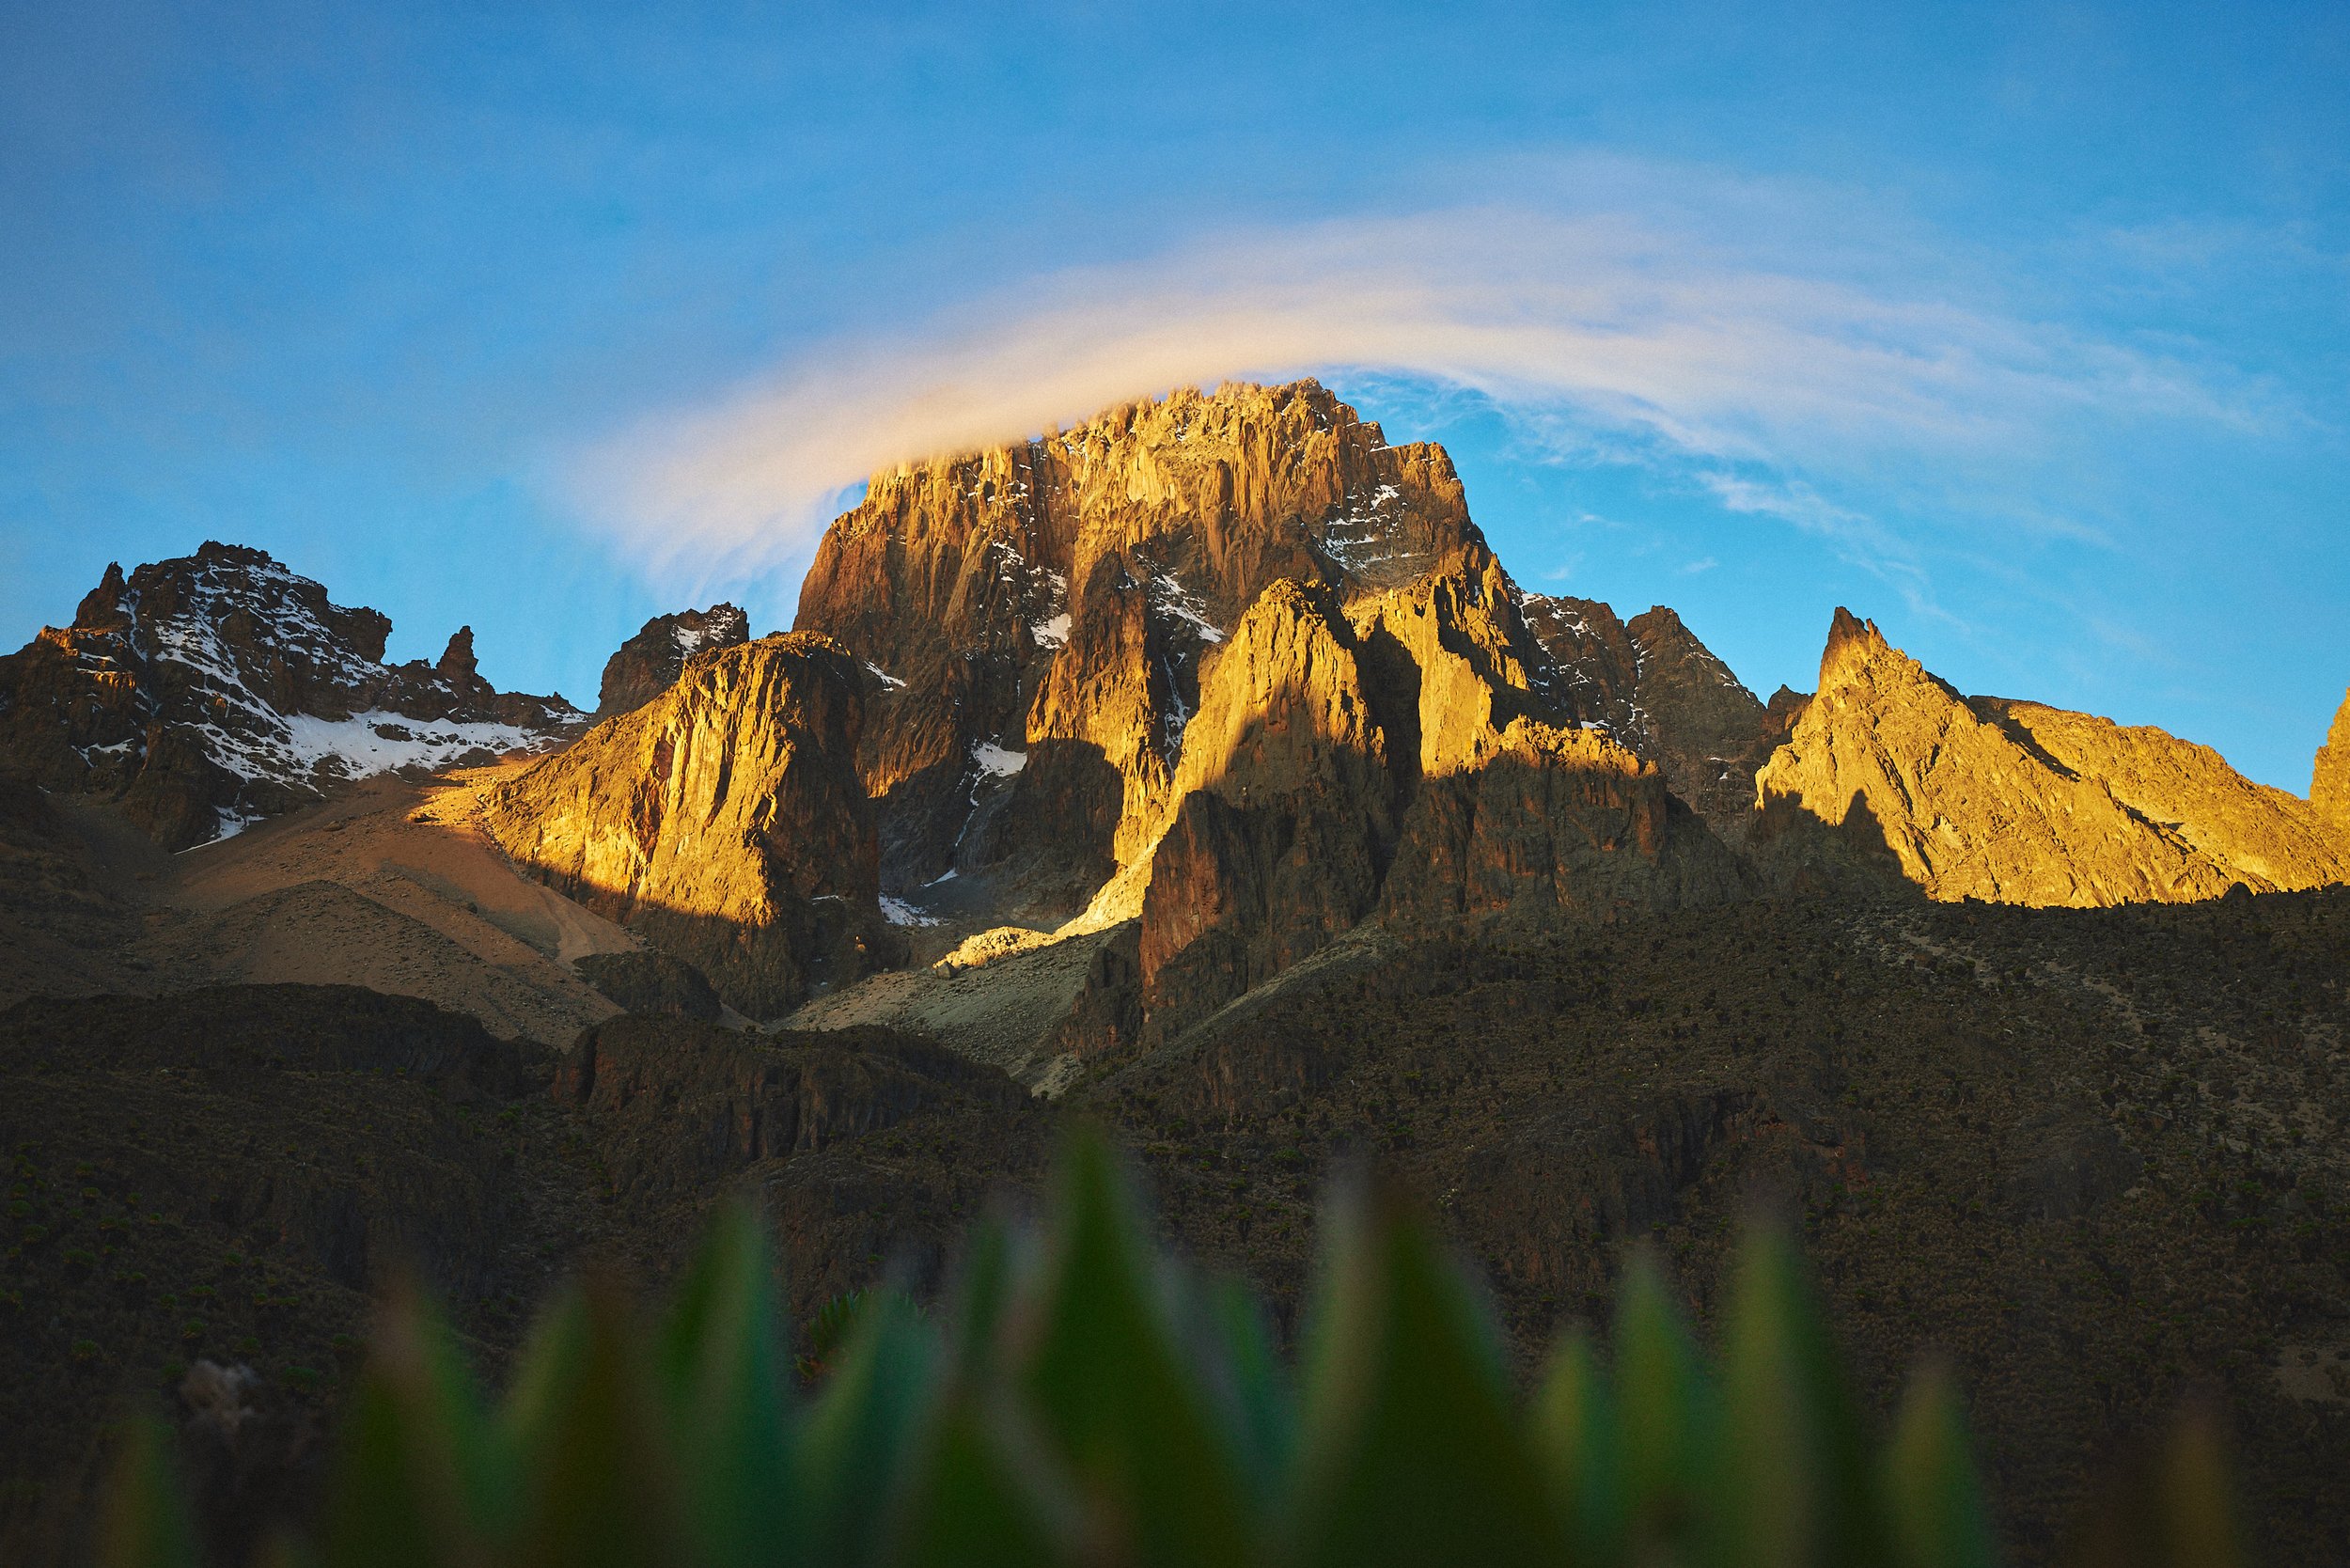
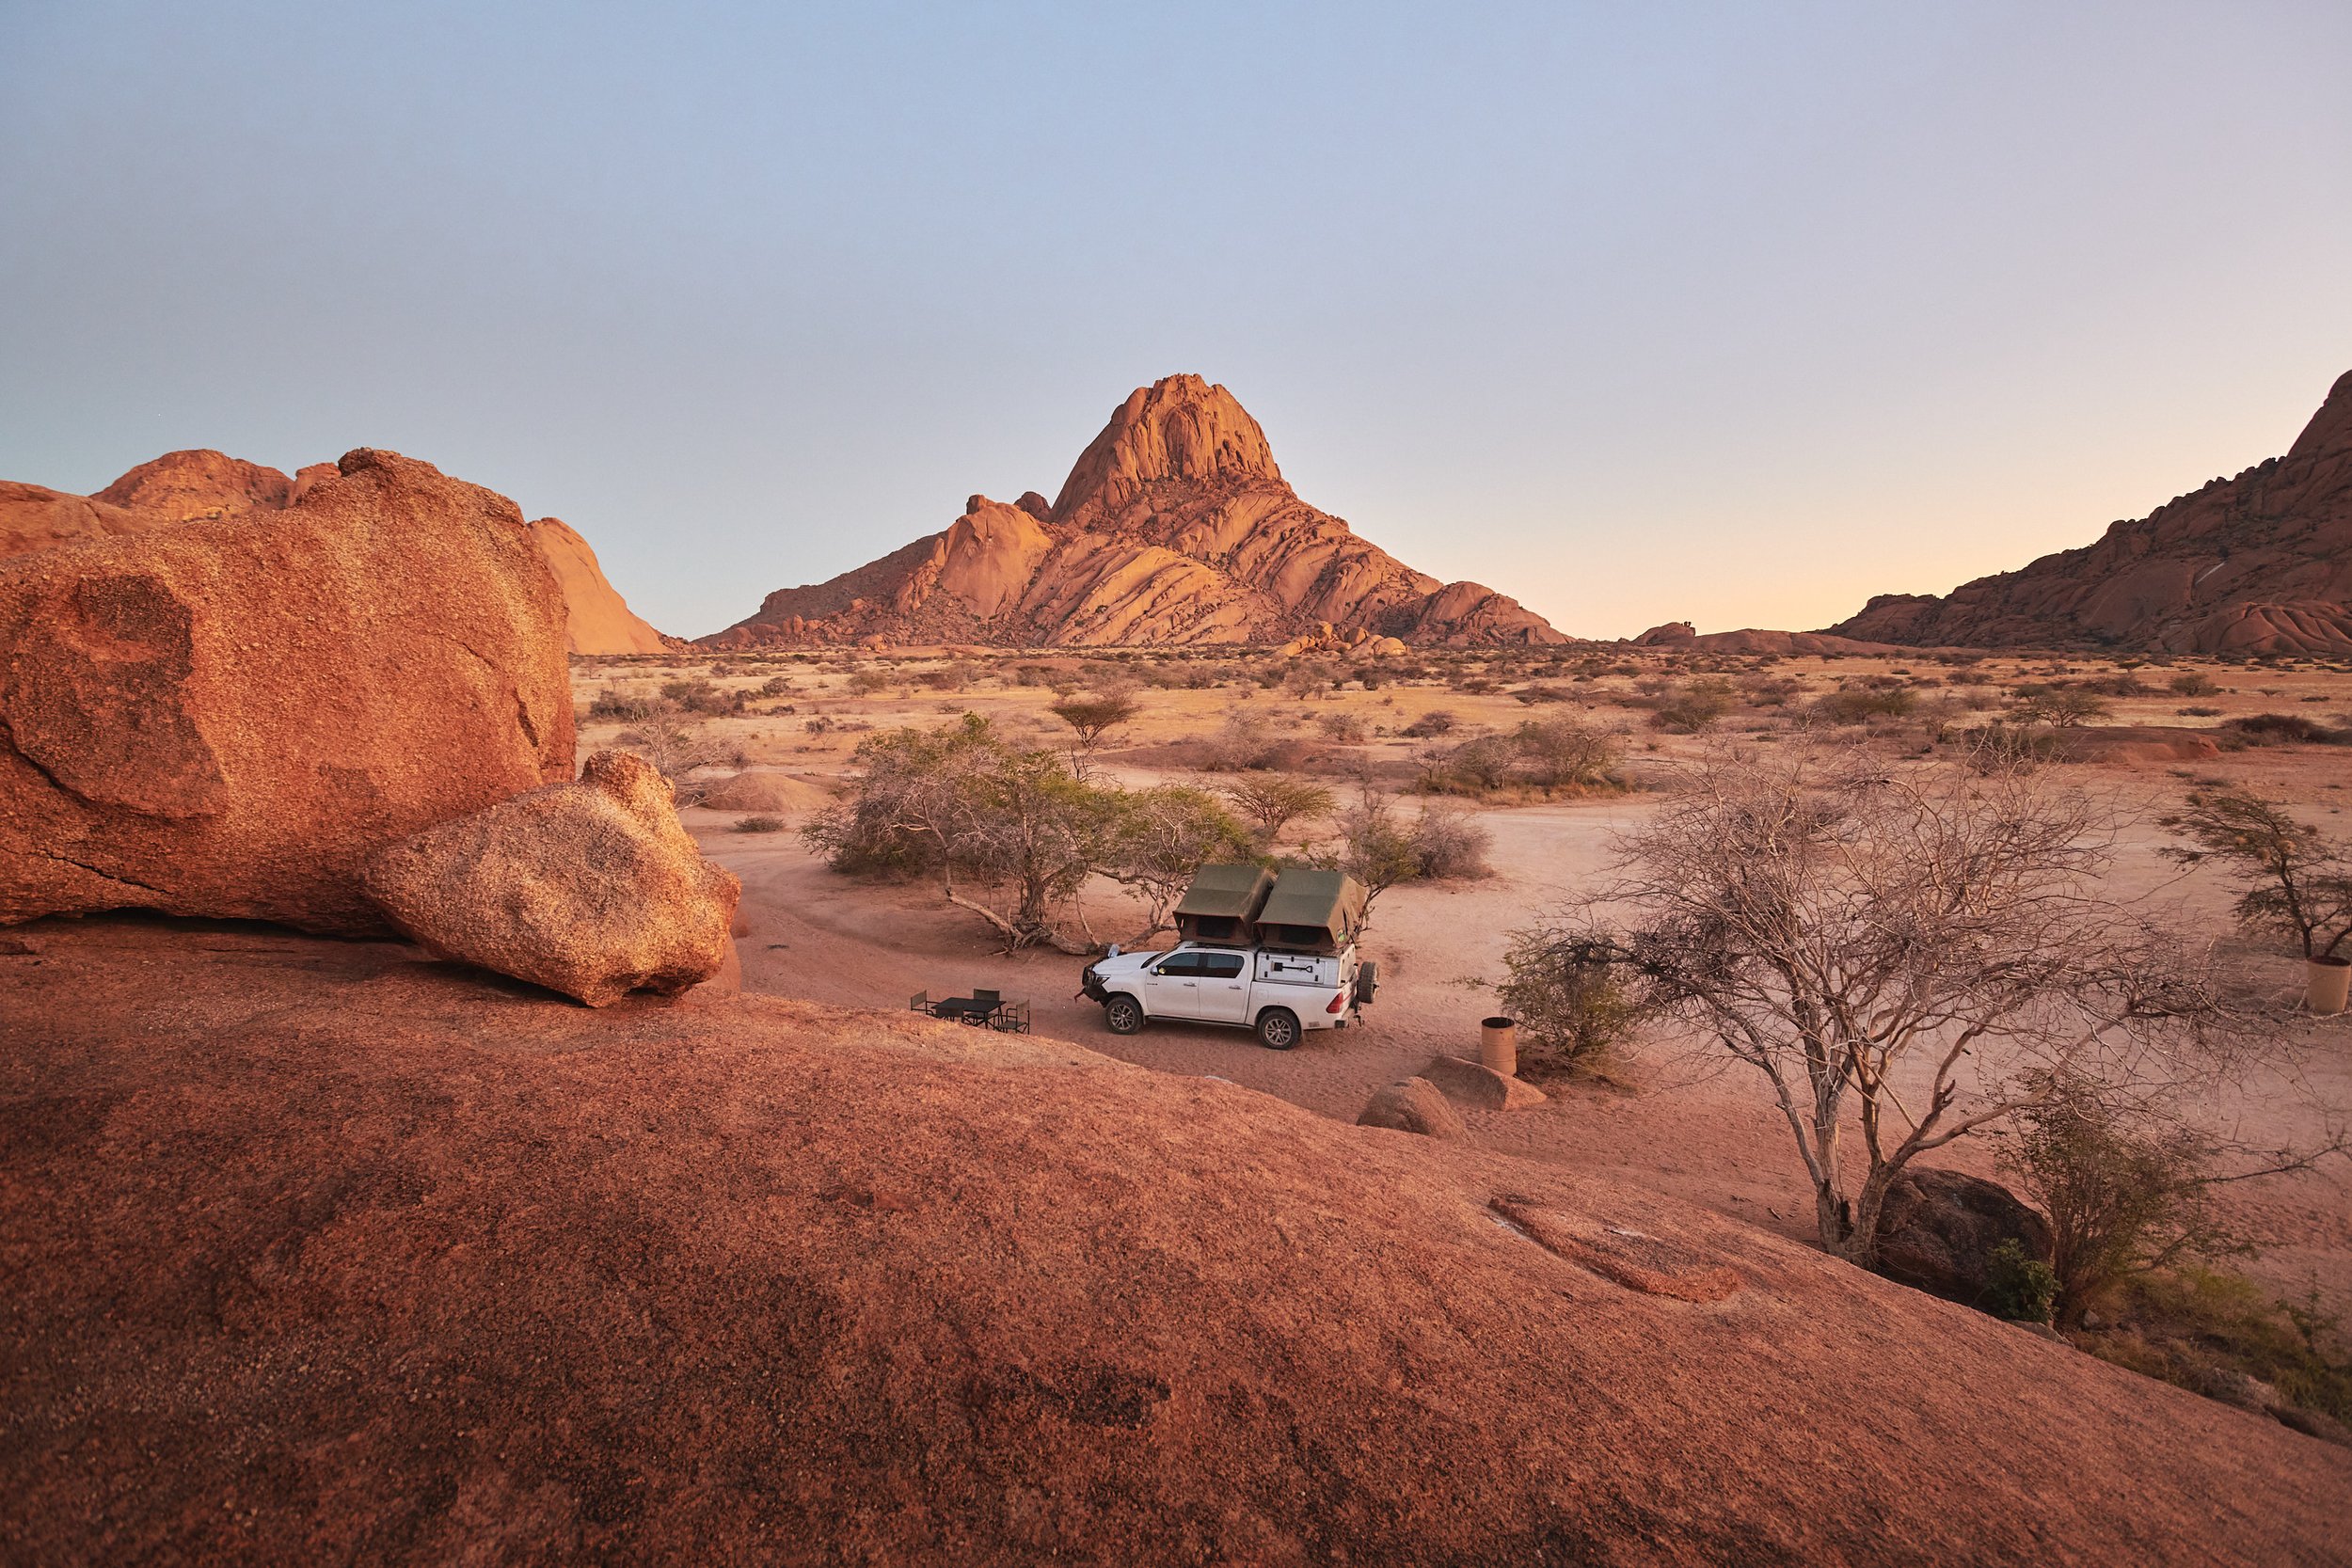
These two cameras have followed me through extreme environments—from the freezing altitudes of Mount Kenya to the blistering dunes of the Namib Desert—and have captured some of my most meaningful work.
👉 Explore my Complete Namibia Photo Guide here.
What the New Cameras Actually Offer
The Canon R5 Mark II and Canon R1 introduce several impressive updates:
Canon R5 Mark II
Improved Autofocus Performance – Now closer to the elite tracking abilities of the R3.
30 fps Burst Shooting at Higher Resolution – Allowing for more frame choices in action sequences.
Advanced Heat Management for Video – Unlocks longer shooting times without overheating concerns.
Pre-Shoot Buffer Functionality – Helps capture moments even slightly before you fully press the shutter.
Canon R1
AI-Assisted Autofocus – Smarter subject detection and tracking.
Pre-Shoot Buffer Functionality – Helps capture moments even slightly before you fully press the shutter.
While these upgrades are fantastic for certain users, they don’t address any real pain points in my current workflow.
Better Gear vs. Better Results
Over a decade of professional photography has taught me one fundamental truth:
Better equipment rarely leads to better storytelling. More time in the field, better timing, and sharper observation skills do.

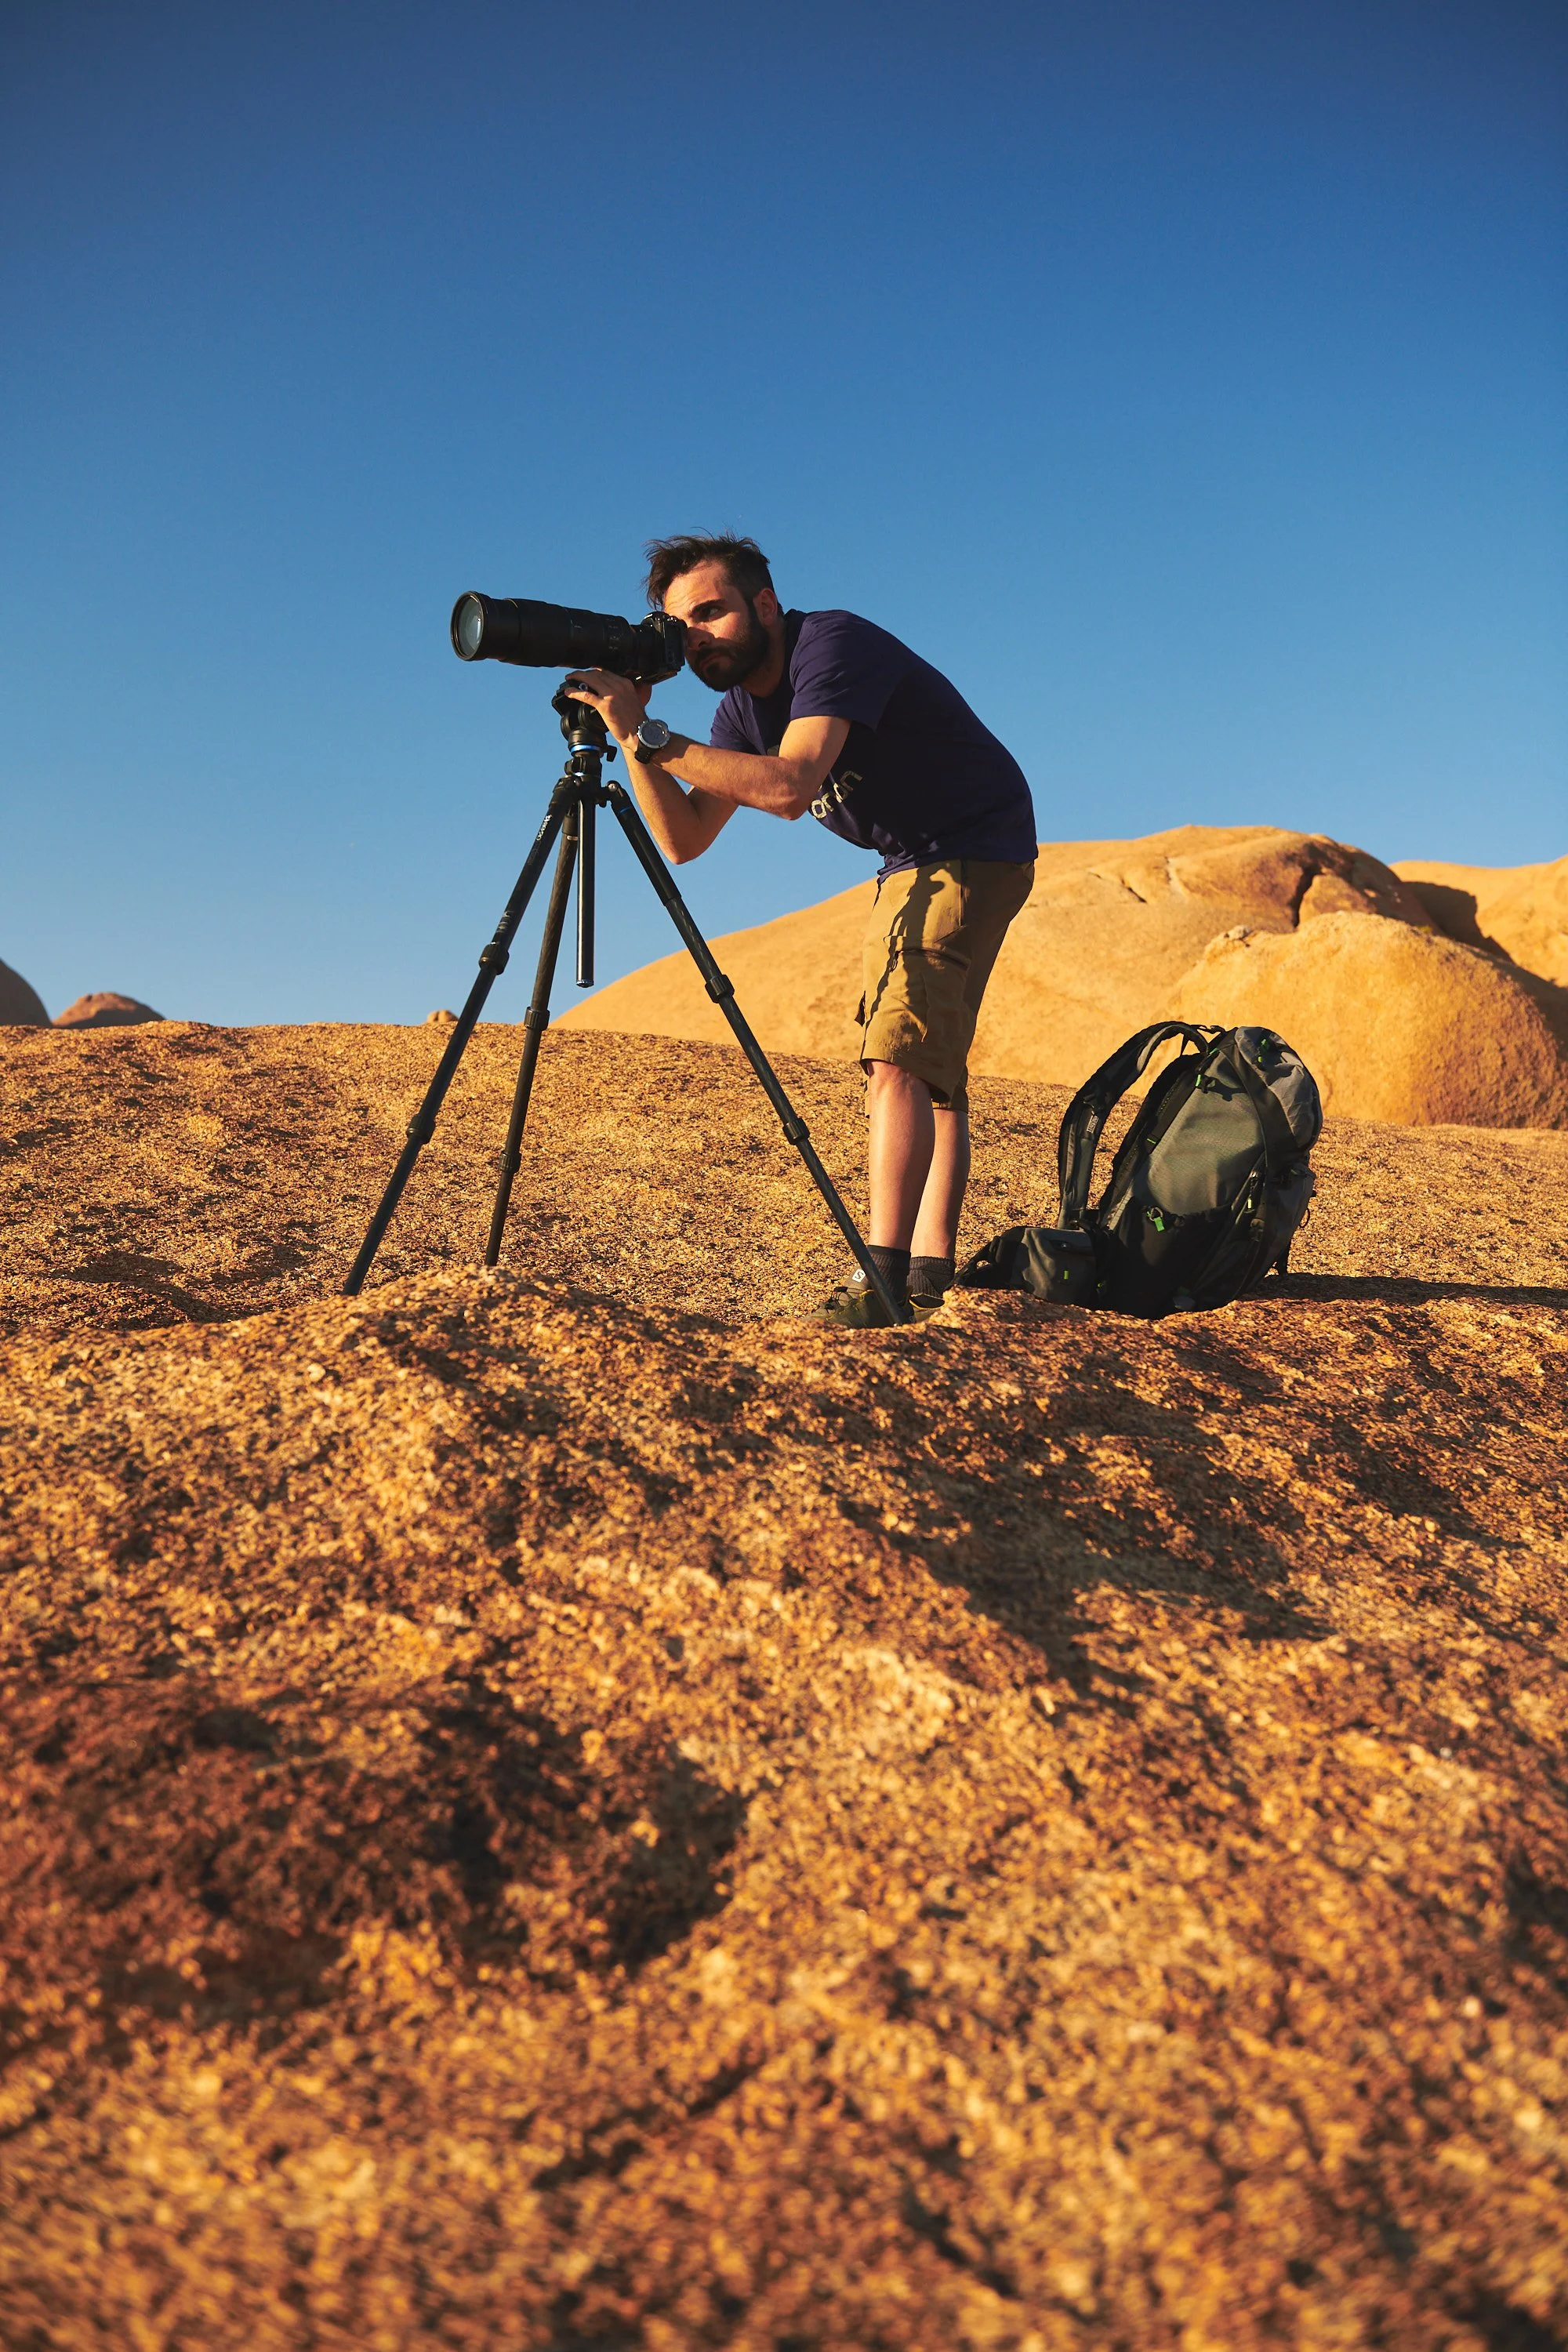
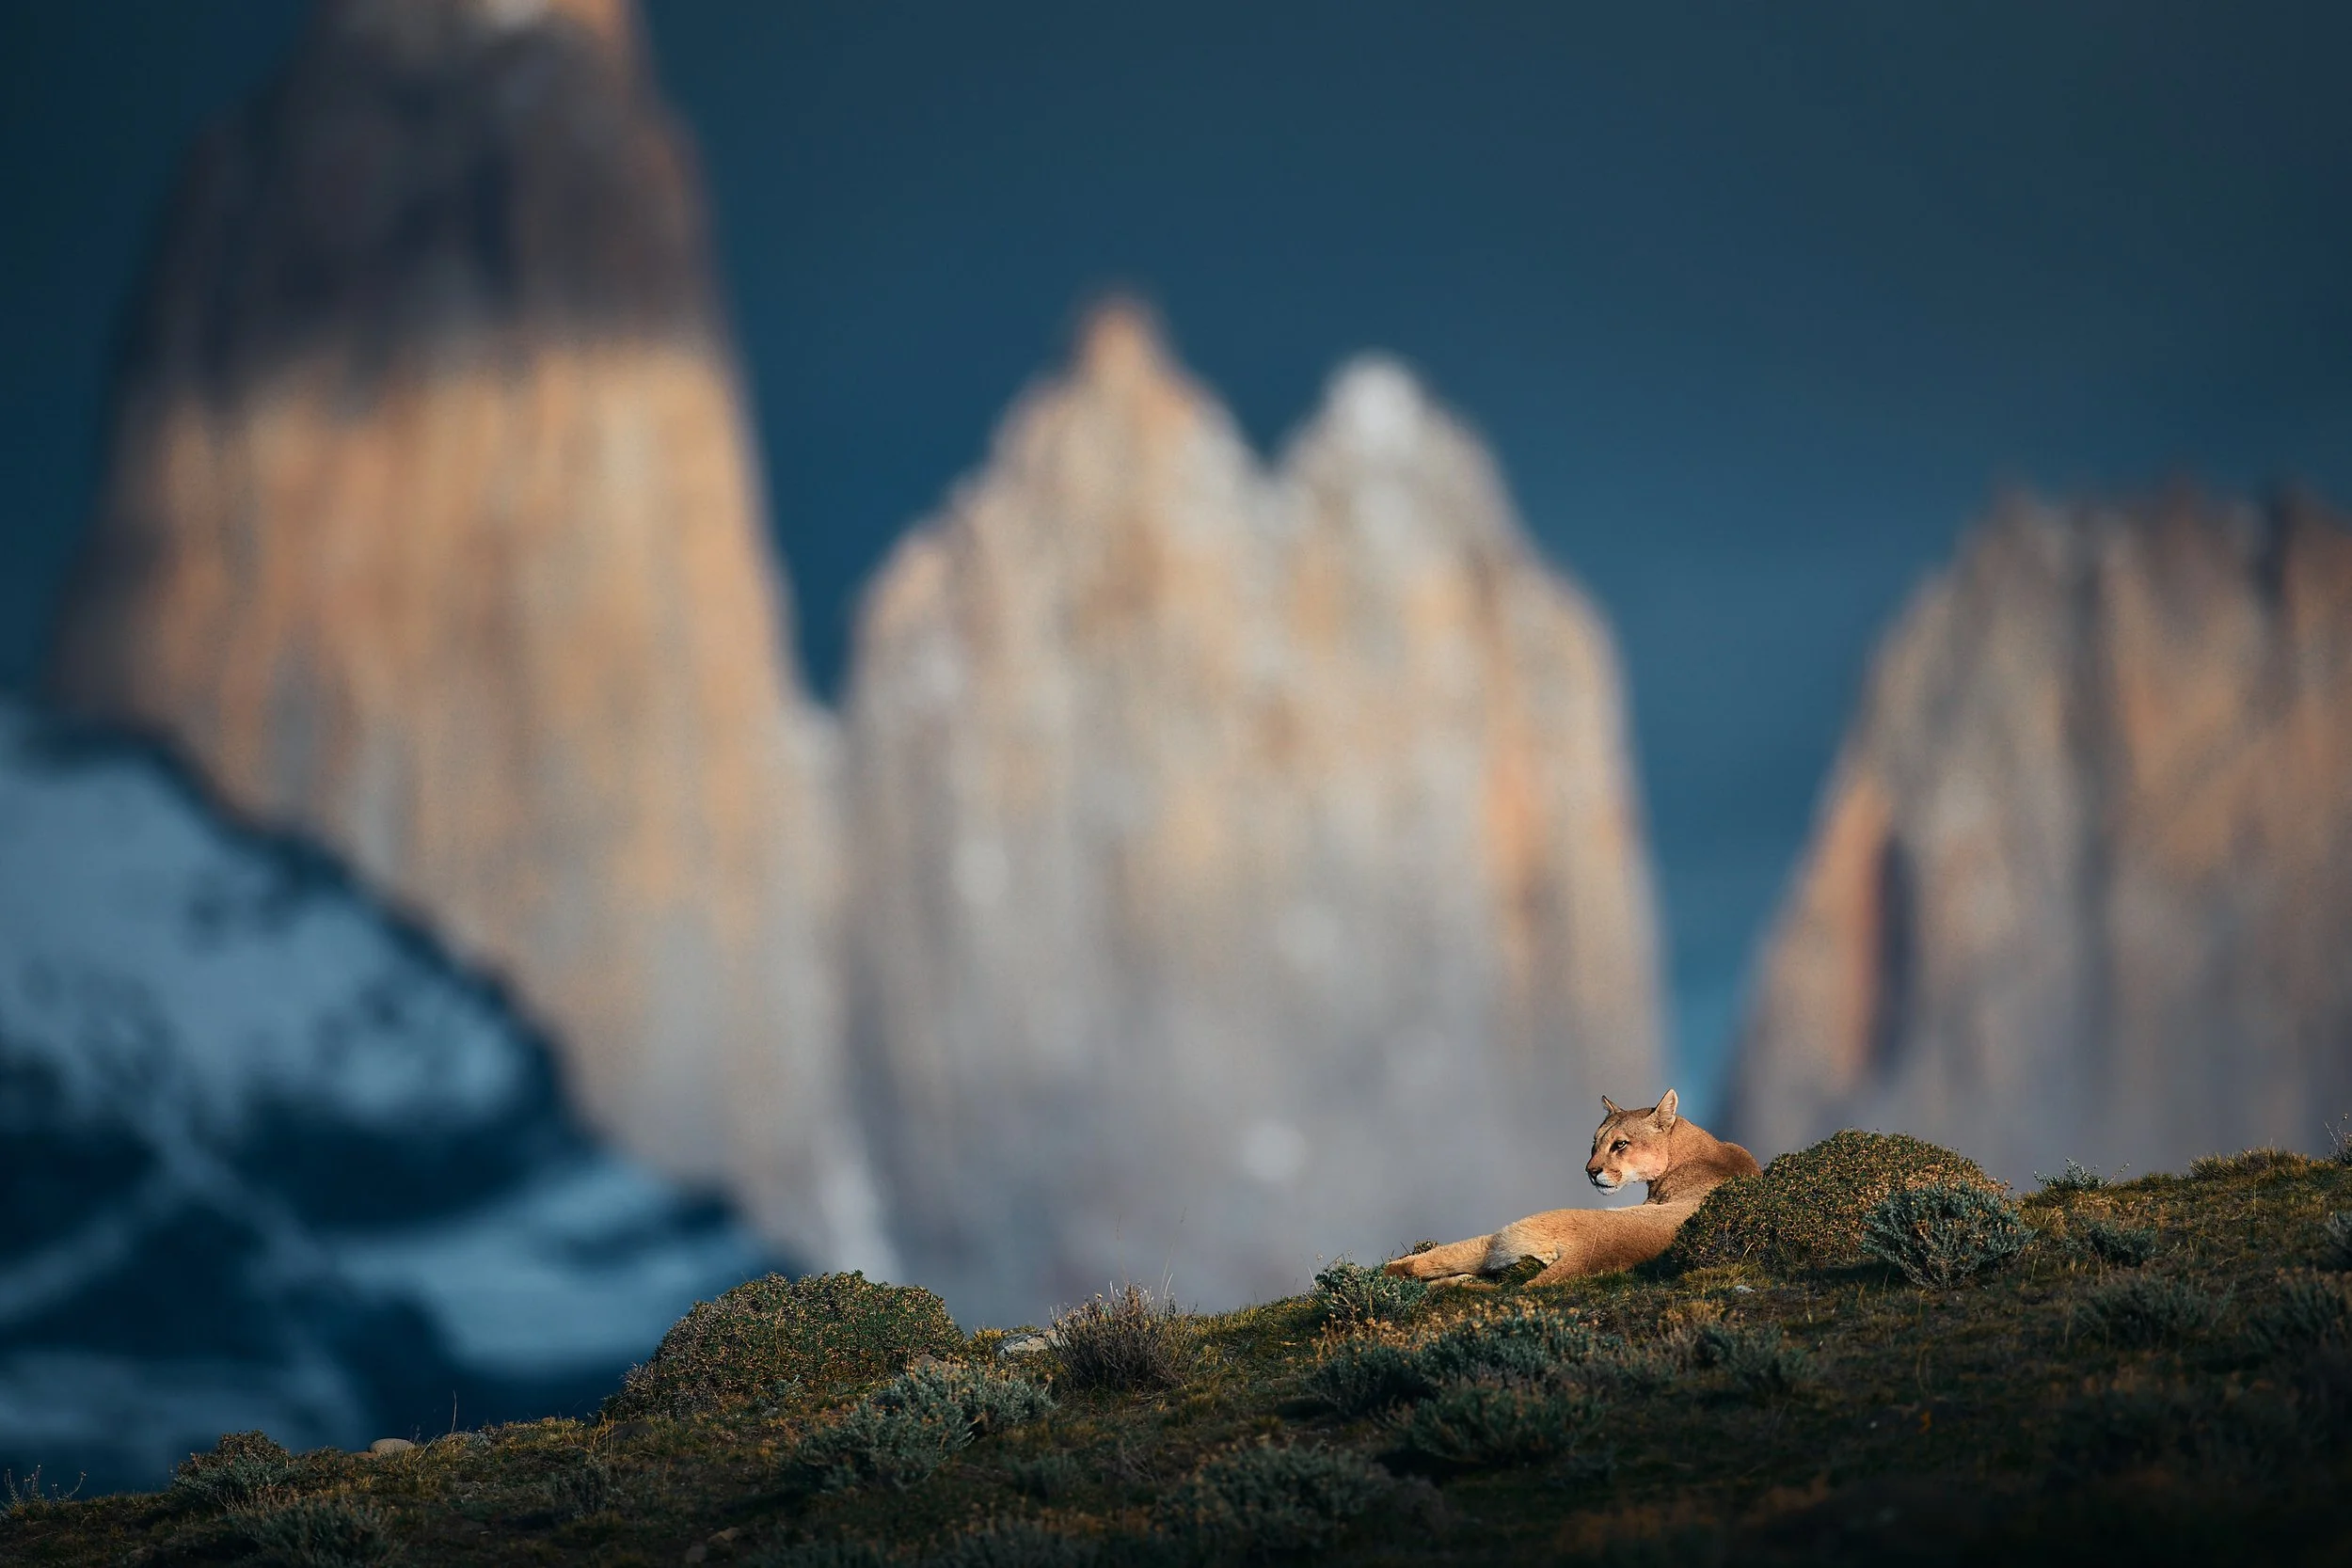
Canon R3 + 600mm f4
Buying the newest camera won’t get you closer to elusive predators, it won’t magically place you at the right waterhole at dawn, and it certainly won’t teach you composition. In fact, sometimes, chasing gear upgrades can be a distraction from the work that truly moves your craft forward.
Instead of upgrading bodies this year, I invested in expanding my creative reach with a more versatile lens—the Canon RF 100–300mm f/2.8.
👉 Discover why I chose the 100–300mm f/2.8 over the 400mm f/2.8 here.
Why I’m Not Upgrading—Yet
Let’s look deeper at why I’m staying put:
Better Autofocus?
My R5 already nails focus in nearly every situation, and the R3’s subject tracking remains world-class even with fast-moving wildlife. I rarely lose shots due to focus errors anymore.30fps Burst Speed?
Shooting 30 frames per second sounds great, but in the real world, I find that timing and anticipation create better action shots than brute force speed. I almost never exceed 15fps in my workflows.Advanced Video Features?
While the R5 Mark II boasts improved video capabilities, I rely on my Canon R5C for cinema-quality footage. It already provides better codec options and longer record times than I would gain from upgrading.Pre-Shoot Buffer?
It's a great addition for those shooting highly unpredictable moments (like kingfisher fishing strikes), but for me, it doesn’t justify a €5,000+ investment.
If you want a better look at how I approach real-world camera setups in the field, I highly recommend checking out my guide on setting up custom camera modes.
👉 Learn how I configure my camera for fast action wildlife photography here.
When Upgrading Does Make Sense
I'm not against upgrading—but it should be driven by clear needs, not by FOMO. Here’s when upgrading makes real sense:
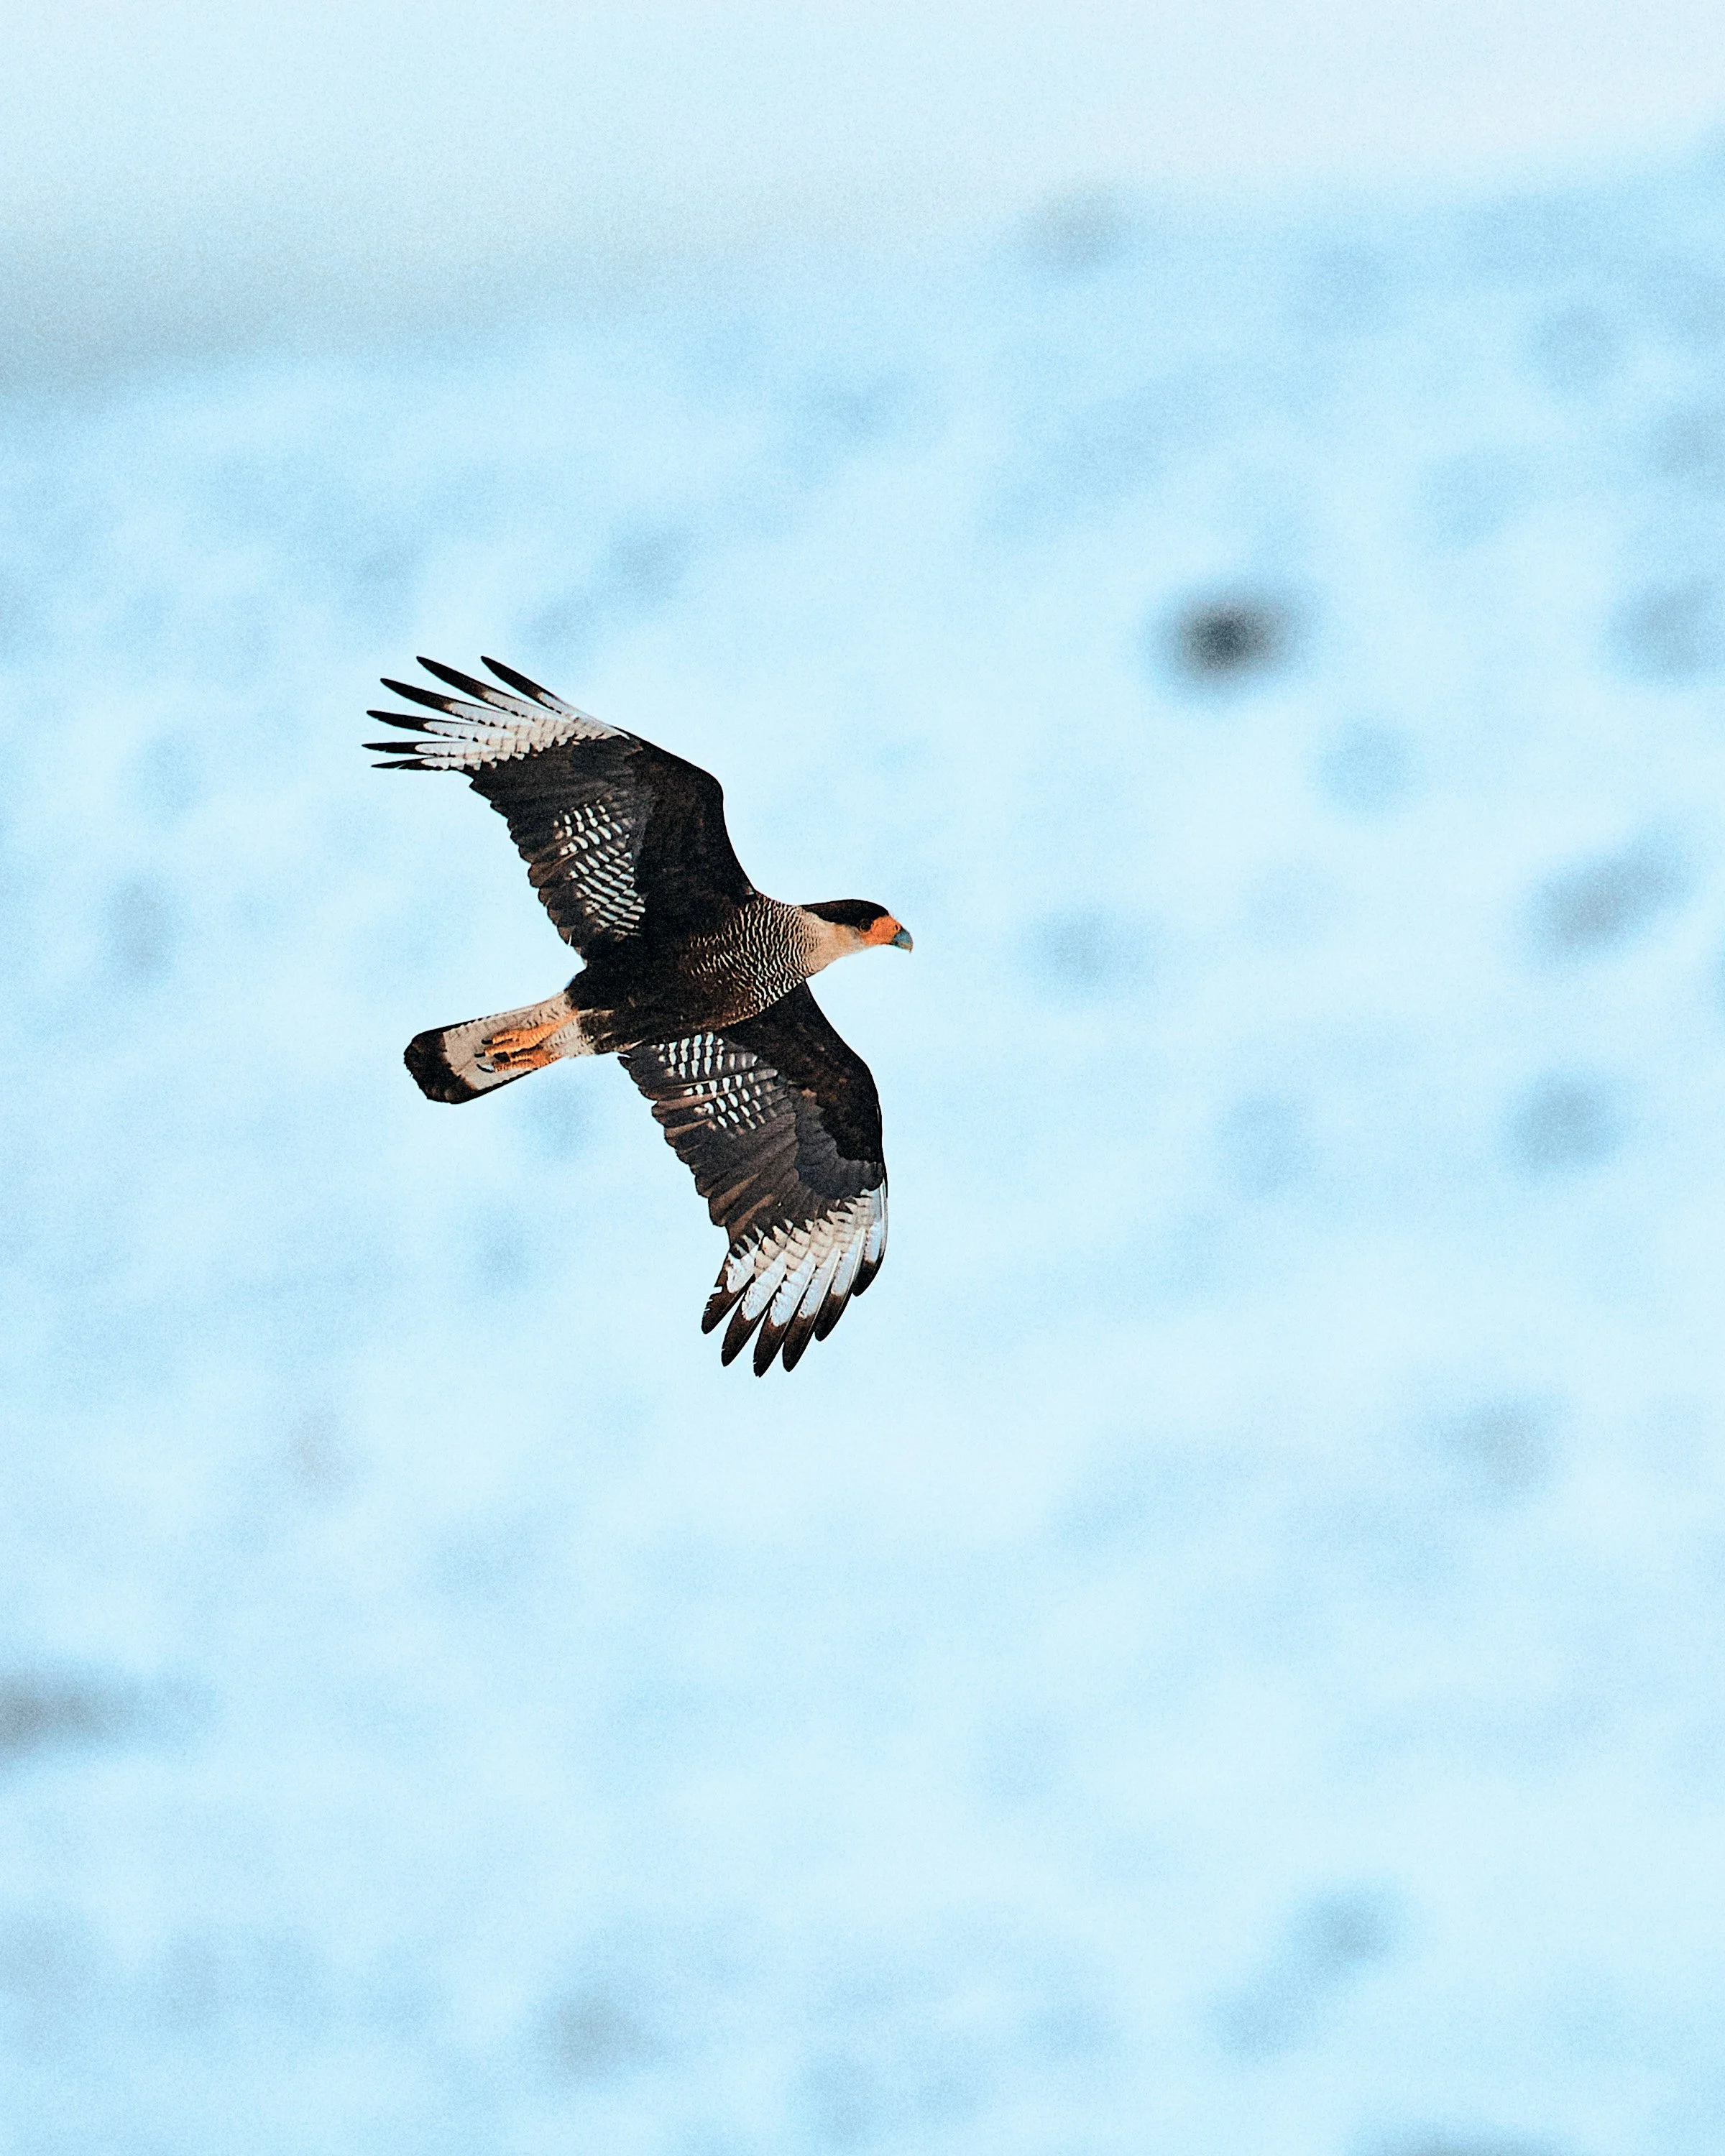
You struggle with autofocus consistency – Especially for birds in flight or fast, unpredictable mammals.
You’re limited by dynamic range or high ISO performance – Shooting heavily in very low-light conditions where extra sensor performance is critical.
You're stepping into professional work – If your current body is outdated and lacks features needed for reliability or client expectations.
You need dedicated video capabilities – Especially if you’re creating serious hybrid (photo + video) projects and your gear can’t keep up.
Before you upgrade, I suggest focusing on improving your in-field experiences first. It’s the fastest way to boost your wildlife portfolio.
👉 Read how to plan the perfect safari trip for photography here.

Canon R5 + 100-500mm RF
What I’m Focusing on Instead
Here’s where my focus (and budget) is going in 2025:
More time in the field
Nothing replaces firsthand experience. The more hours you spend observing wildlife, the more natural your compositions and reactions become.Investing in flexible lenses
Lenses like the 100–300mm f/2.8 allow me to work faster and creatively adapt without constantly switching setups.Improving my editing workflow
Polishing my RAW images efficiently lets me bring out the best in the files I already capture. Great editing often beats mediocre new files.Telling better stories
Building compelling narratives around my travels, wildlife encounters, and conservation projects matters more than minor spec bumps.
If you’re interested in more real-life experiences, check out my upcoming workshops and trips!
Before you jump into upgrading your gear, ask yourself:
“Is this upgrade really necessary—or could this investment be better spent on experiences that grow my skills and portfolio?”
It’s tempting to believe that the next camera will unlock the next level of your photography. But usually, that next level comes from time in the wild, deeper field knowledge, and sharper creative instincts.