Best Camera Settings for Wildlife Photography in 2025
There’s a moment on every safari - usually when I’m tracking something fast and elusive, like a orix or a leopard that won’t sit still - when I catch myself doing something I swore I’d stop: lowering my ISO to “save the shot.”
Spoiler alert: I usually end up ruining the image.
Over the years, I’ve had to unlearn a lot of habits I picked up early on in wildlife photography. Chief among them? Being scared of high ISO. I used to treat anything over ISO 1600 like it was toxic. But 2025 me? I’ll happily shoot at ISO 20,000 if that’s what the scene demands - and more importantly, if it lets me keep the shot.
Let’s talk about it.
Why Camera Settings Matter More Than Ever in 2025
Wildlife photography isn’t just about having the right lens or the biggest sensor. It’s about decision-making. Split-second, gut-level decisions about exposure, sharpness, depth of field. And today, with the tech we’ve got in our hands, the margin for error has never been more forgiving. But only if we use it right.
The settings that worked 10 years ago aren’t necessarily the best today. Our sensors are better. Our post-production tools are borderline wizardry. And the most important setting - by far, in my opinion - is shutter speed.
Shutter Speed: Freeze First, Worry Later
This is my golden rule: sharp noise beats blurry perfection every single time. Especially in wildlife. If your lion’s eye is tack sharp but the ISO is 6400? That’s a keeper. If your lion’s ear is soft because you shot at 1/100 instead of 1/250? That’s a lost shot, no matter how low the noise.
My Minimum Shutter Speeds in 2025:
Large mammals (walking): 1/500
Fast action or running: 1/1600–1/2500
Birds in flight: 1/3200–1/4000 (sometimes even 1/5000)
Still animals in shade: I’ll sometimes go down to 1/250 or lower—but only in super low light and with still subjects
The funny thing is, I used to be way more conservative with shutter. I thought 1/500 was “fast enough”. These days, I crank that shutter. I don’t care if my ISO spikes a bit. Why? Because noise reduction is insane now. Especially if the file is properly exposed - meaning, there is still plenty of signal on the sensor beyond the noise floor.

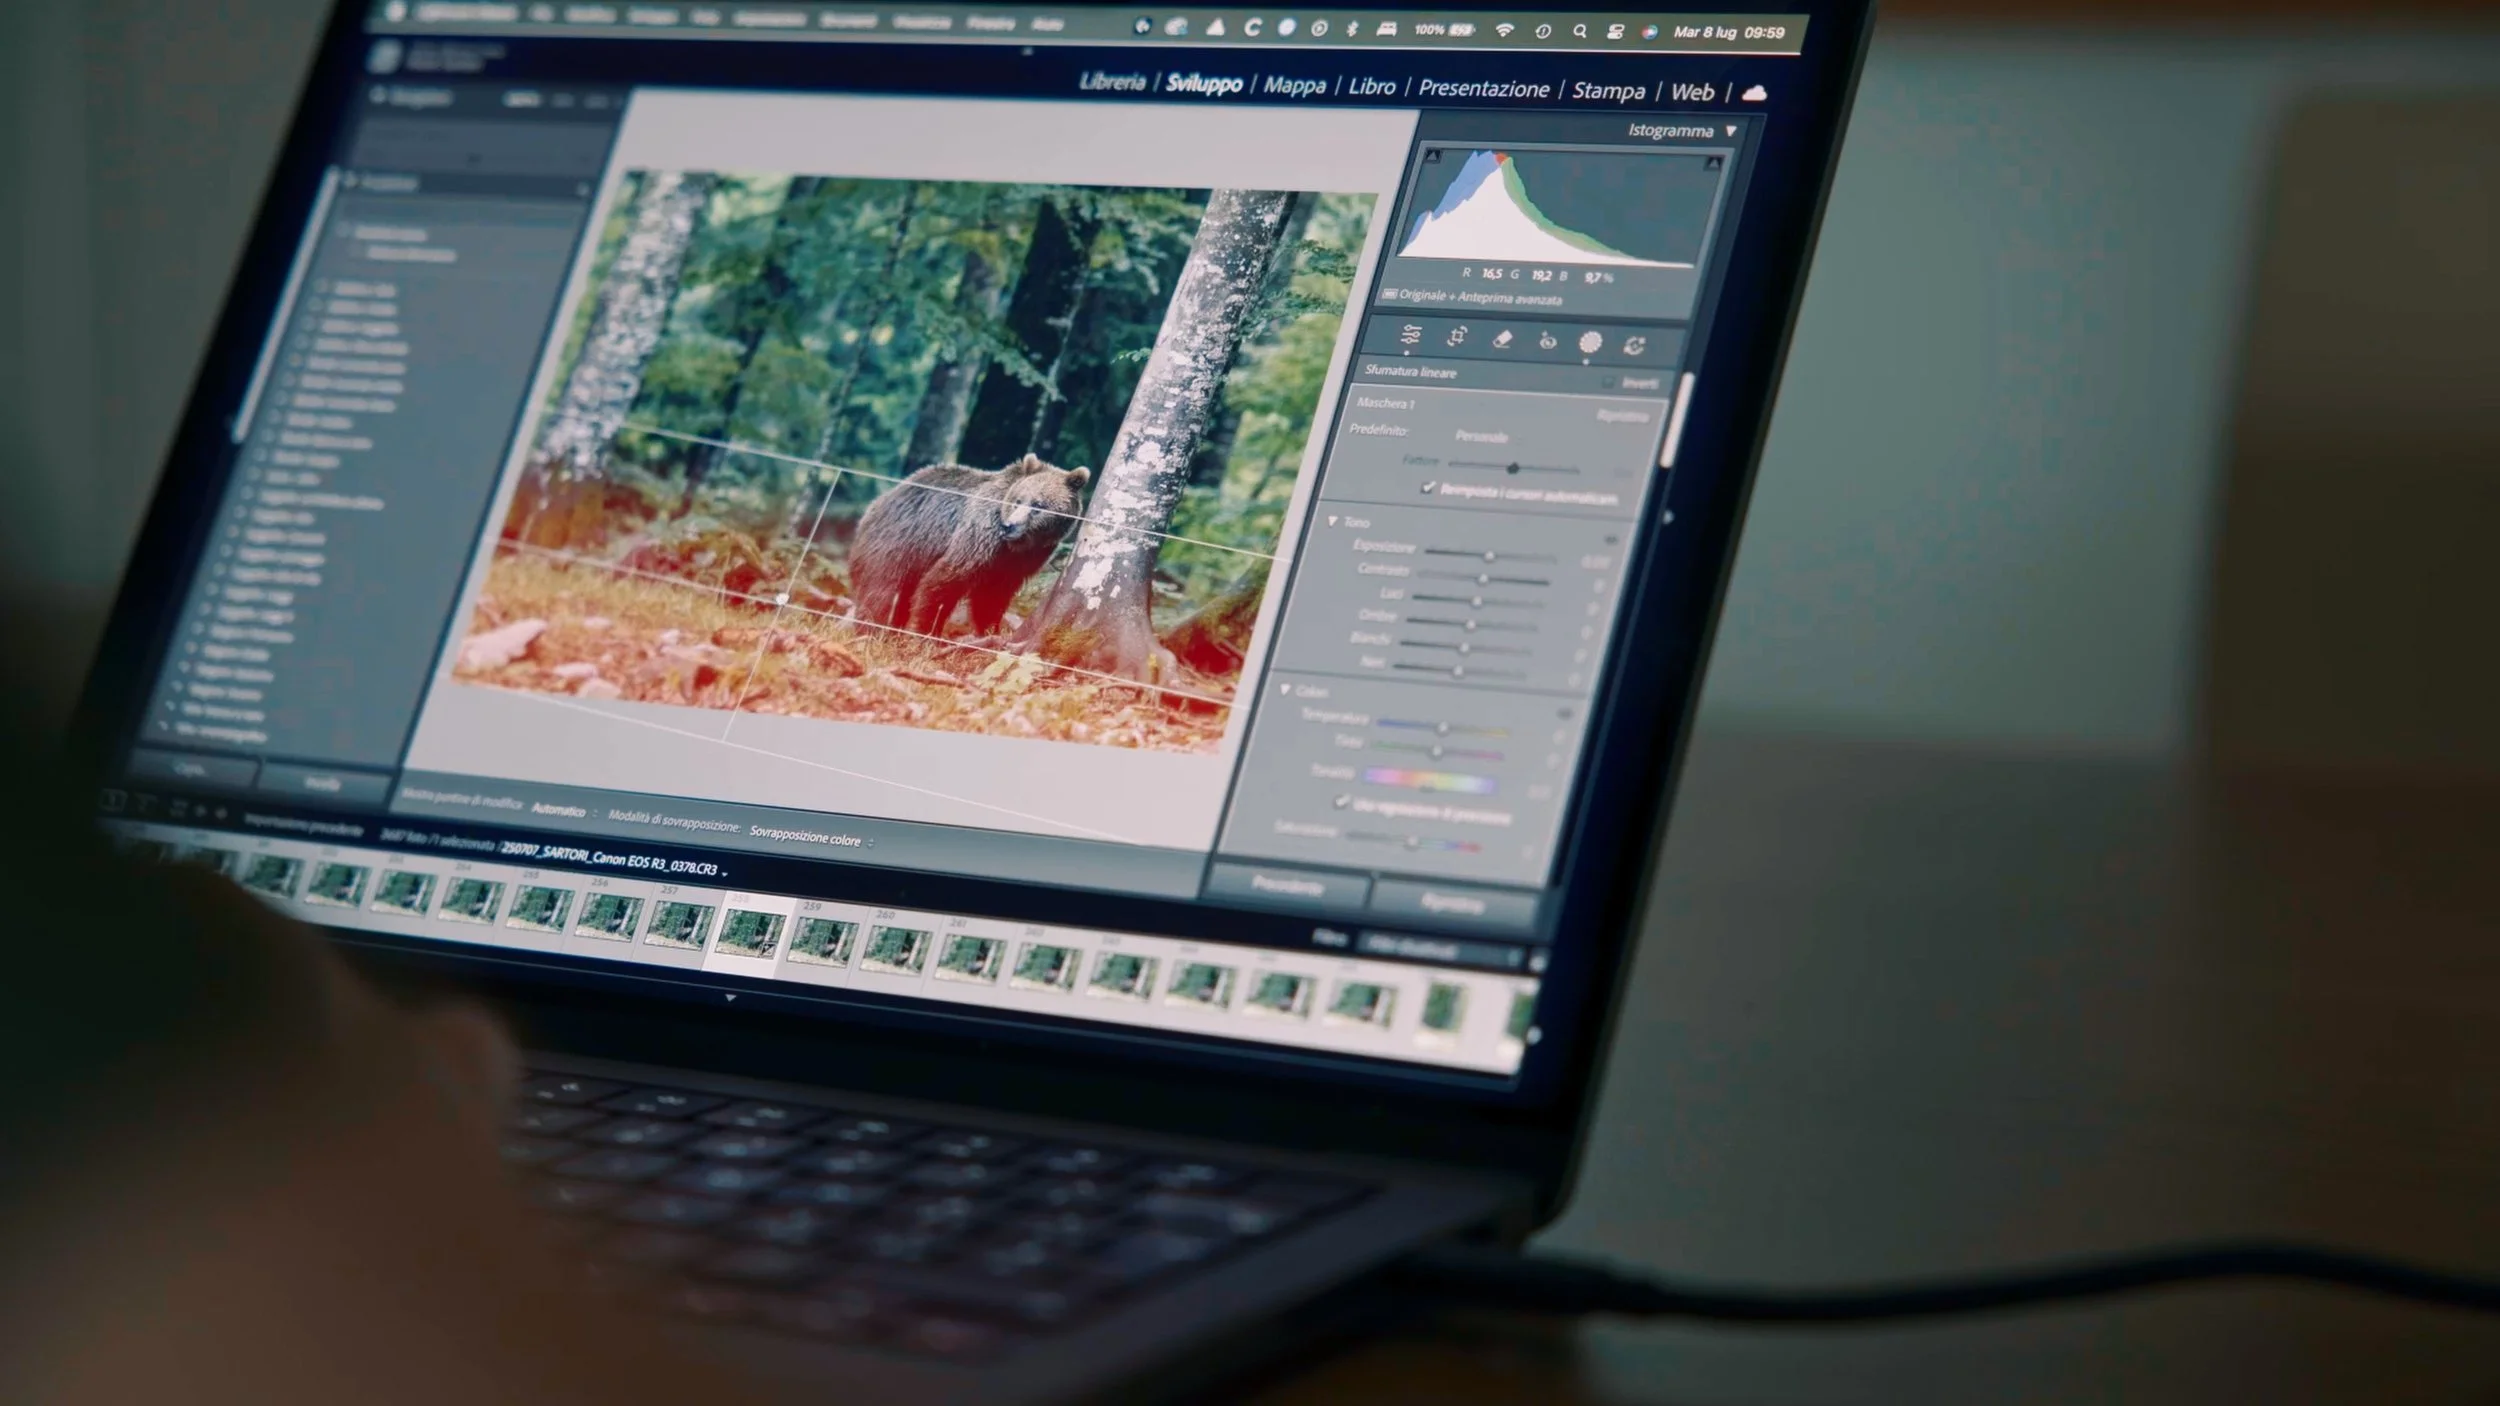
ISO in 2025: Stop Being Scared of It
I can’t say this enough: today’s noise reduction tools are mind-blowing. If you’re still babying your ISO, you’re living in 2016. I recently shot a herd of springboks in the Central Kalahari - backlit, dusk, ISO 20,000+. In Lightroom, I used the new AI Denoise (no more DNG creation!) and honestly? The final image looked cleaner than ISO 3200 files I shot and processed five years ago. Capture One has made massive strides too, even though these days Adobe has some edge. I compared both in this post → Capture One vs Lightroom: A Wildlife Photographer’s Honest Take.
I don’t even consider ISO a “quality dial” anymore. It’s a flexibility dial. I use it to keep my shutter speed and aperture where they need to be. Noise is the least of my concerns—especially now that I know I can clean it up without wrecking details.
Aperture: Know Your Lens, Know Your Subject
This one’s a bit more stable year over year, but in 2025, I’m finding myself more intentional with depth of field. Used to stay wide open all the time but I slightly change that recently.
Here’s my approach these days:
f/2.8 or f/4 is great for subject separation, but risky if you’re not parallel to the animal.
For head-on shots of moving wildlife, I’ll often stop down to f/5.6 or f/6.3 to give myself a bit more cushion, even with the fast R3 autofocus.
If I’m shooting sequences (think a lion walking toward me), I stick with f/5.6 and rely on my autofocus system (thank you R3) to track and nail it.
For wide scenes with elephants or giraffes, I’ll use f/8+ to hold some more background detail.
Bottom line: your aperture isn’t just about bokeh. It’s about nailing focus. Don’t be scared to stop down if you’ve got the light—or if you’re willing to push ISO to get it.
Auto ISO: the Secret Weapon
Let me let you in on something I wish I learned earlier: Auto ISO is a beast for fast-changing wildlife scenes.
Here’s how I run it:
Manual mode: I set shutter and aperture where I want them.
Auto ISO: I let the camera choose the ISO based on ambient light.
Max ISO limit: On the R5 and R3, I set it to 25,600.
Exposure compensation: If the scene’s too dark or too bright, I dial in + or – and keep rolling.
This setup gives me full control over the creative look of the shot (shutter and depth), while still adapting to lighting changes in real time. It’s saved my butt more times than I can count—especially with fast birds or predators darting in and out of shade.
Drive Mode, AF Setup, and Other Nerdy Stuff
I’ll keep this brief but juicy.
Drive Mode:
High-speed continuous (electronic shutter) 90% of the time.
I shoot short bursts. Spray-and-pray is overrated and it will take forever to go through all the photos.
Autofocus:
Servo/Continuous AF (AI-Servo or equivalent)
Animal eye detection ON — it’s gotten so good on the Canon R3/R5
AF method: Flexible Zone or single point, depending on the shot
Trigger servo AF with my shutter button
Back button focus set on ONE-SHOT — so it’s always there and ready when I need to use single shot AF instead of Servo.
Honestly, these AF systems are so smart in 2025 it’s almost scary. The only time I miss focus now is when I mess up, not the camera.
Here’s a full breakdown of how I set up this function:
Metering and Exposure Tips for Safari
Metering can get tricky on safari, especially with high contrast scenes. Some tips:
Expose for the highlights. Always. Blown skies or white fur (like a lion in harsh light) can’t be saved. Shadows can (to some degree).
Use the histogram. I ride that right edge without clipping.
Custom white balance if needed. But honestly? I shoot auto WB and fix it in post 99% of the time.
Pro tip: if you’re using EVF-based cameras like the R5 or R3, set the EVF to “highlight alert” or “zebra stripes” so you can see when you’re clipping. It’s saved me dozens of shots.
Bonus Settings: Things That Help in the Field
These are little tweaks that make a big difference:
Set a custom button for crop mode (1.6x crop) — perfect when your subject is distant and you don’t want to change lenses or use extenders - only if you have a high res camera.
Use voice memos if your camera allows it — I’ll tag shots with location, behavior notes, or post ideas.
Pre-load your custom modes - This means I can flip between setups in under a second.
In 2025, Prioritize Sharpness Over Clean Files
The biggest mindset shift I’ve had in the last 2 years is this: stop compromising your shutter speed just to keep ISO low. In today’s world, high ISO is not the enemy. Motion blur is. You’ve got the tools—smart cameras, powerful editing software, and AI noise reduction that honestly feels like cheating. Use them.
Take the shot. Clean it later. That’s how I shoot now. And it’s helped me bring home more keepers, more moments, and way fewer regrets.
And if you are thinking of getting a new camera, check this out first:
🦁 Coming on safari with me in 2026?
You’ll get a full field guide with settings, prep, and personalized help.