How to Photograph the Milky Way: My Complete Field Guide for Night Photography

Photographing the Milky Way is one of the most magical experiences in photography. But it’s also one of the trickiest. Between unpredictable weather, technical settings, and timing, a lot can go wrong—unless you show up well-prepared.
In this post, I’m sharing the exact process I follow to capture sharp, striking Milky Way images: from when and where to shoot, to gear selection, camera settings, and post-processing techniques. Whether you're just getting into astrophotography or looking to refine your night shooting skills, you'll find plenty of practical takeaways here.
When and Where to Photograph the Milky Way
You can’t just walk outside any night and expect to photograph the Milky Way core. It follows a seasonal cycle, and visibility depends entirely on timing, location, and light conditions.
Here's what you need to know:
Milky Way core season (Northern Hemisphere): Best visibility from March to October, peaking between May and August.
Best viewing direction: Southeast to South for northern hemisphere locations.
Ideal conditions: Zero light pollution, a new moon phase, and clear skies.
To plan effectively, I use PhotoPills, an essential app that shows the exact time and direction the core will rise and set based on your location. It even offers an augmented reality mode so you can pre-scout your compositions during the day without guesswork.
Choosing the Right Location
Your location is 50% of your success in Milky Way photography. Here's how I pick my spots:
✅ Minimal Light Pollution: Use tools like Light Pollution Map or Dark Site Finder to scout areas with minimal artificial light interference.
✅ Unobstructed Views: Look for landscapes that offer clear sightlines to the southern horizon. Trees, mountains, or other objects can add interest—but you need a clear view for the core.
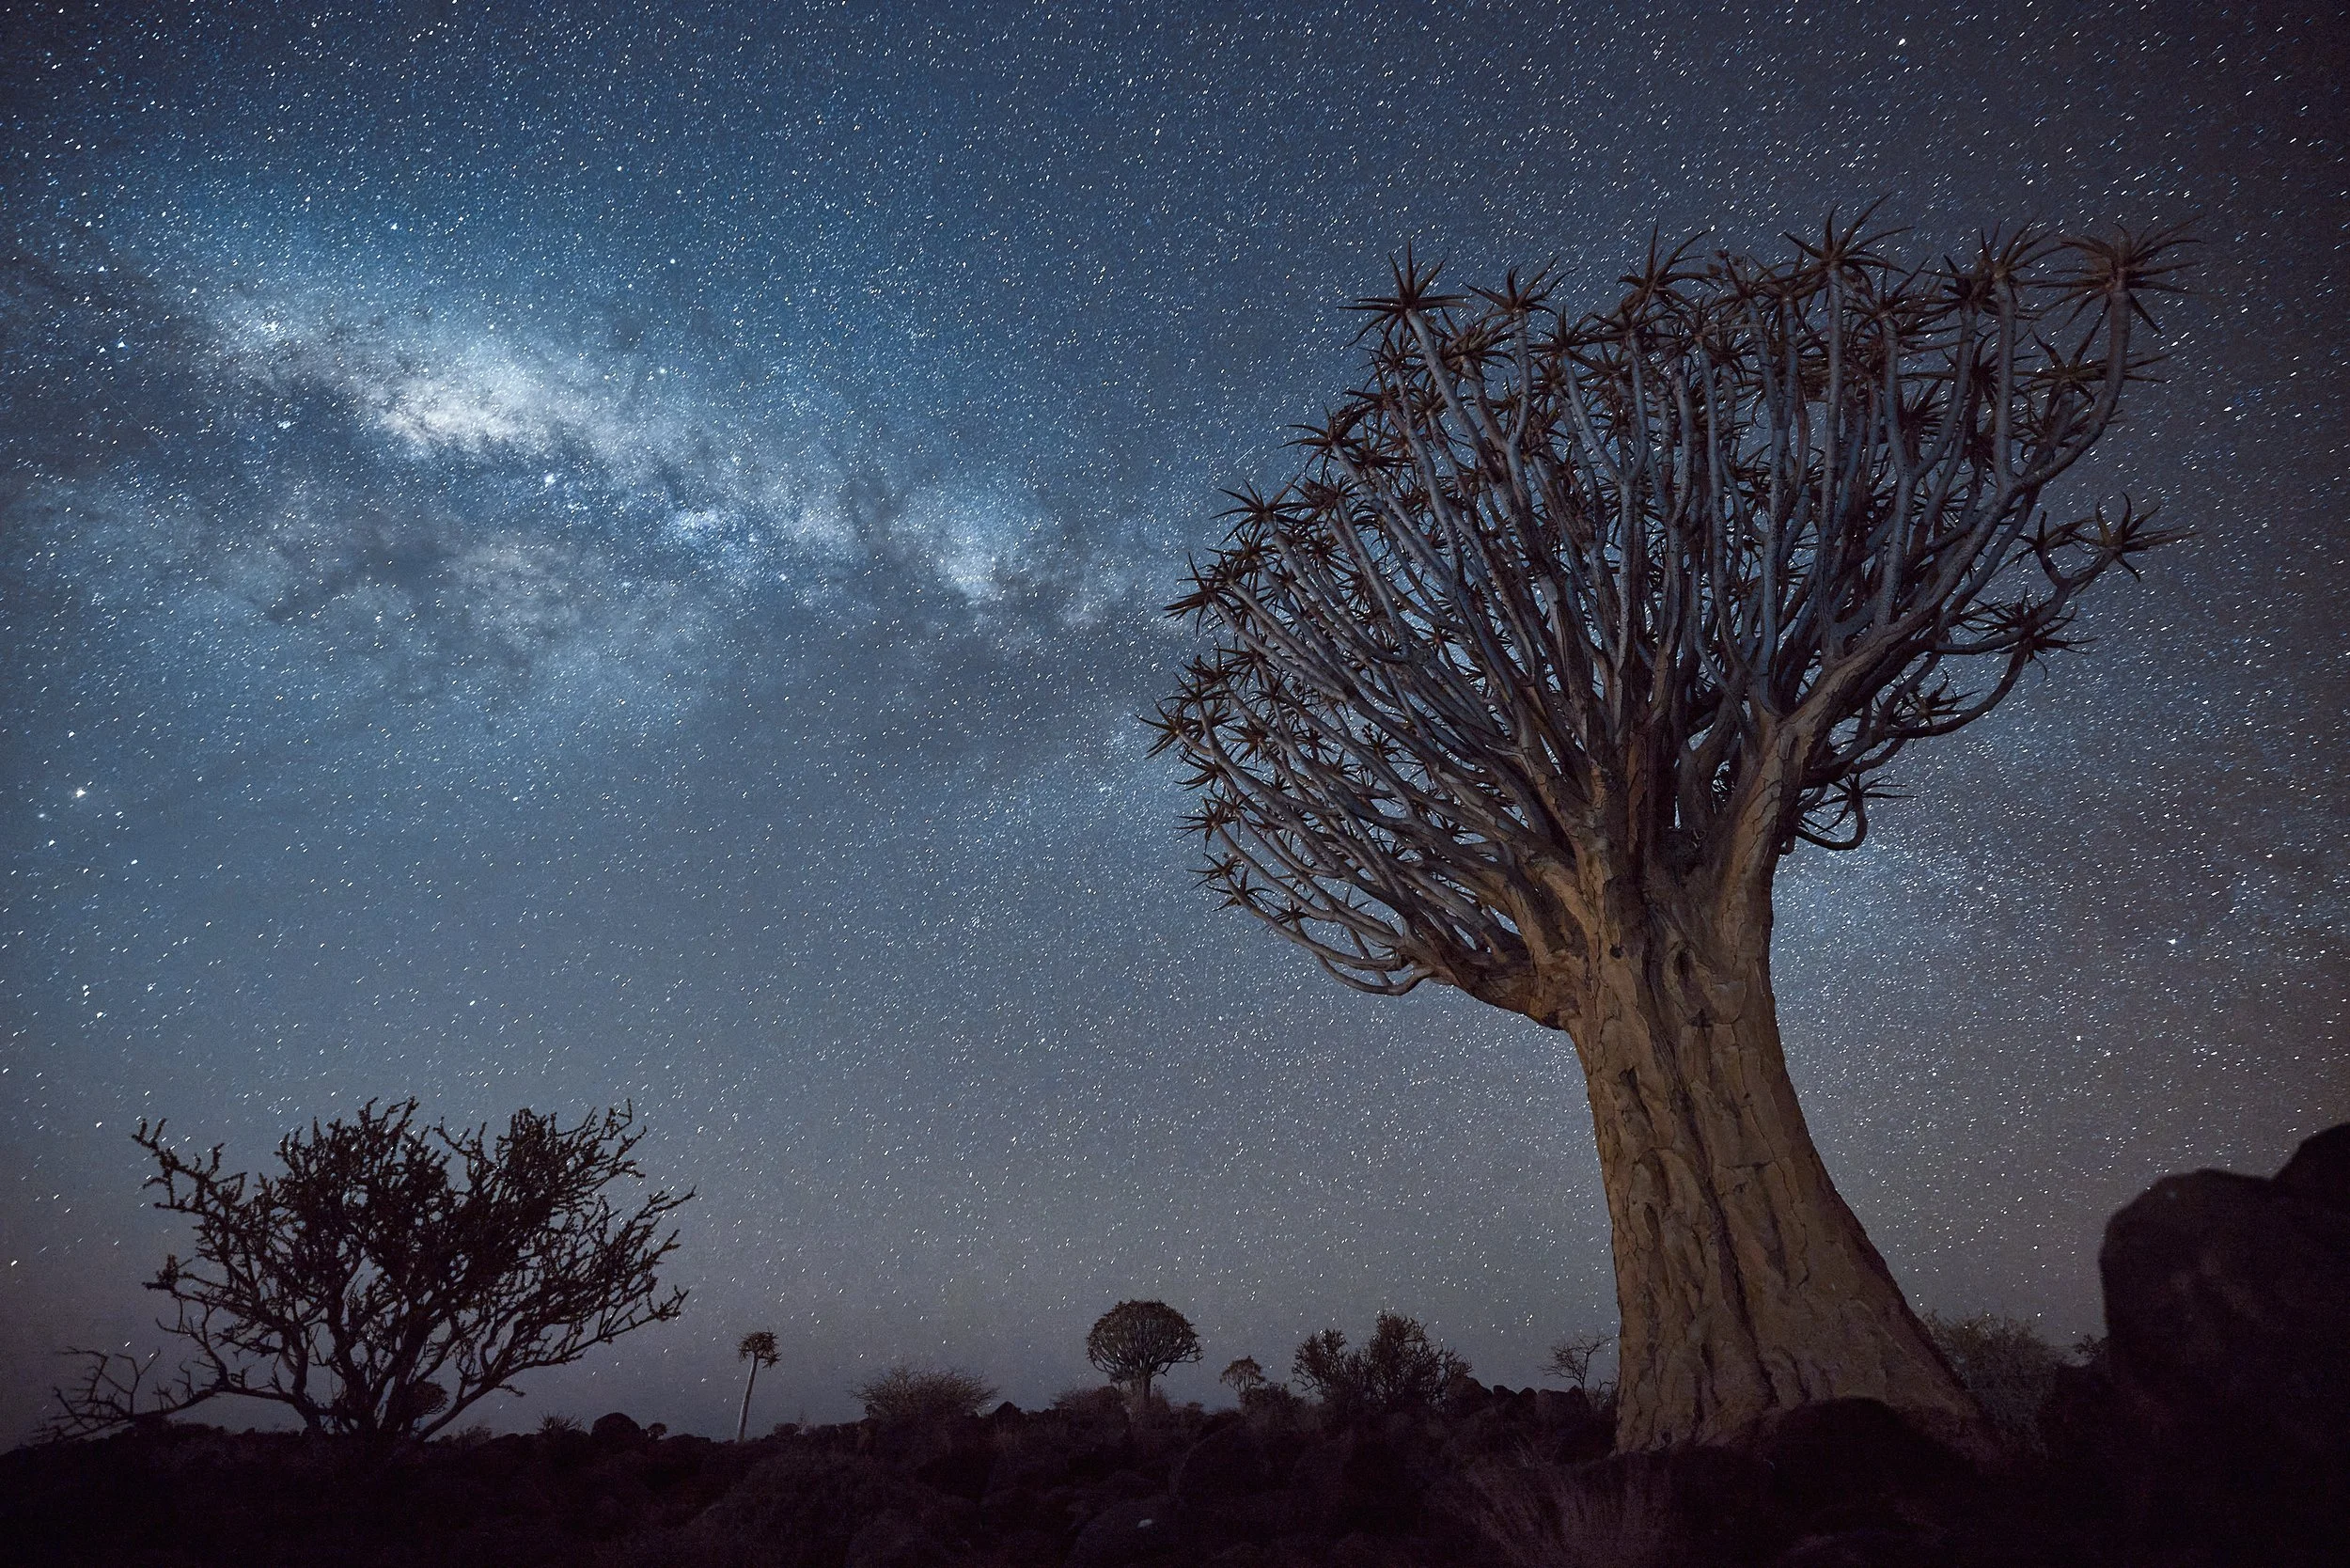
✅ Strong Foreground Elements: Foreground features such as rocky outcrops, lone trees, or even old ruins can turn a basic night sky shot into a compelling, story-driven image.
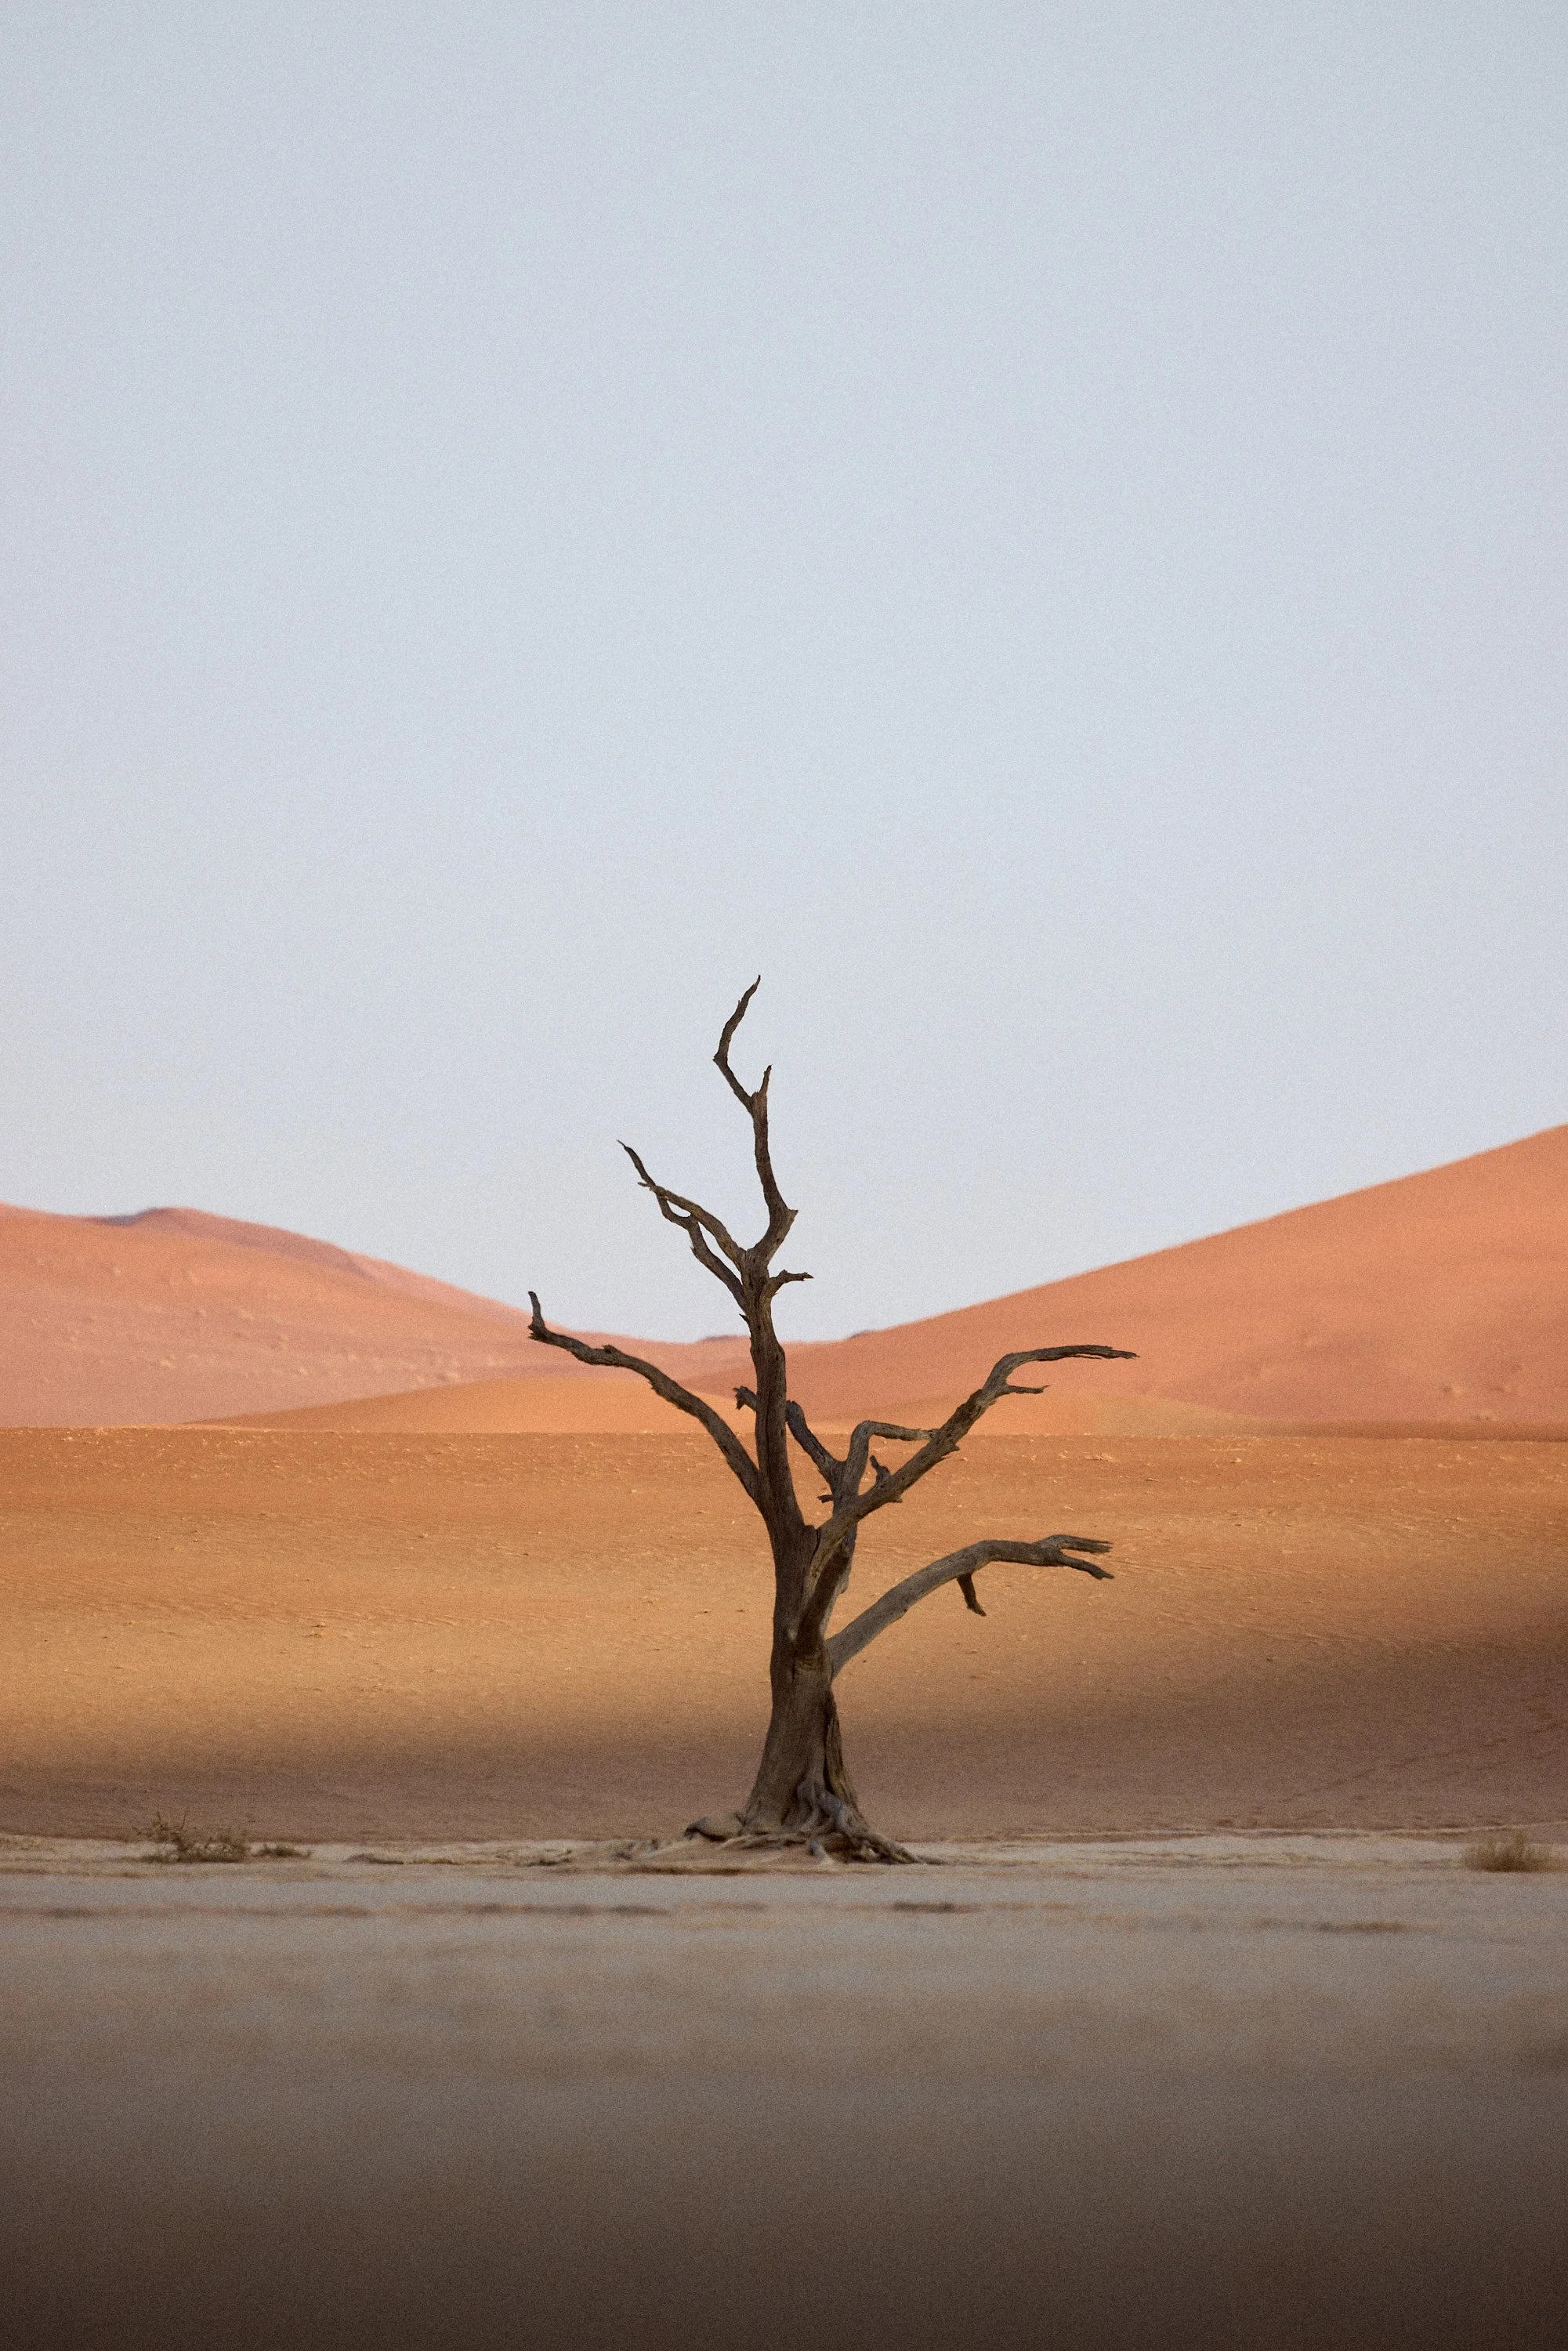
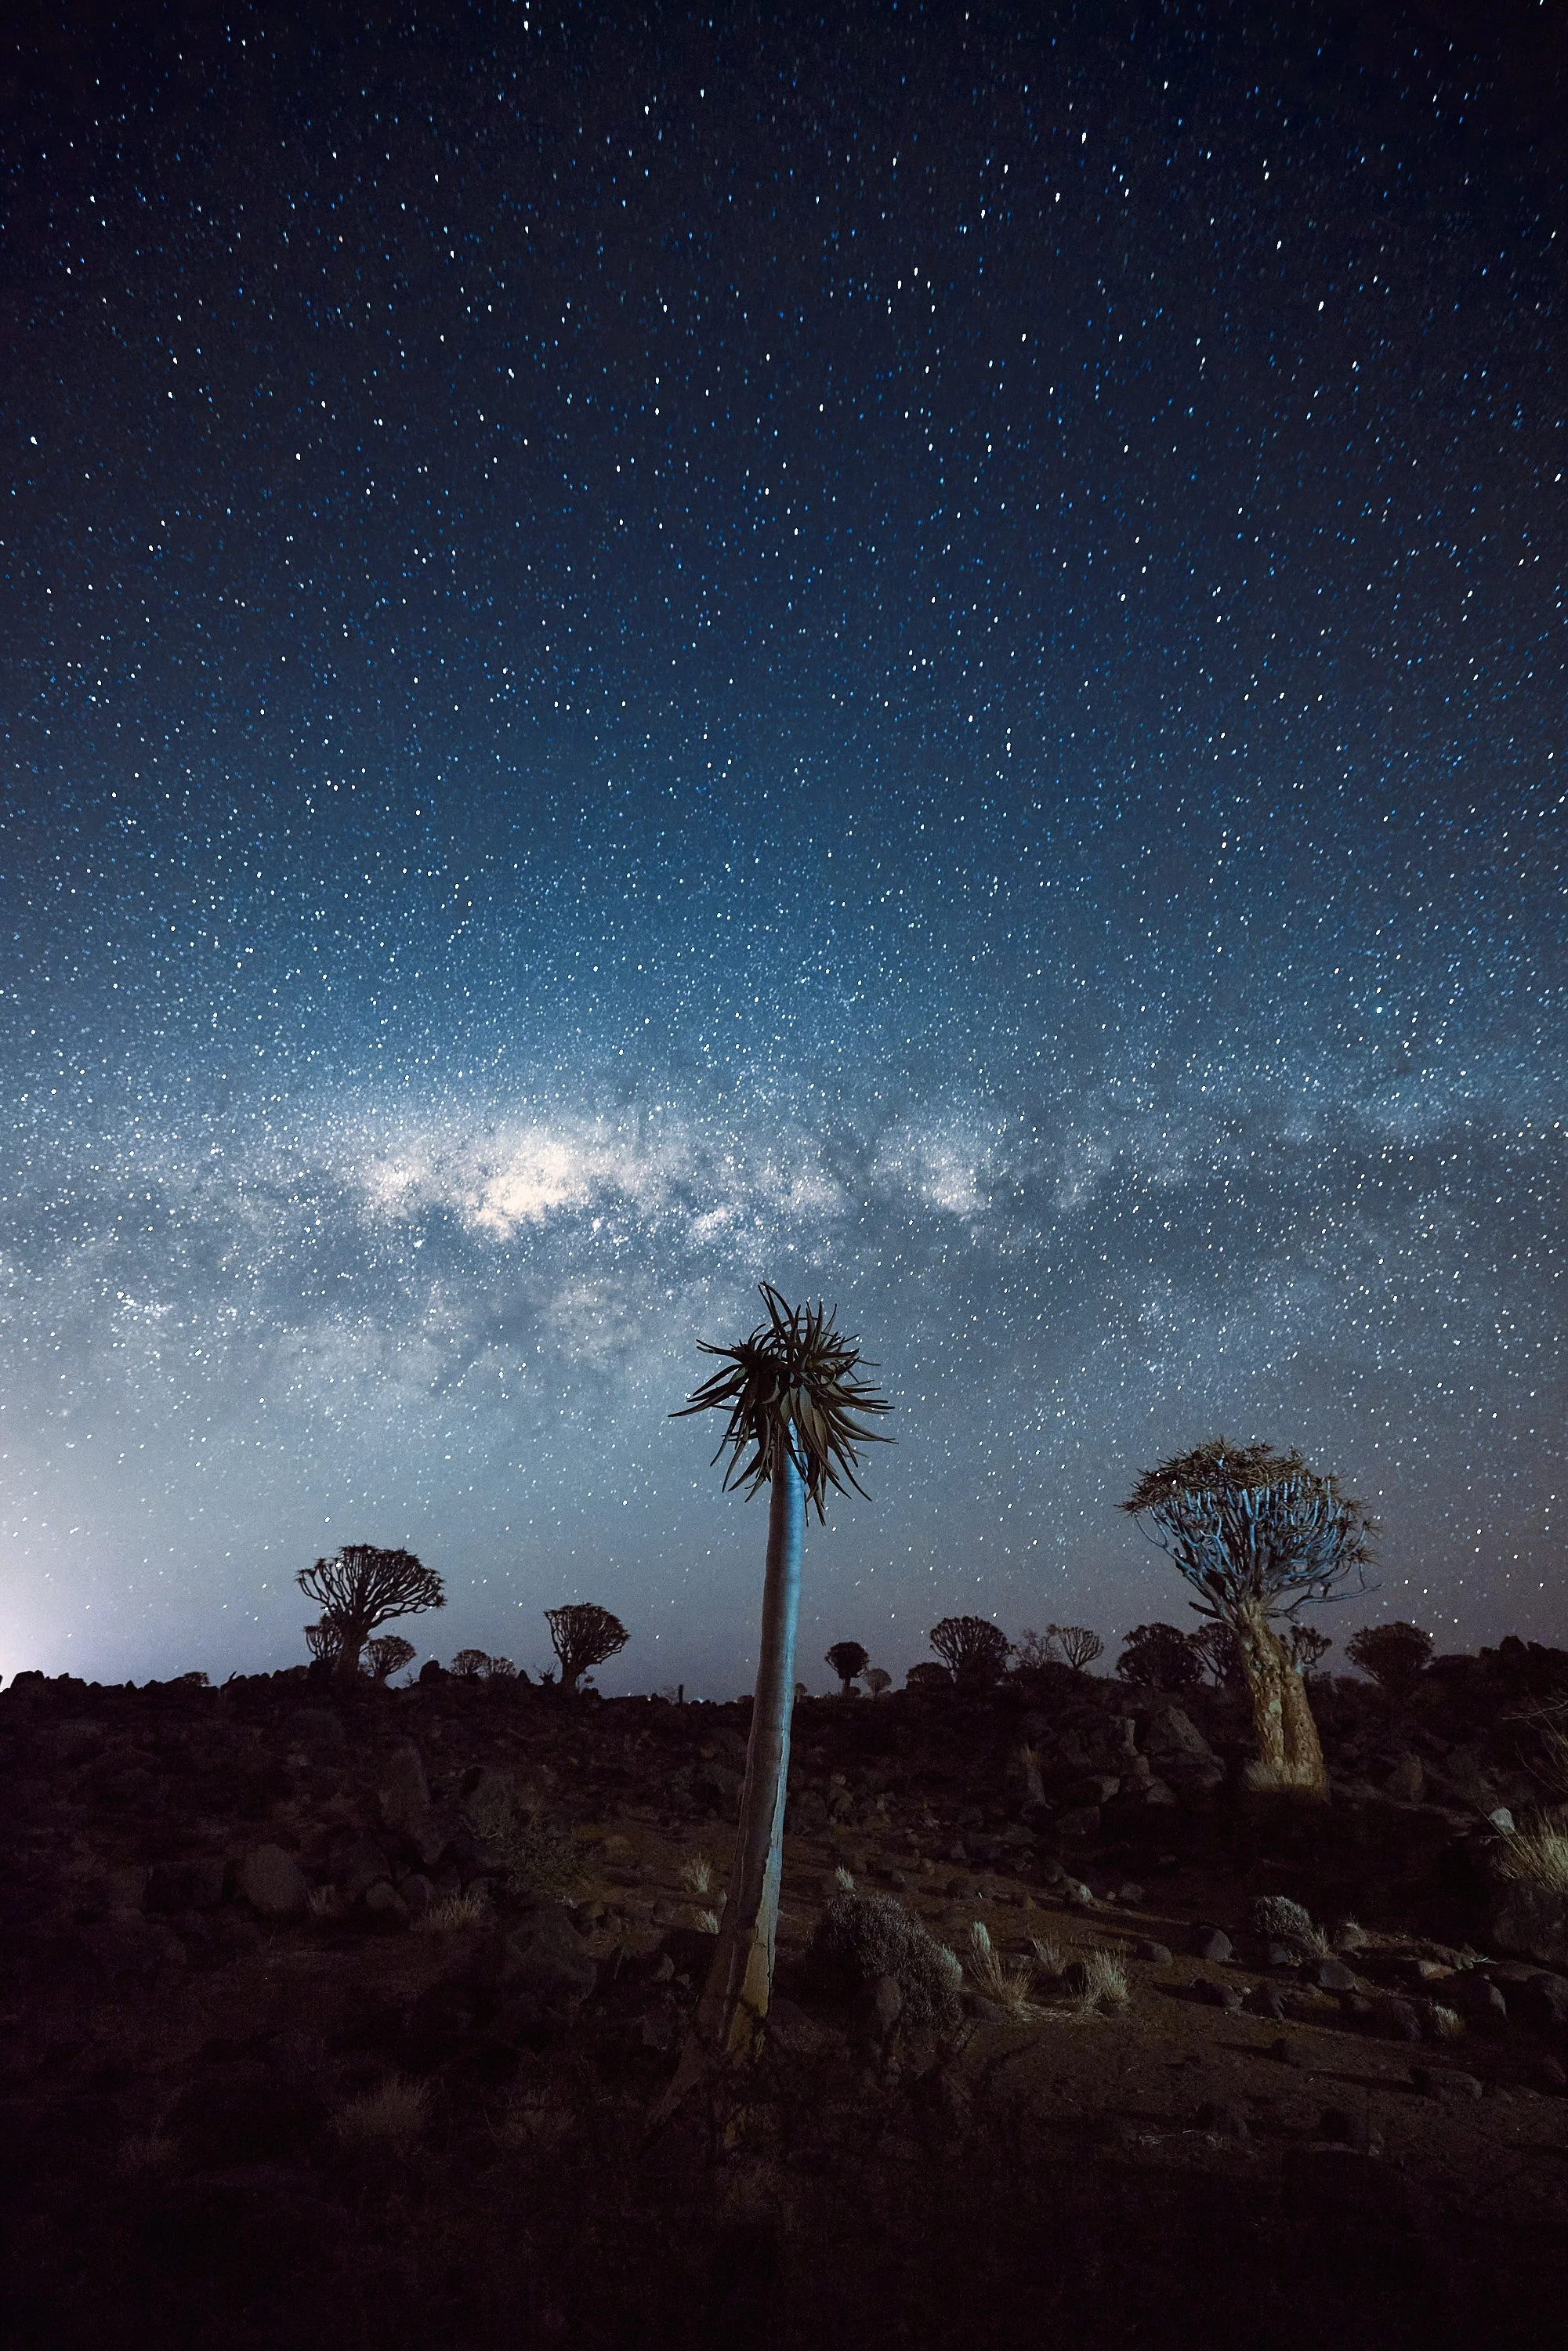
If you want an unforgettable destination for astrophotography, it’s hard to beat Namibia. The skies are among the darkest on Earth, and landscapes like Spitzkoppe and the Quiver Tree Forest feel otherworldly.
🚨 Want to join me under Namibia’s legendary skies?
Check out my upcoming Namibia Photography Workshops here!
Planning Around the Moon and Weather
Even with perfect location and timing, cloud cover or moonlight can ruin your chances. Here's how I plan:
New Moon Phase: Aim to shoot within a few days of the new moon when the sky is darkest.
Clear Skies: Apps like Clear Outside and Windy help forecast localized cloud cover, humidity, and visibility.
Precise Timing: I cross-reference PhotoPills data for core rise times, azimuth angles, and visibility windows for my specific location.
The best results come when no moon + no clouds + dark skies align perfectly. A little patience pays huge dividends.

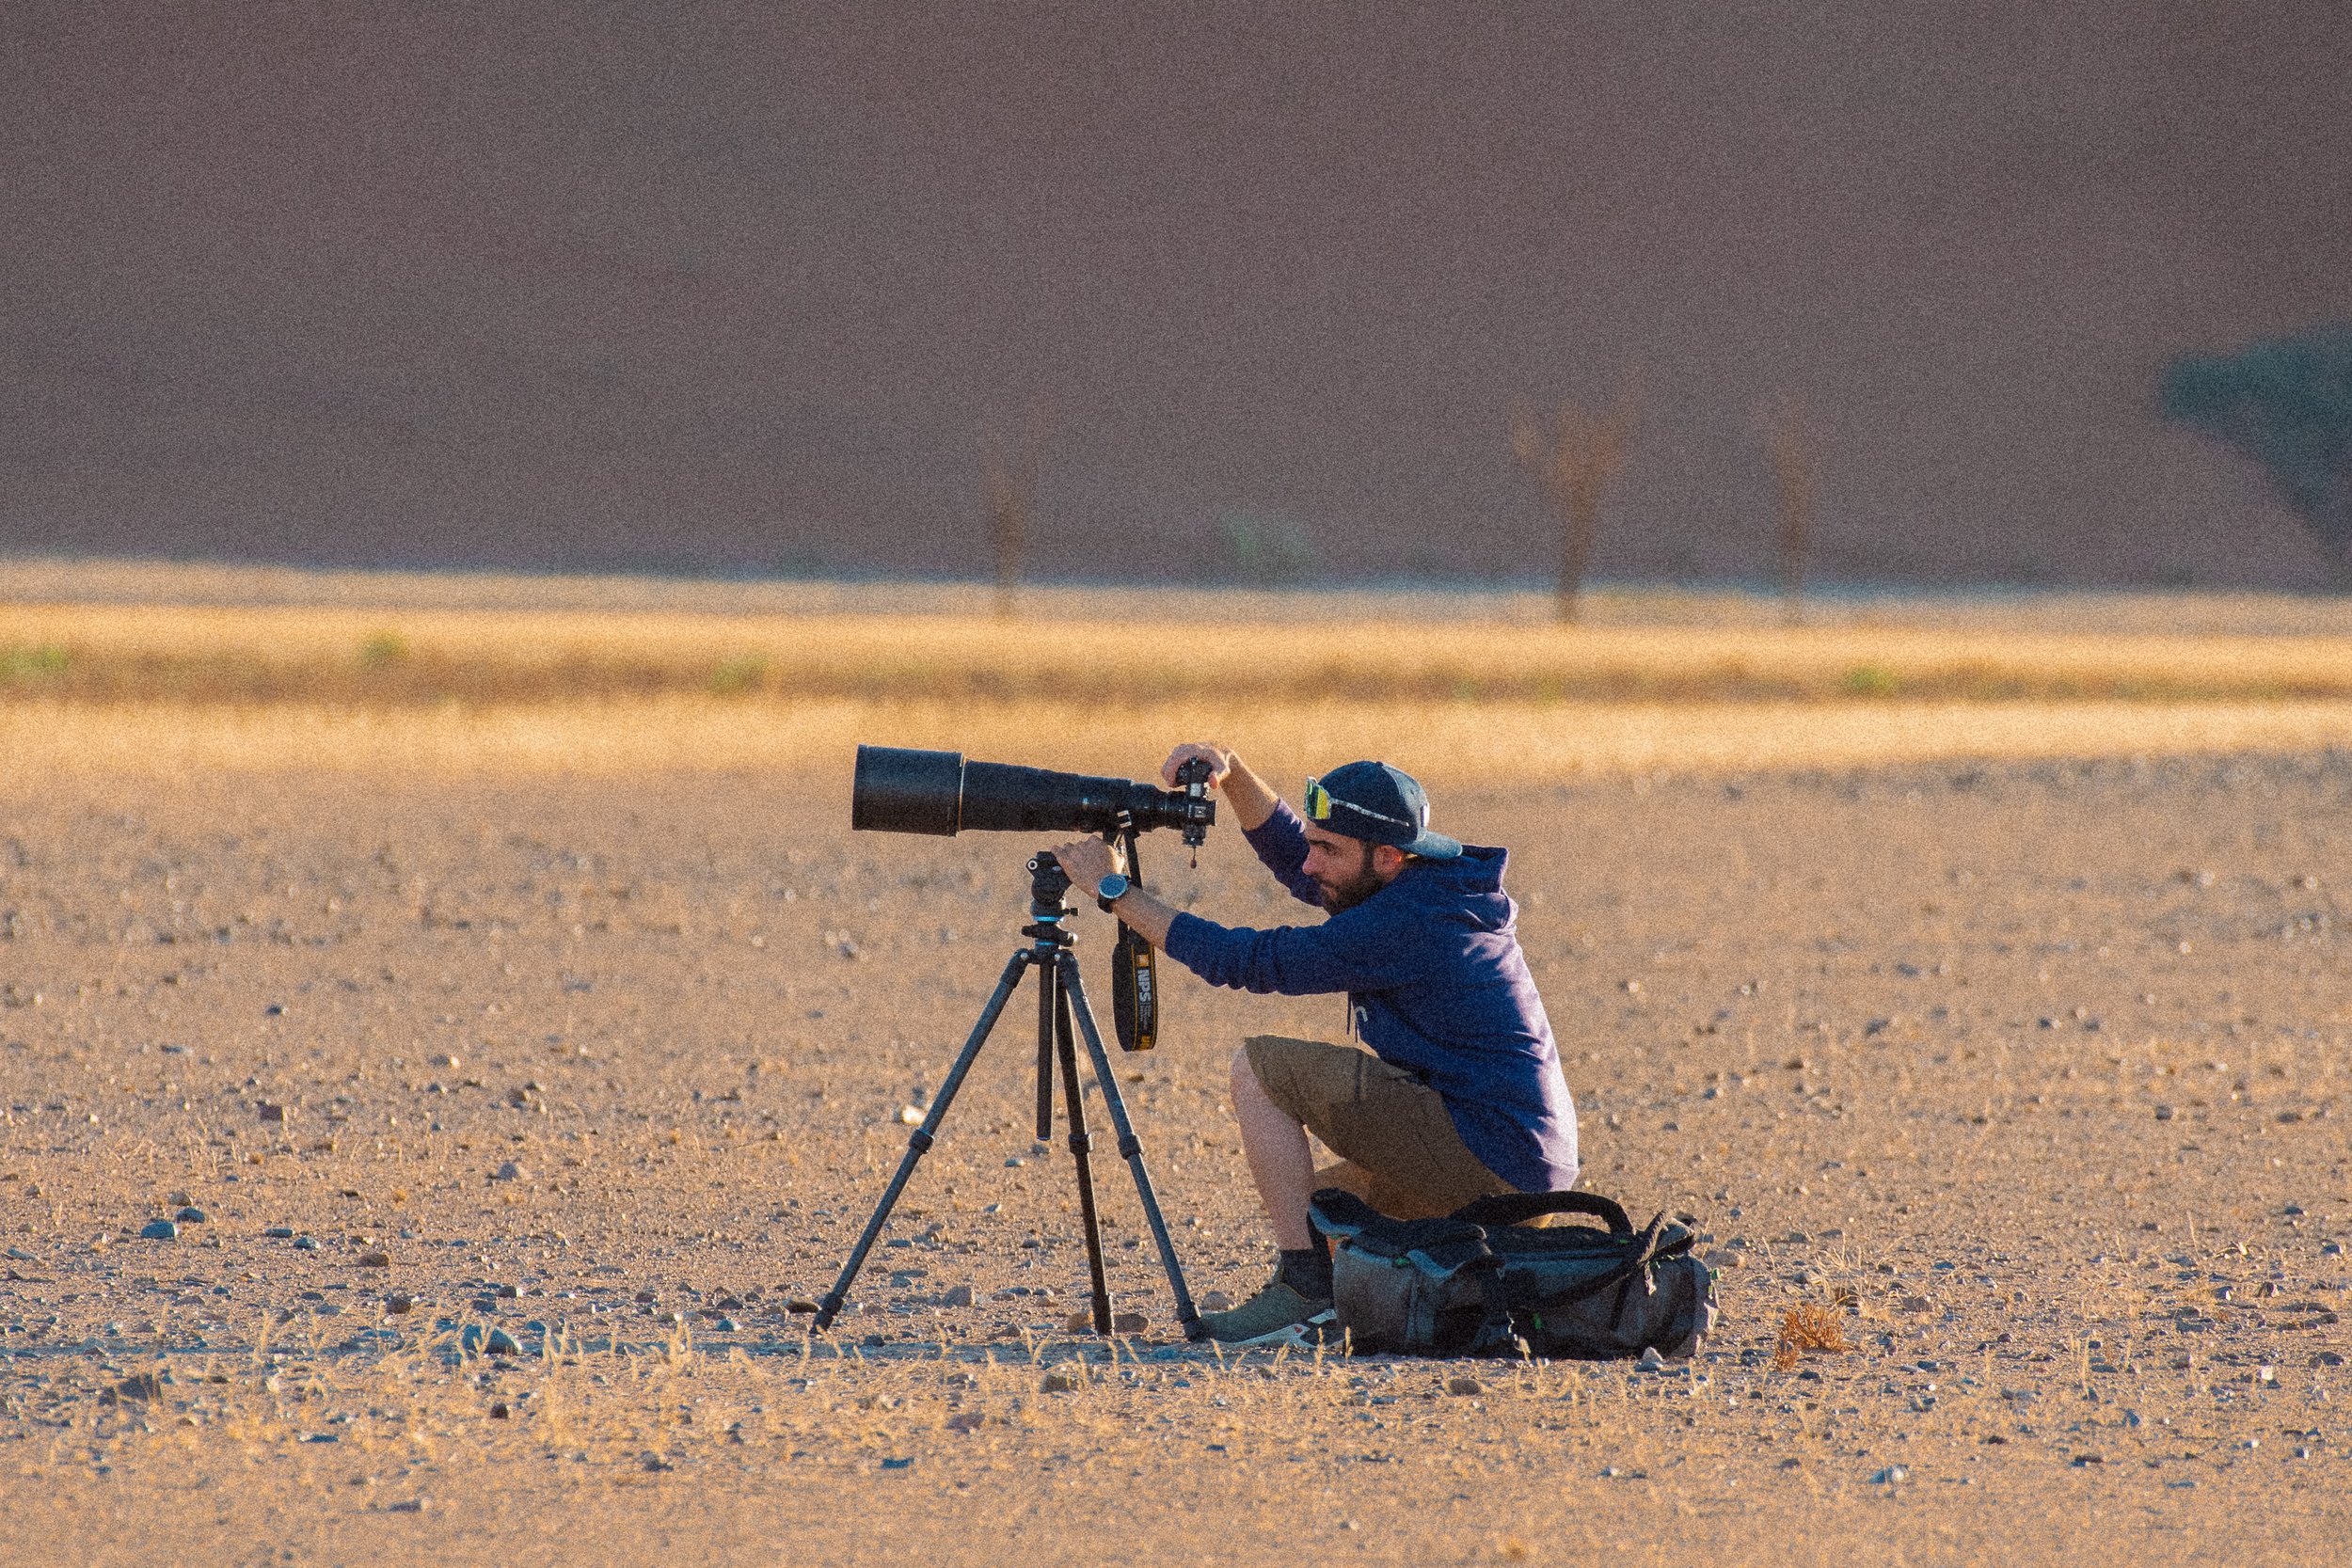
Gear for Milky Way Photography
Shooting stars demands gear that handles darkness, long exposures, and high ISOs well. Here's what I bring:
Camera: Any modern mirrorless or DSLR that performs well at ISO 3200–6400. I shoot with the Canon R5 because of its balance between resolution and low-light capability.
Lens: A wide, fast lens is essential. If I can I use a 20mm f 1.4, but when traveling my favorite is the Canon RF 15–35mm f/2.8—fast enough to collect light quickly and wide enough to capture sprawling skies.
Tripod: A solid, stable tripod is non-negotiable. Even the tiniest movement ruins star detail.
Headlamp with Red Mode: Essential for finding your gear and adjusting settings without blasting your vision (or your friends’) with harsh white light.
Spare Batteries and Memory Cards: Long exposures drain batteries quickly. I always carry at least three fully charged batteries.
🎥 Want to see my complete gear loadout for remote expeditions?
Check out this post: What’s In My Camera Bag.

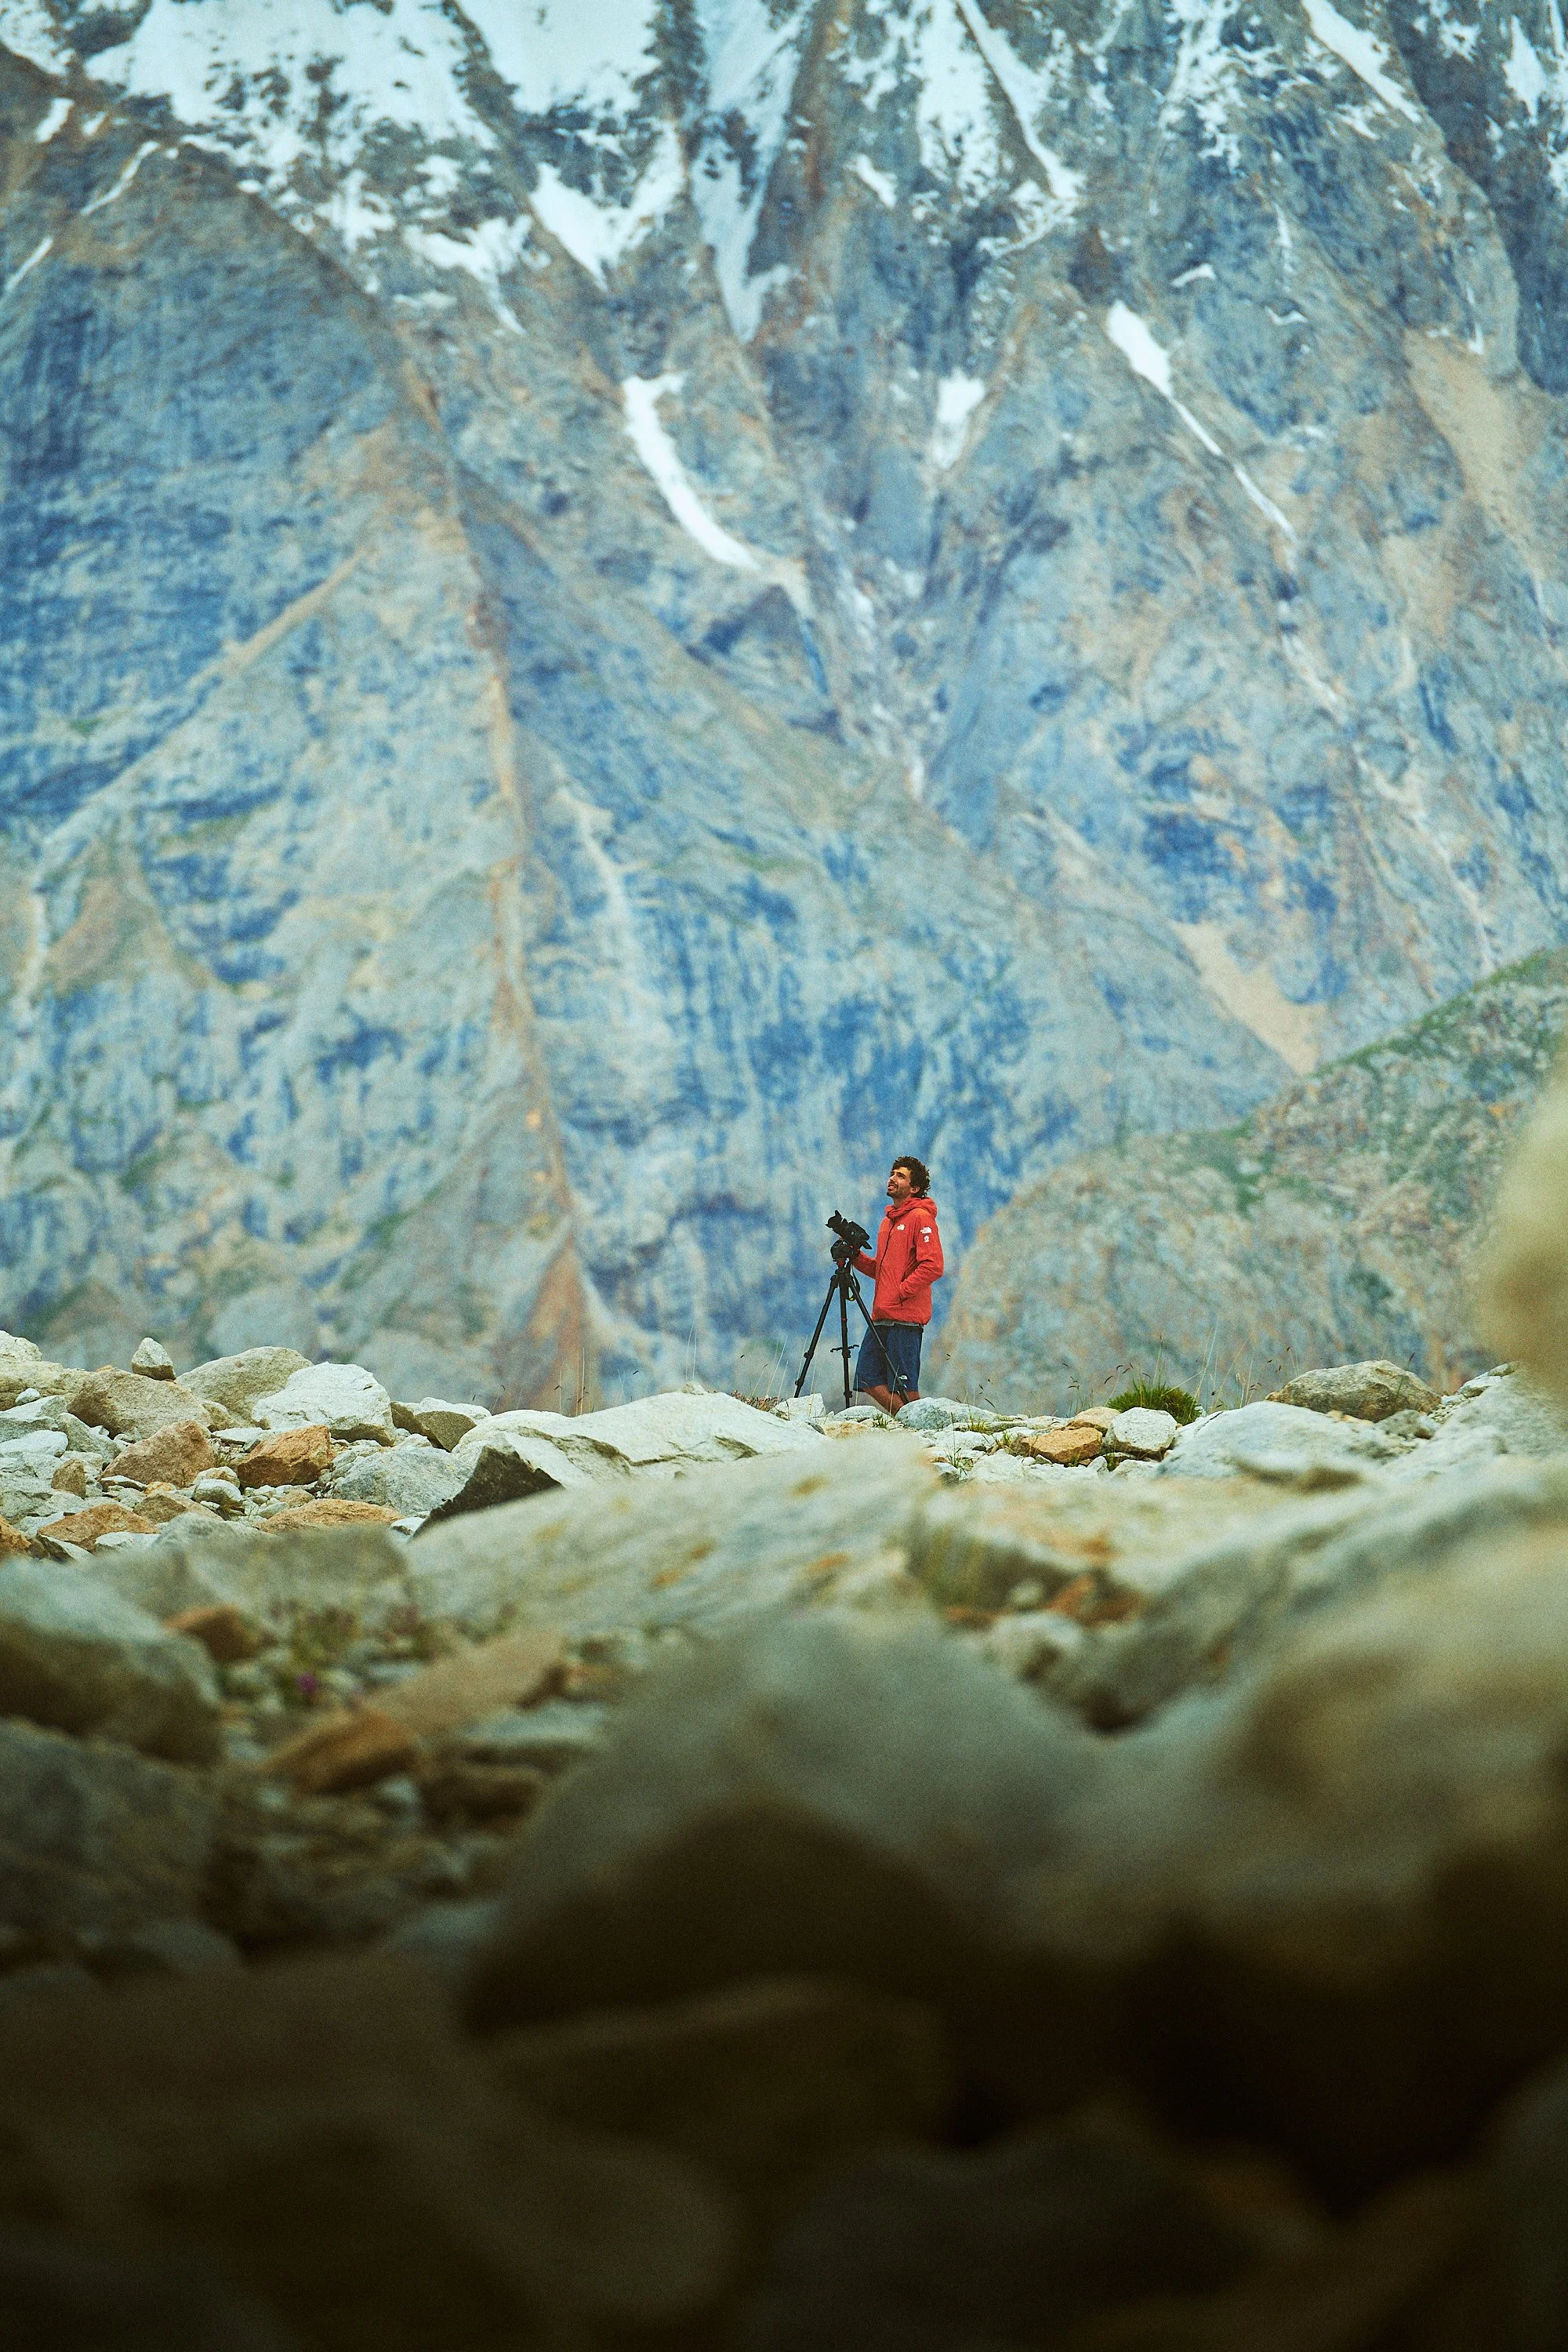
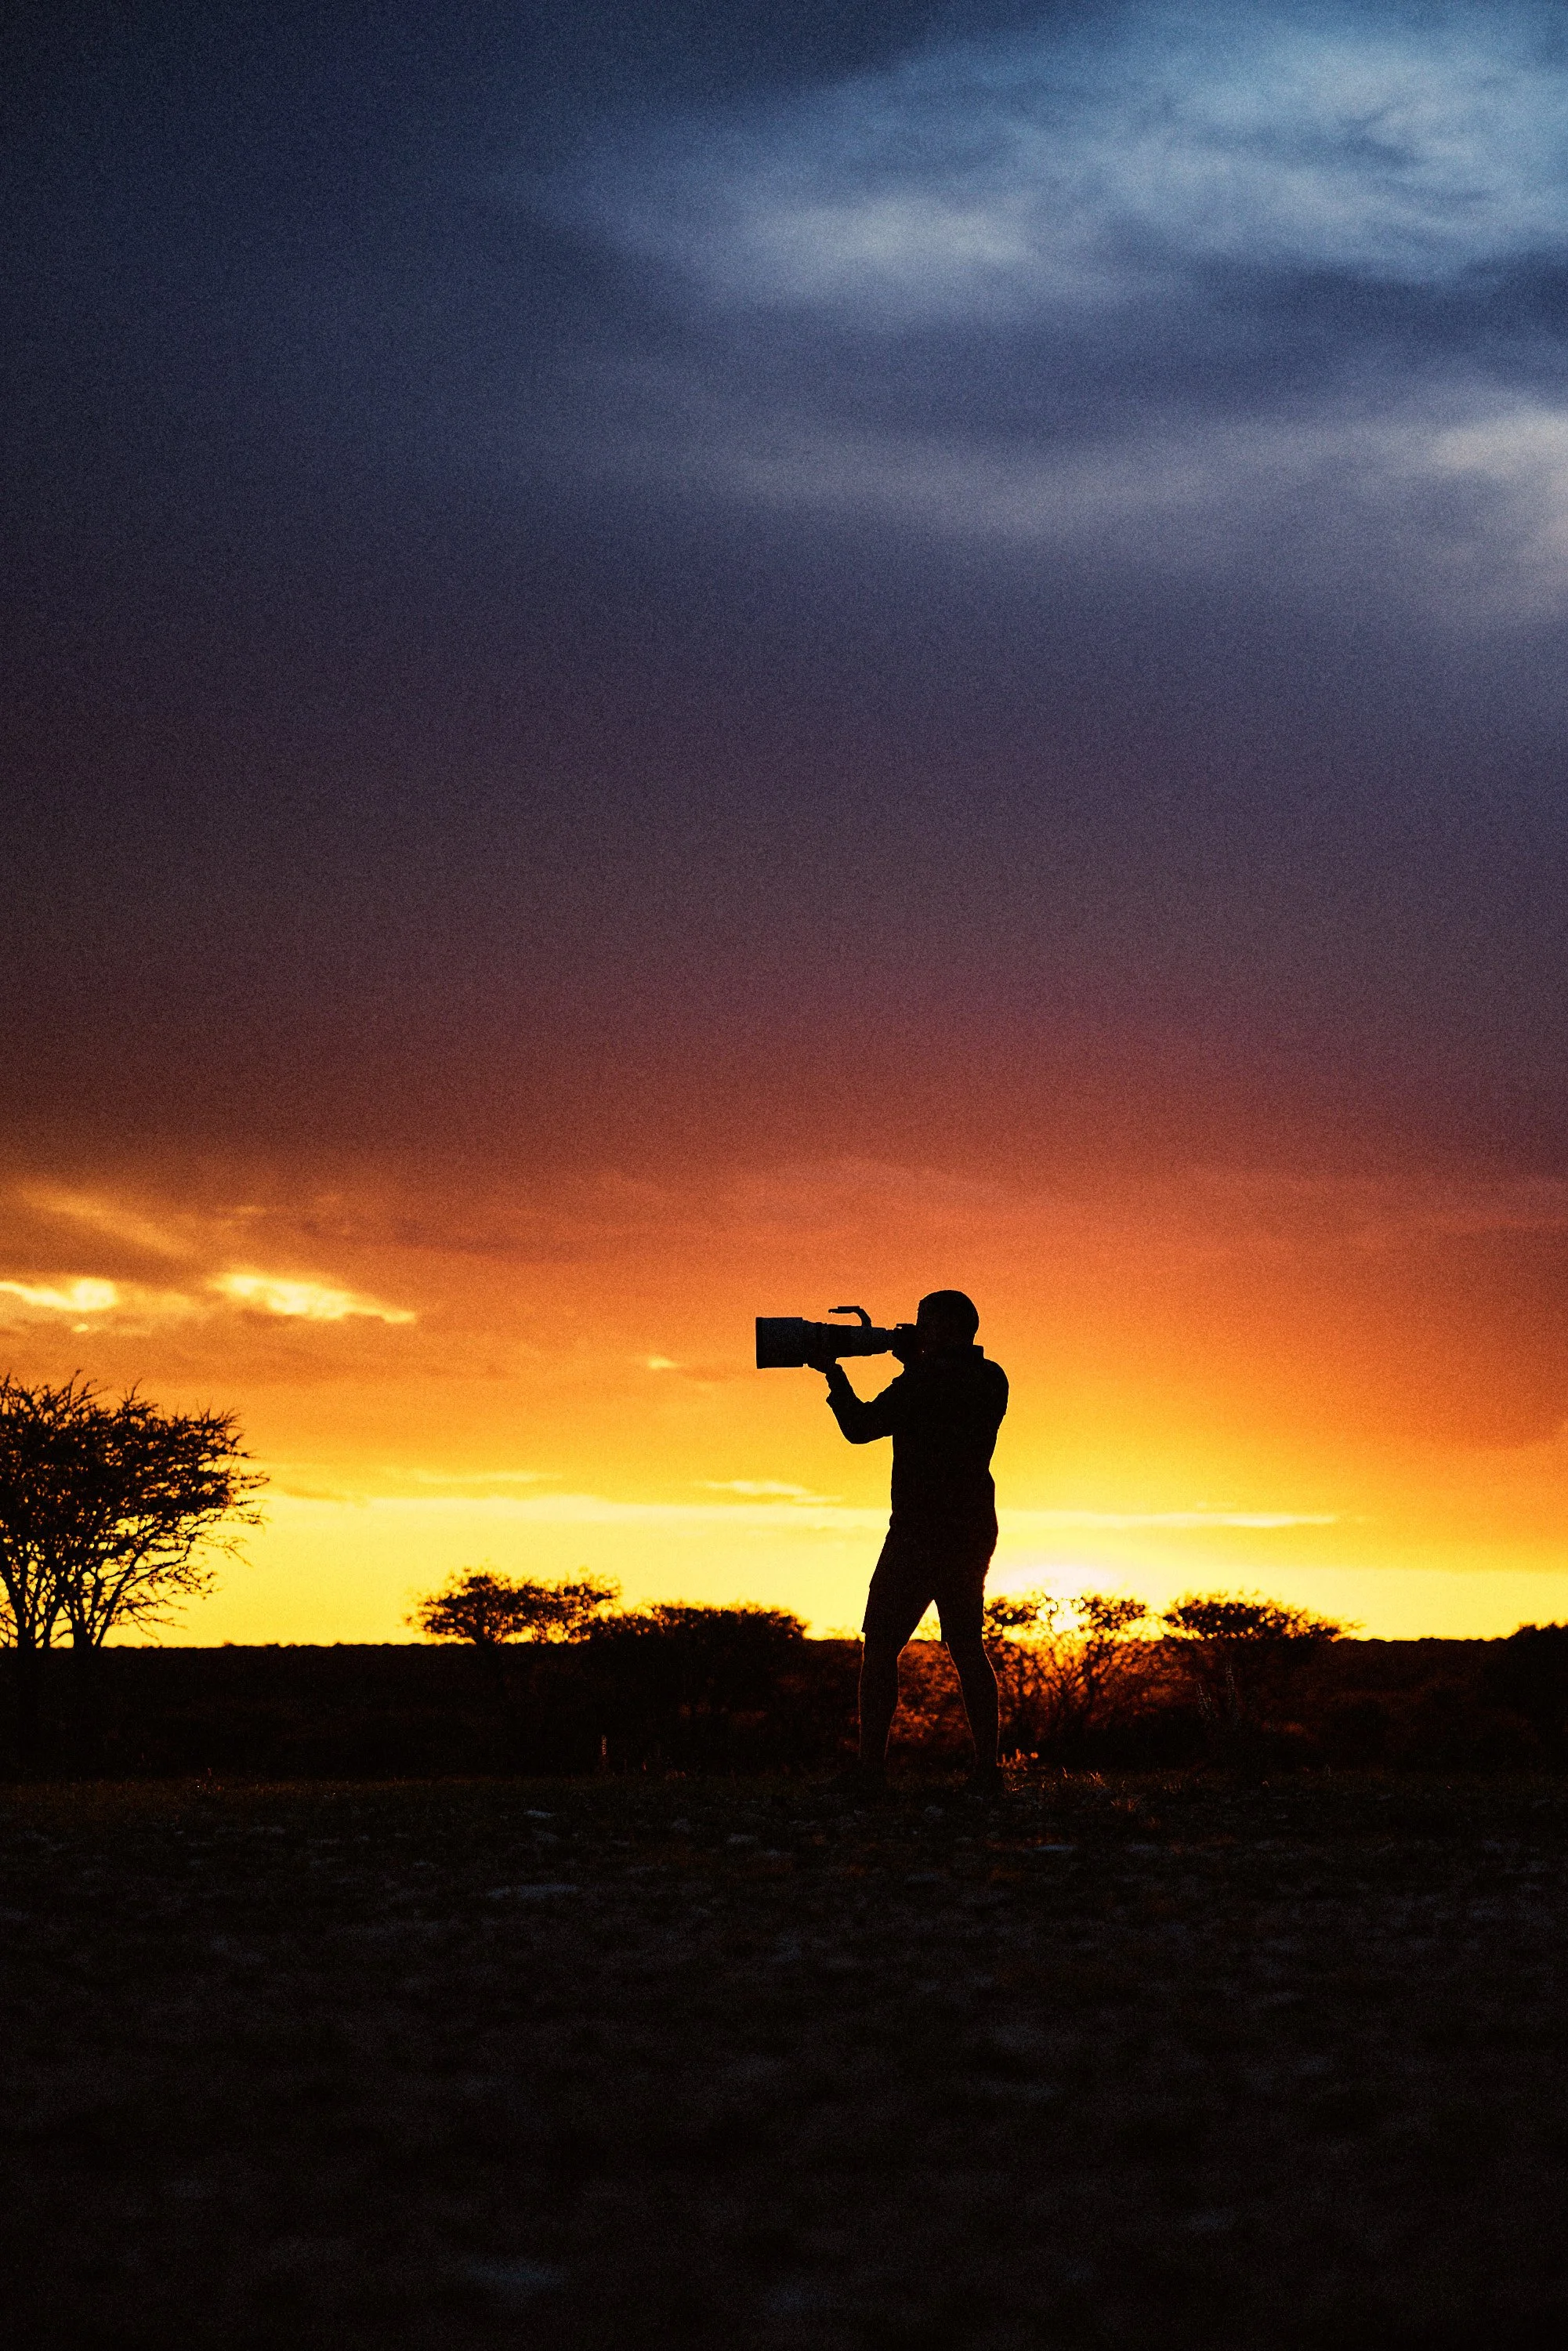
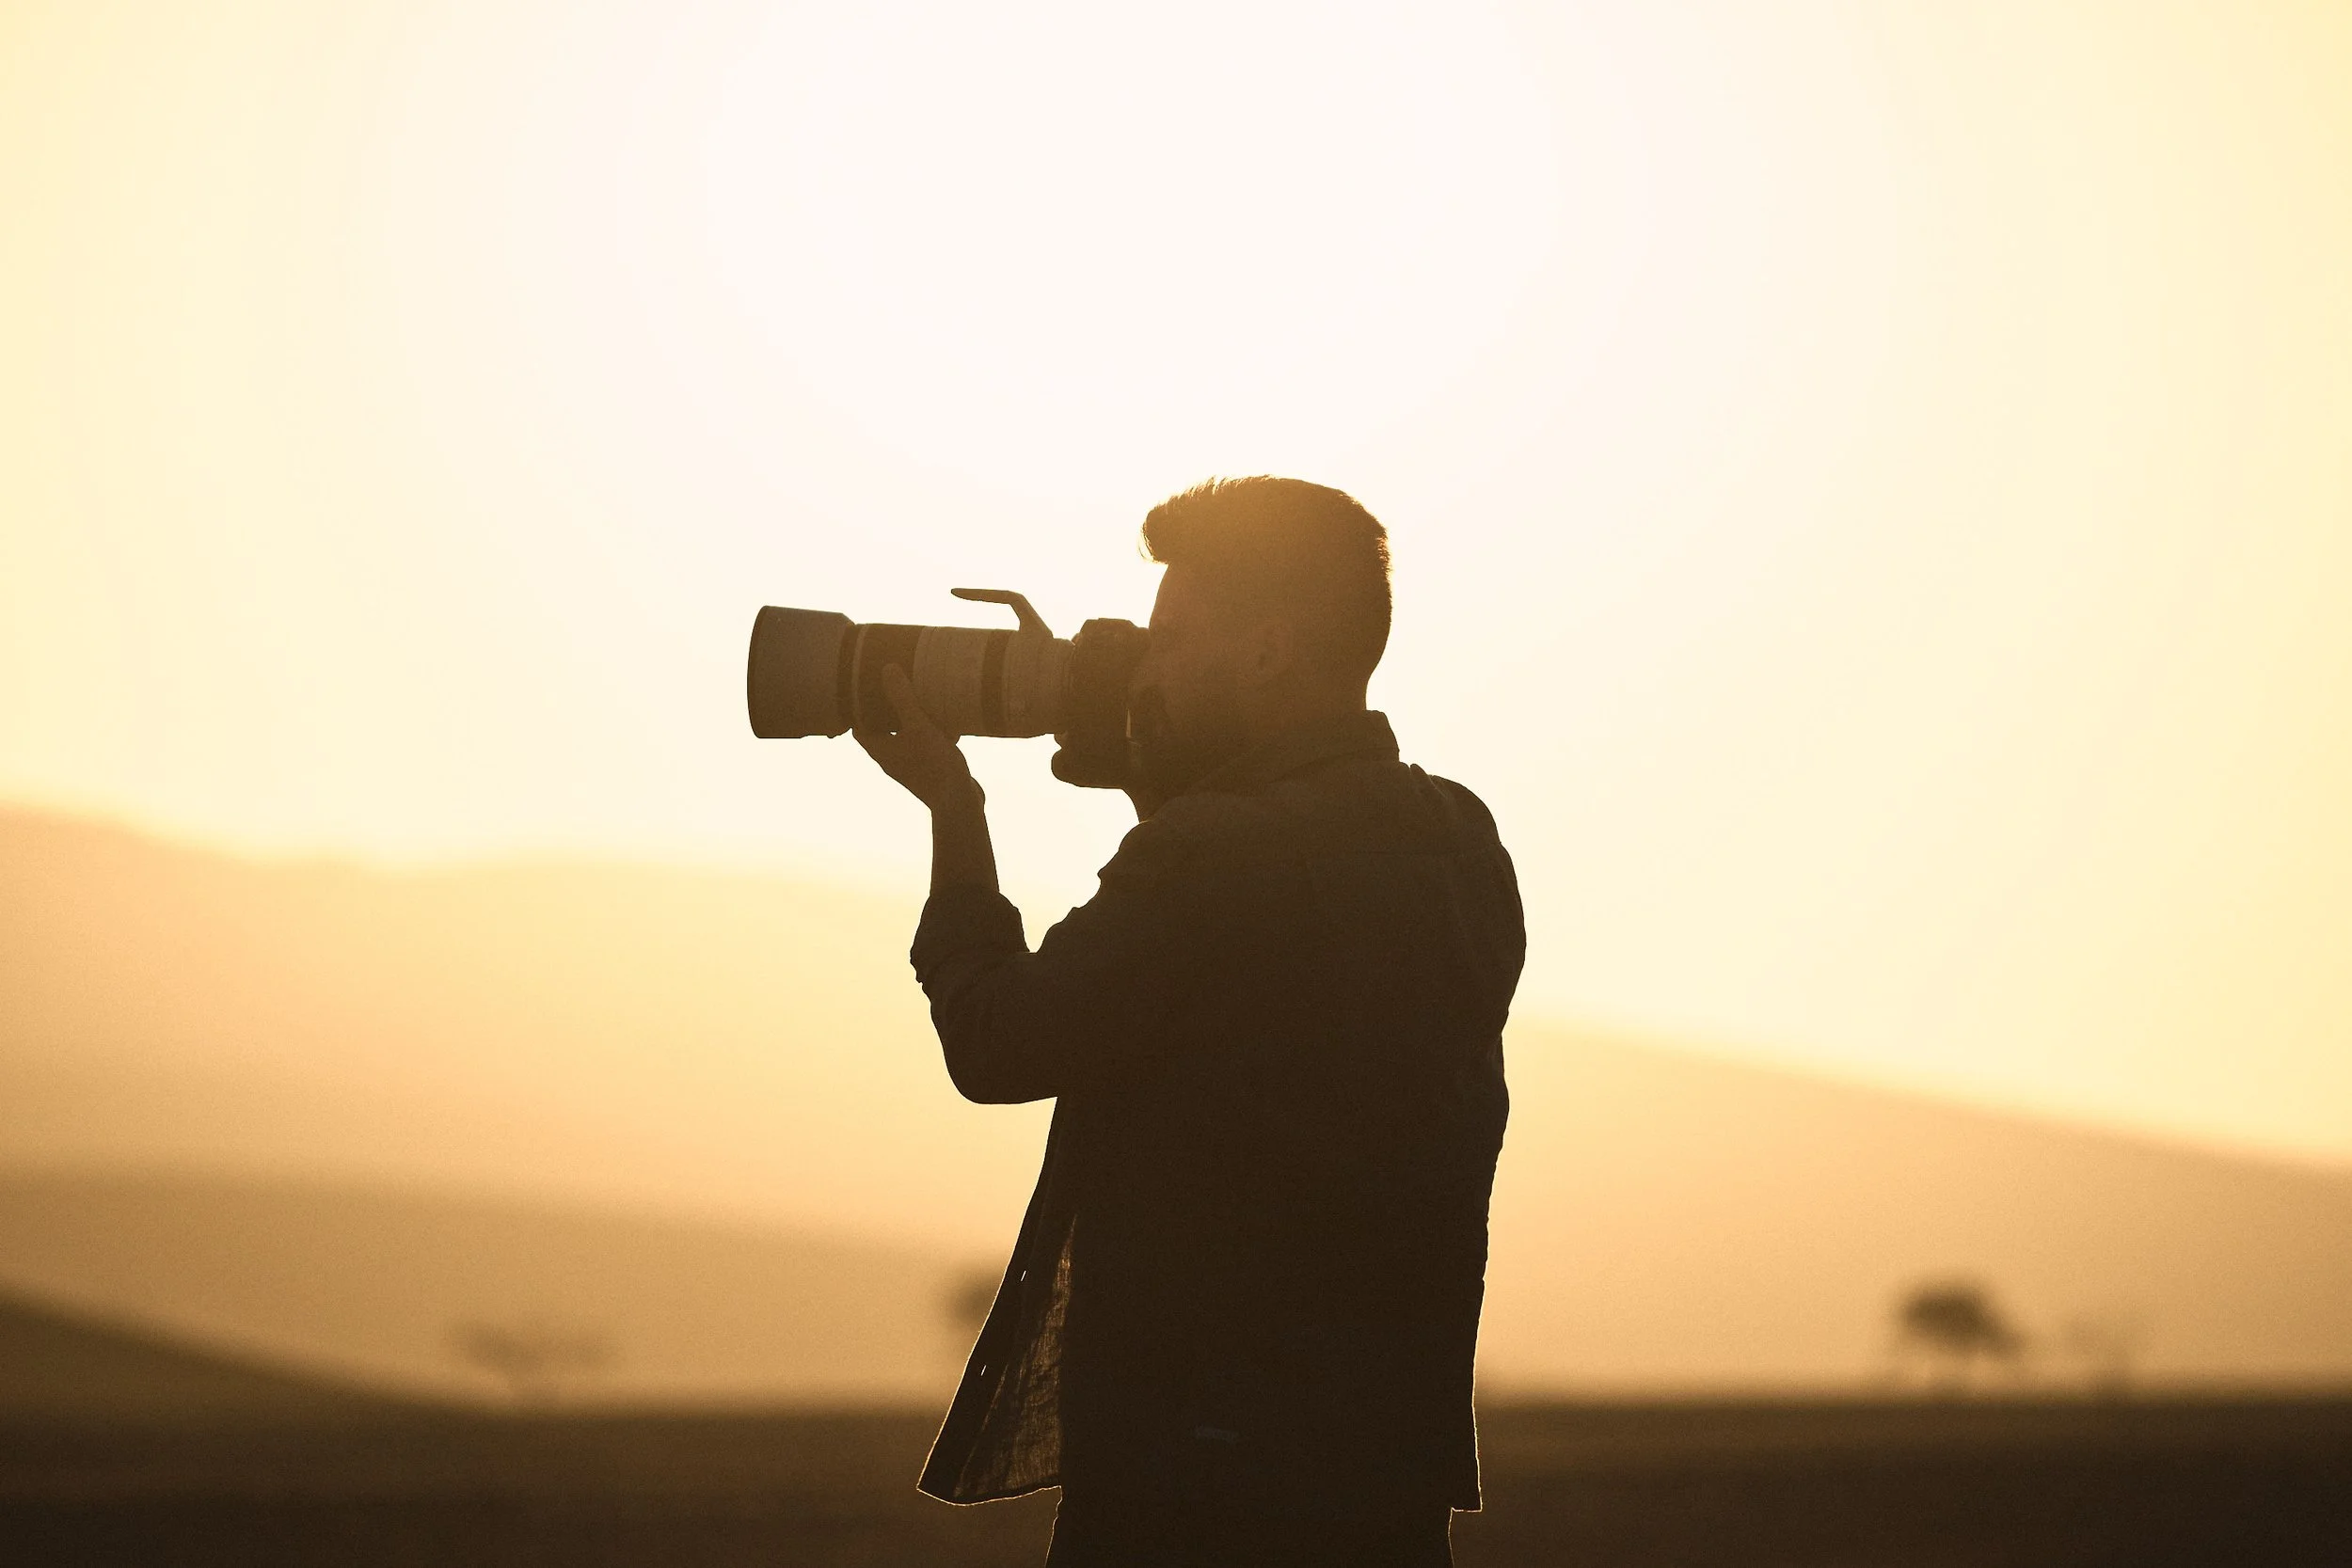
My friend Jandre Germishuizen getting ready for a Milky Way session in Spitzkoppe, Namibia. Check out his work here https://www.jandrephotos.com/about/
Camera Settings for Milky Way Photography
Getting sharp stars comes down to dialing in a few key settings:
Mode: Always shoot in Manual mode—you need full control.
Shutter Speed: Use the 500 Rule: 500 ÷ focal length = max exposure time before stars blur. (For example, at 24mm, you can expose for about 20 seconds.)
Aperture: Open it up wide—f/2.8 or faster gathers the most light.
ISO: Start between 3200–6400. Higher ISO introduces more noise but reveals more stars. Find your camera's sweet spot.
White Balance: Set around 3800–4000K for a natural, slightly cool tone—or use Auto if shooting RAW and adjust later.
Focus: Autofocus will struggle. Manually pre-focus on a distant light or use a headlamp to illuminate a foreground object.
2-Second Timer or Remote: To avoid any vibration from pressing the shutter.

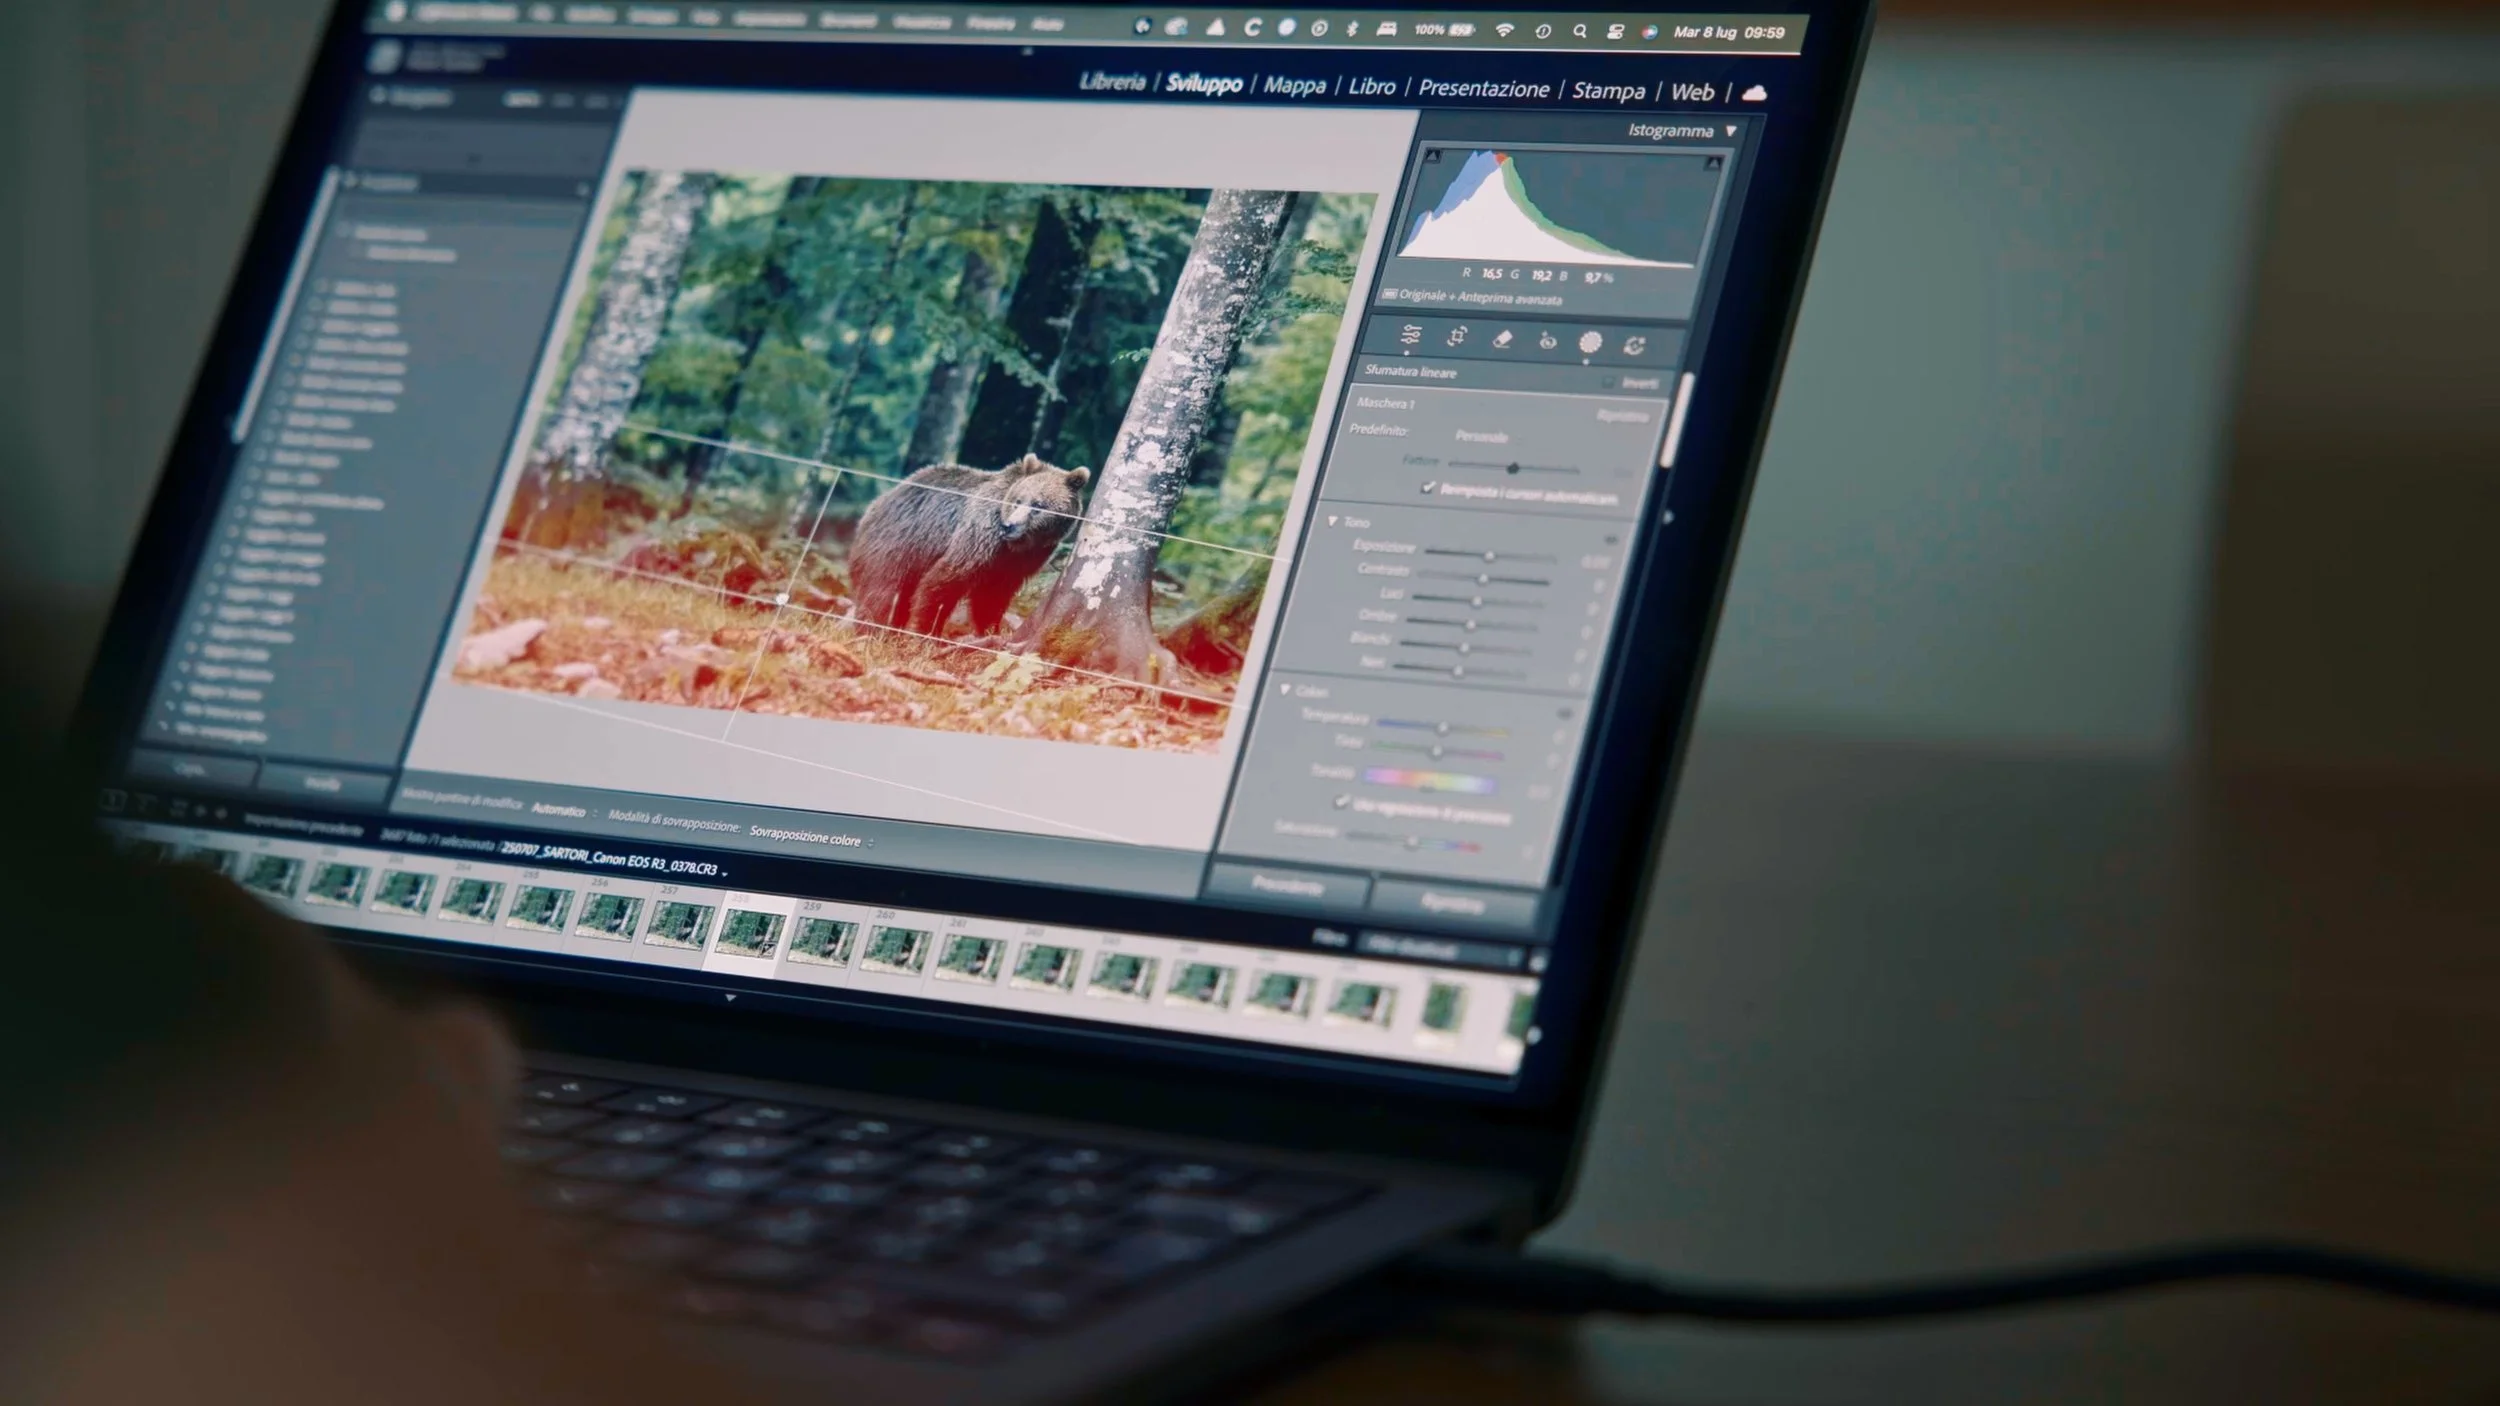
Post-Processing: Making Your Stars Shine
Editing Milky Way shots is about enhancing what you captured—not manufacturing fake scenes. Here's my basic workflow:
Boost the Whites: Carefully, without blowing out the highlights.
Adjust White Balance: Cooling it down a bit (~3800K) often enhances the Milky Way’s natural colors.
Add Contrast and Clarity: Use Dehaze, Blacks, and Clarity sliders to bring out the dust lanes and structure.
Use Local Adjustments: Apply selective edits to the foreground vs. the sky to balance exposure creatively.
Apply Gentle Noise Reduction: Smooth out the noise but preserve critical star detail.
For a more advanced workflow including exposure blending and stacking techniques, stay tuned for my upcoming deep-dive tutorial series.

Final Thoughts (And a Personal Note)
Milky Way photography has a steep learning curve—but once you get it right, it’s deeply rewarding. Some of my most treasured memories were built under starlit African skies, working patiently through cold nights, adjusting gear under red lights, and watching the universe reveal itself.
If your first shots don’t come out perfect, don’t get discouraged. Every attempt teaches you something—from managing conditions to fine-tuning focus and exposure.