Game Changer: Lightroom AI Denoise No Longer Creates DNG Files – Here’s Why That Matters
If you told me five years ago I’d be comfortably shooting wildlife at ISO 12,800, I would’ve laughed and handed you a grainy, barely-usable lion photo to prove why that was a terrible idea.
But here we are.
And let me tell you—Adobe’s latest Lightroom AI noise reduction update has been a total game changer. Not just because the results are better (they are), but because they’ve finally removed the most annoying part of the whole process:
You don’t have to create a massive DNG file anymore.
I know, it sounds small. But that one little shift? It changes everything.

Canon R5, ISO 20.000. Khwai Community Concession, May 2025.
The DNG Problem: Why Most of Us Avoided Lightroom’s Old AI Denoise
Let’s rewind for a second.
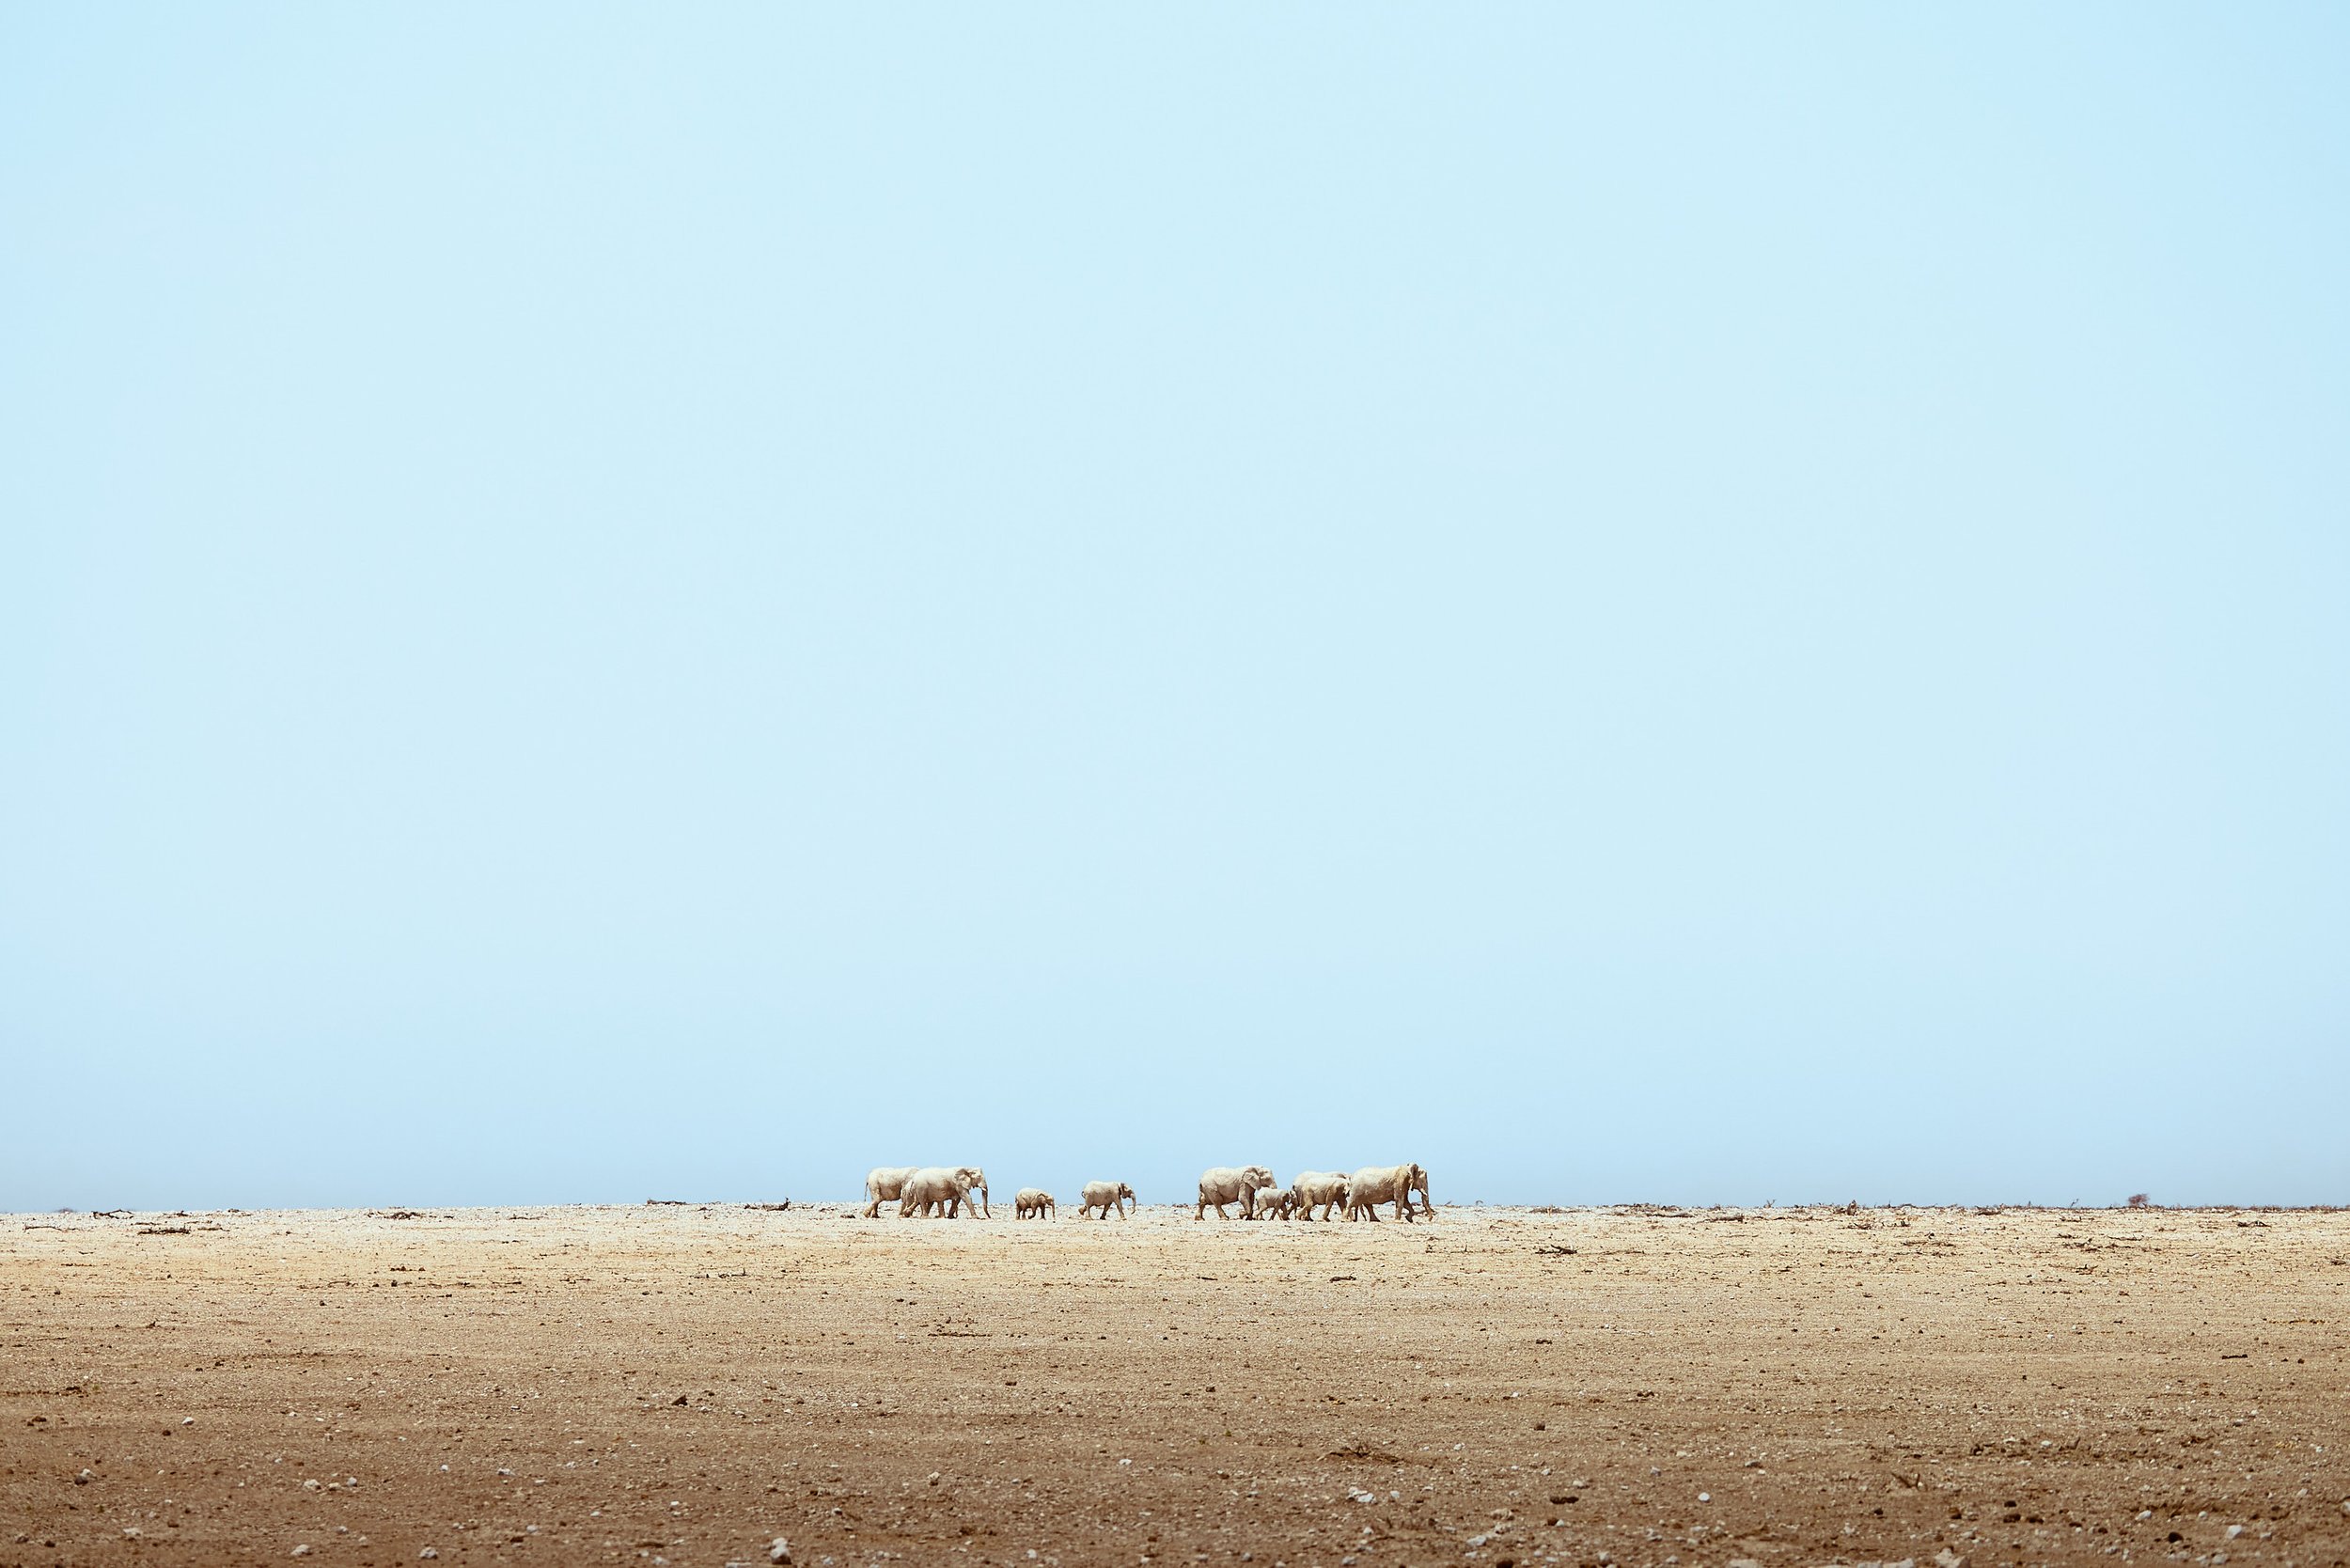
When Adobe first launched their AI Denoise tool in Lightroom, I was stoked. I ran a couple of test files through it—elephants at dusk, a leopard hiding under foliage around sunset. The results? Surprisingly good.
But then… I checked my folder.
Each denoised file was a massive DNG. Like, 150 to 250 MB per image, even if the original was a compressed RAW. And for someone who shoots thousands of photos per safari, that was a nightmare. Not only for the space required on the disk, but mostly for the workflow and folder organization.
My drives are already under siege after a two-week trip in Zambia. I don’t need another 300 GB of DNG duplicates sitting there because I wanted to reduce some noise.
So I went back to my old tricks—selective luminance NR, and when I really needed to enhance a few “hero” images I’d rather go for plugins like Topaz AI or Dxo - as LR would also create that duplicate file - or just avoiding high ISO when I could.
But this latest update? No more DNGs.
Now the AI noise reduction runs natively in Lightroom on the original file. No doubling. No extra exports. You can actually batch edit a full series of high ISO shots without wanting to throw your laptop out the window.

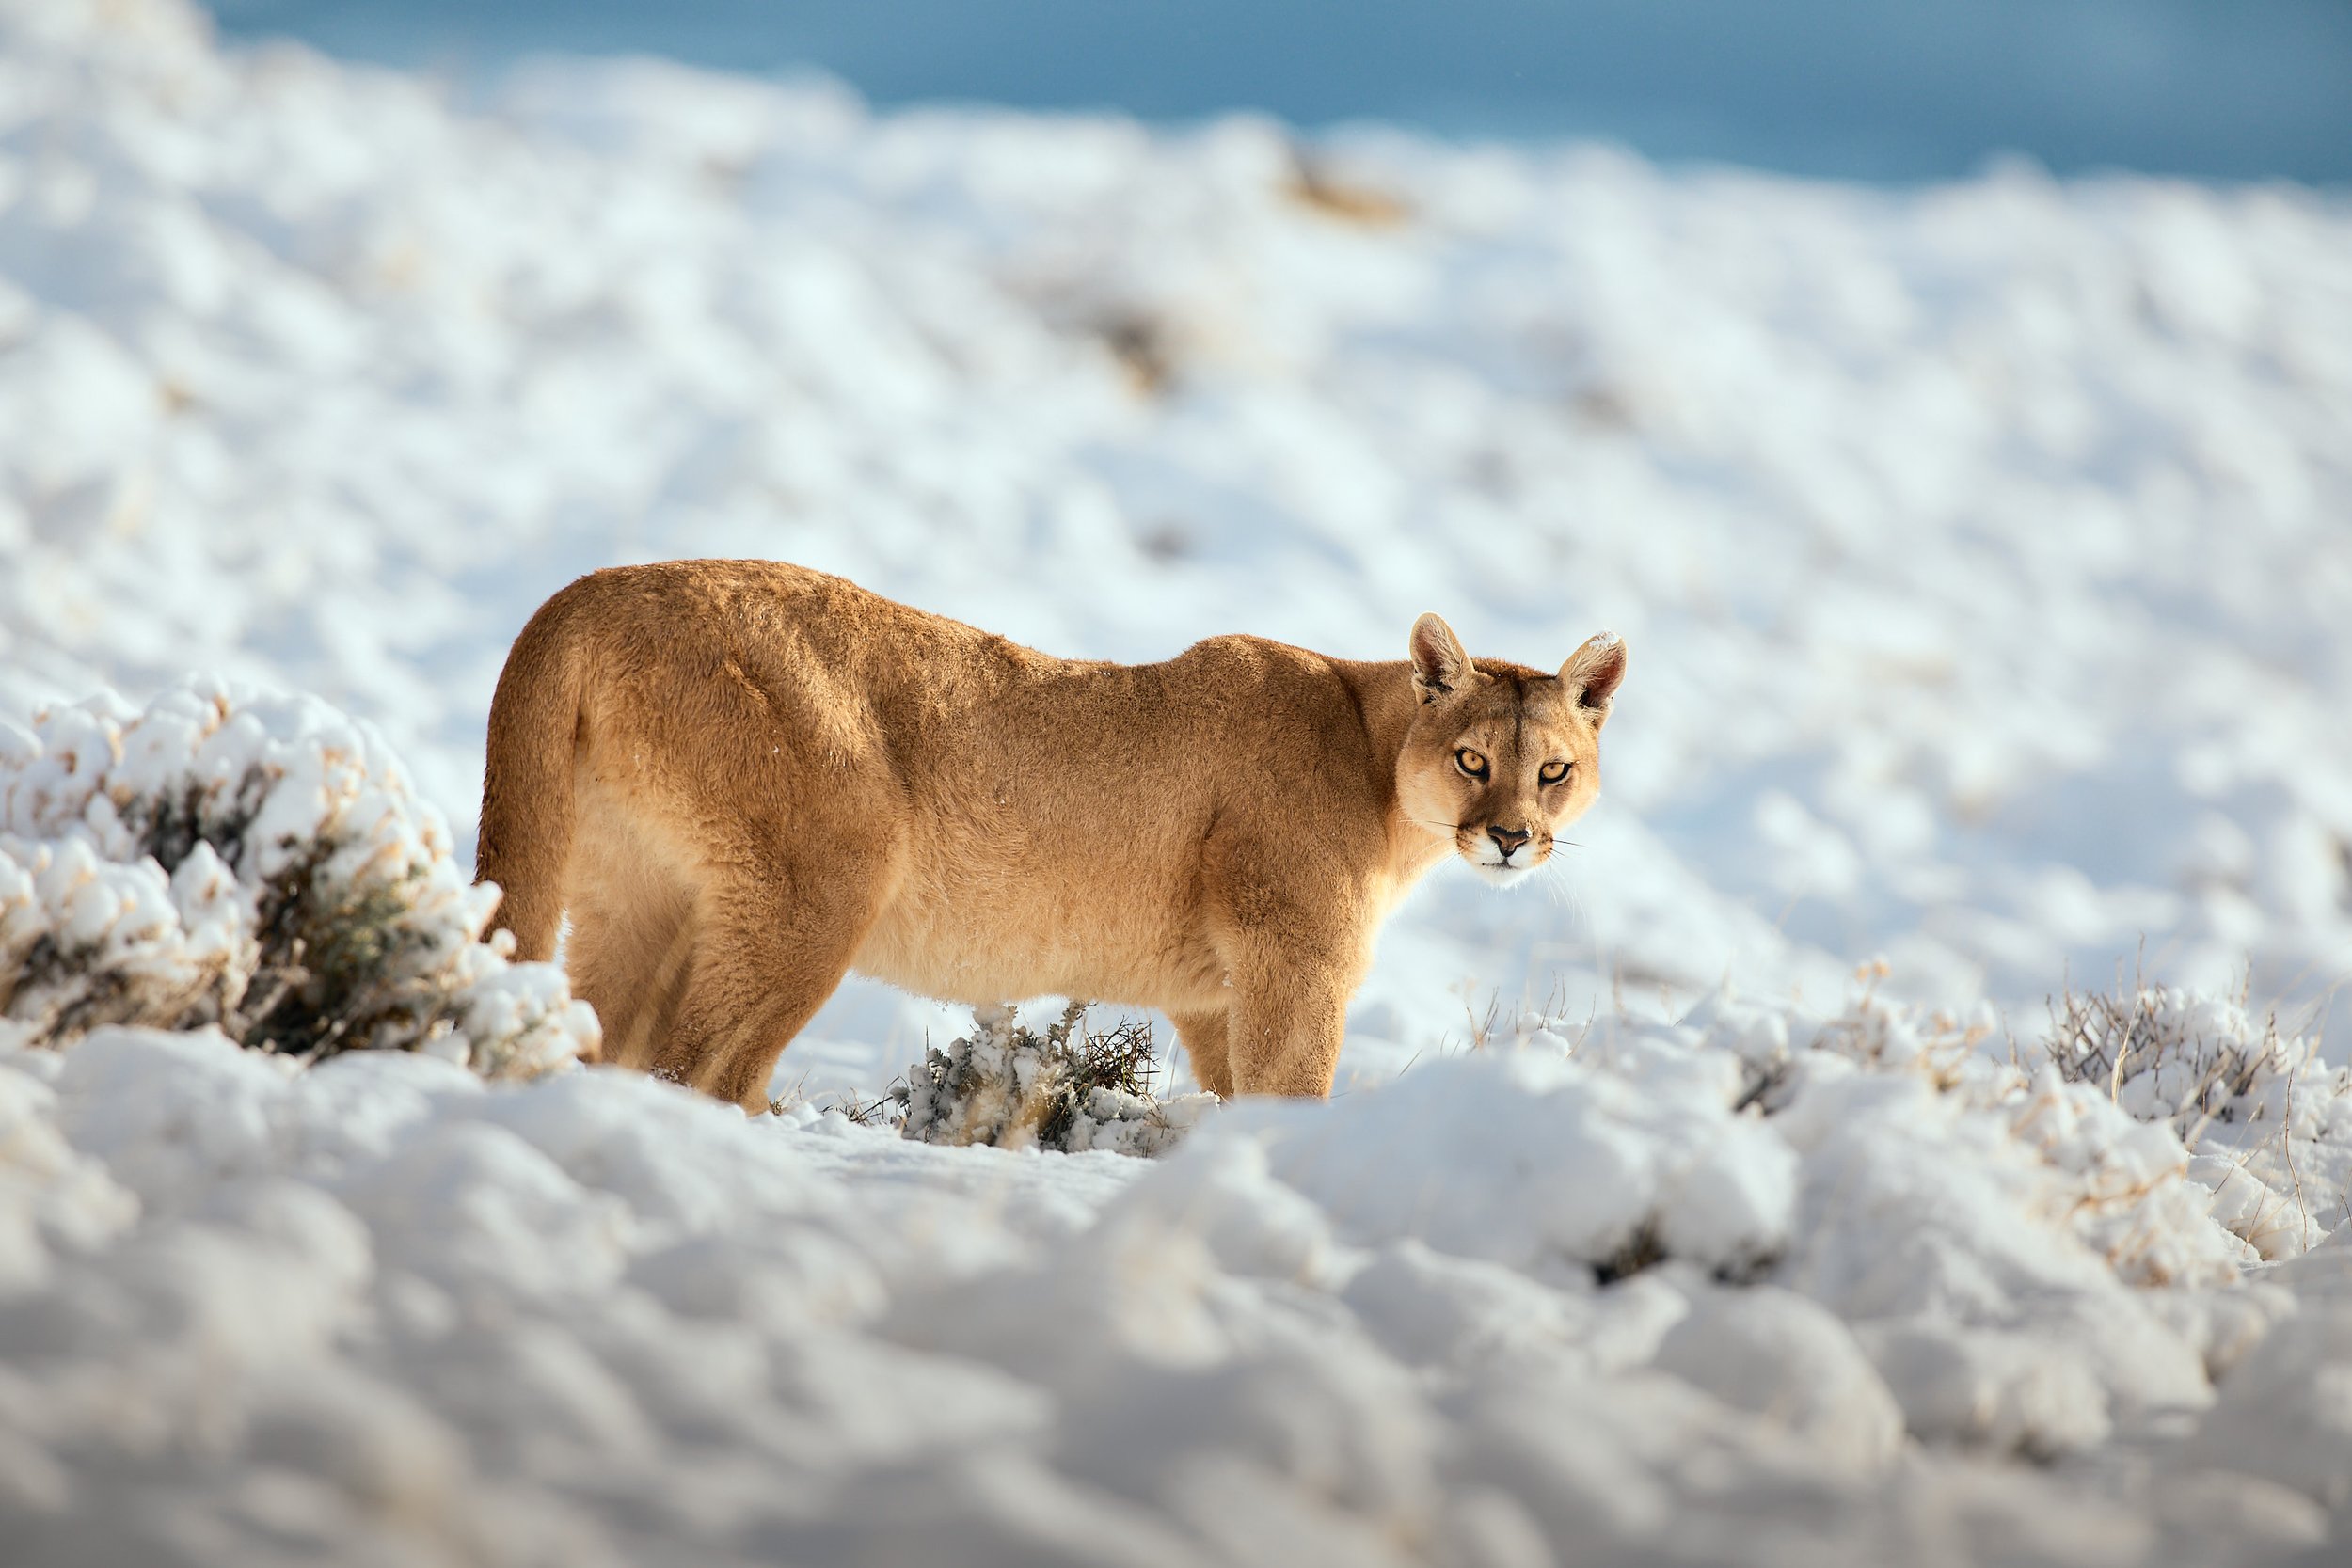
Canon R3, ISO 25.600. Central Kalahari Game Reserve, May 2025
So How Good Is the New Lightroom AI Noise Reduction (Really)?
Alright, let’s talk about results.
On a recent self-drive trip through Botswana - solo, dusty, and full of late golden hour action - I was constantly pushing ISO 10,000+. It wasn’t a stylistic choice; the light drops fast at sunset and I’d rather push ISO than risk motion blur from a slower shutter.
After the trip, I tested a few shots in the updated Lightroom. The denoised versions were insanely clean.
What really got me was the balance—yes, it reduced the noise, but it didn’t make the fur or feathers look plastic. Skin texture on the lions still looked natural. The background blur didn’t get mushy. Even subtle shadows under the elephant’s ear remained intact.
And I didn’t need to run them through a separate plugin, export a TIFF, or deal with weird color shifts. It was just: select all → batch denoise → done.
Game. Changer.

Canon R3, ISO 16.000. Khwai Community Concession, May 2025.
Topaz AI and DxO: Still the Kings of Detail (But Only for the Chosen Few)
Now, let’s be real here.
Lightroom isn’t the best in terms of raw performance.
If you want absolutely insane results—like pulling an underexposed ISO 25,600 file from a dark bird hide and making it look like it was shot in clean morning light—Topaz Photo AI or DxO PureRAW still have the edge.
Topaz, especially, is surgical with detail.
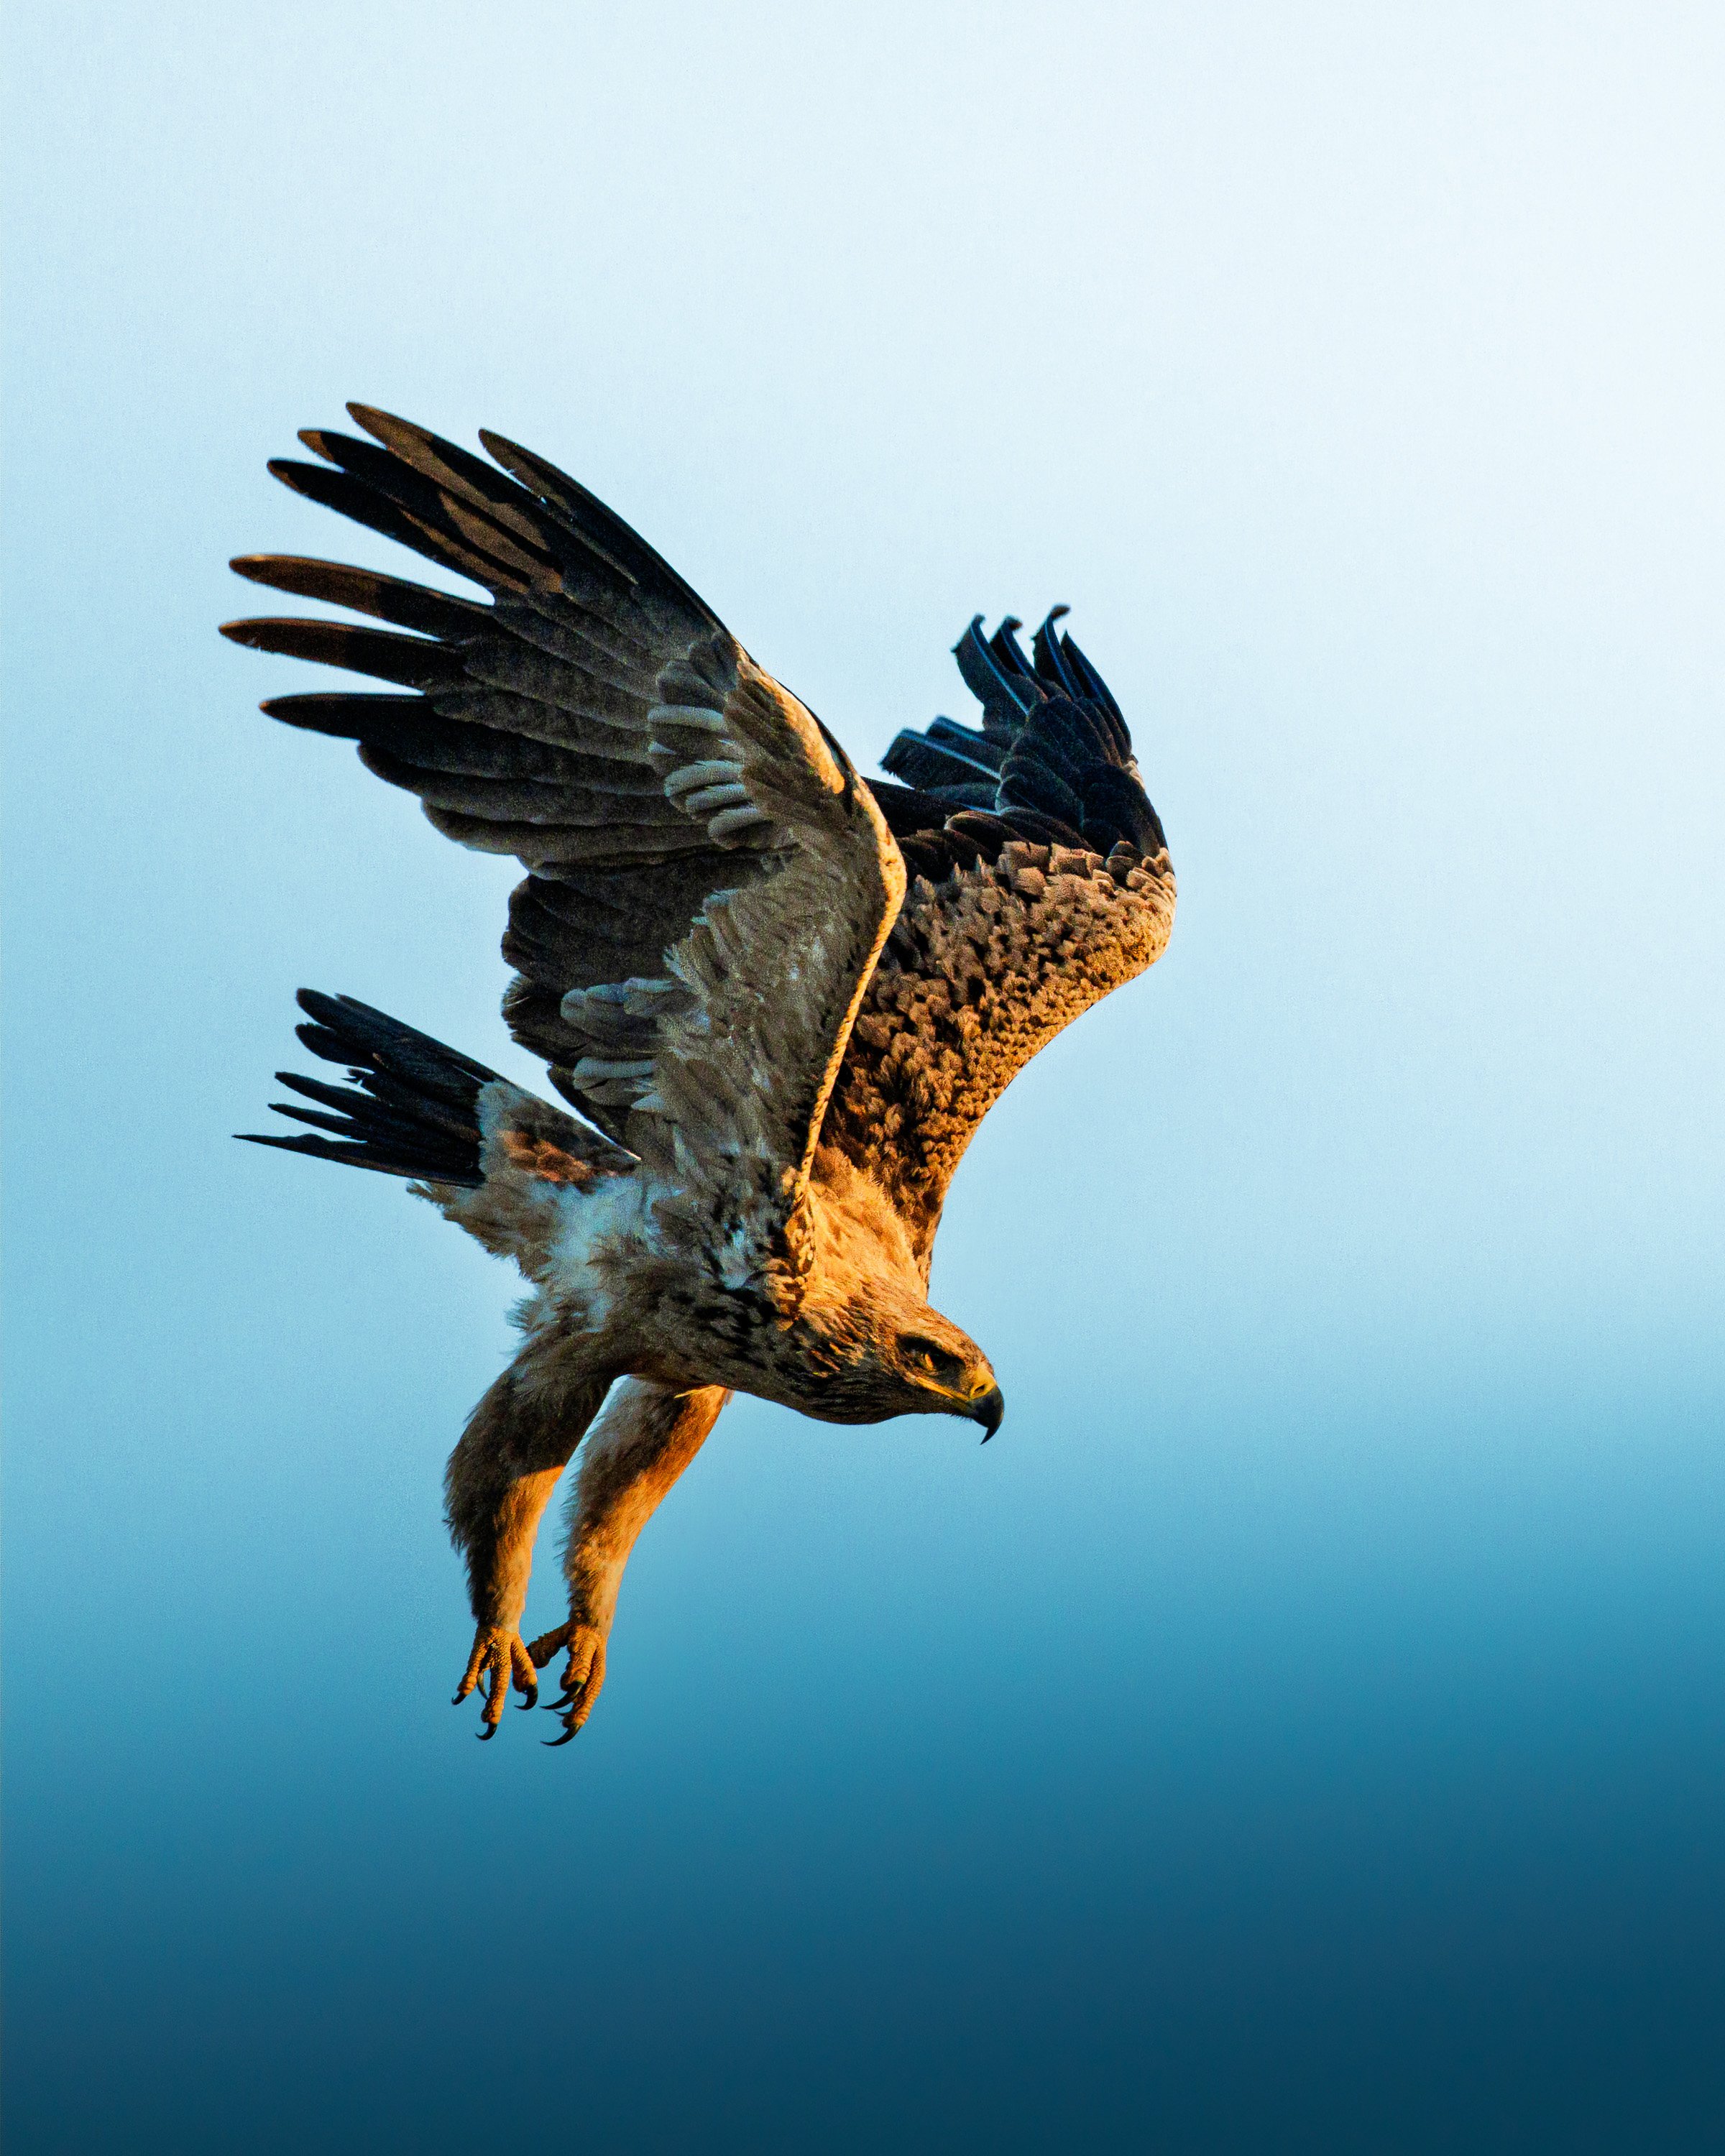
I once had a frame of a fish eagle taking off, shot at ISO 16,000 through heat haze. I ran it through Topaz and—somehow—it recovered feathers I didn’t even know were there. That’s wizardry.
Same with DxO. Their deep PRIME noise reduction is so clean it almost feels like cheating. And it also handles lens correction beautifully, which can help with certain long telephoto shots where edge softness creeps in.
But here’s the tradeoff: they’re slow. And you can’t batch hundreds of files efficiently.
After every safari, I have anywhere from 10.000 to 50.000+ RAW files. I’m not about to run each of those through a standalone app, wait for rendering, export to TIFF or DNG, and then import them again. That’s a Tuesday gone.
So here’s how I use them now:
Lightroom AI NR: After the first culling phase, this is for everything that’s past ISO 1600.
Topaz / DxO: For the top 1% of shots. Hero images. Portfolio work. Print-level detail. That one insane leopard image I might use on a gallery wall someday.
Why High ISO Is No Longer Scary (Seriously)
If you’re still afraid of ISO 8000, I get it. Years of muddy, crunchy, chroma-noise-ridden RAWs have left their mark.
But it’s time to let that go.
Modern sensors + modern AI noise reduction = shoot freely.
Instead of underexposing just to stay at ISO 1600, you can now expose properly (or, even better, slightly to the right), freeze action with faster shutter speeds, and let the noise fall where it may. The software will clean it up.
I still expose carefully, of course. But I no longer compromise motion sharpness or composition just to keep ISO numbers low.
A blurry photo at ISO 1600 is useless.
A tack-sharp image at ISO 10,000, even if a little noisy? Gold.
How This Affects My Field Shooting Style

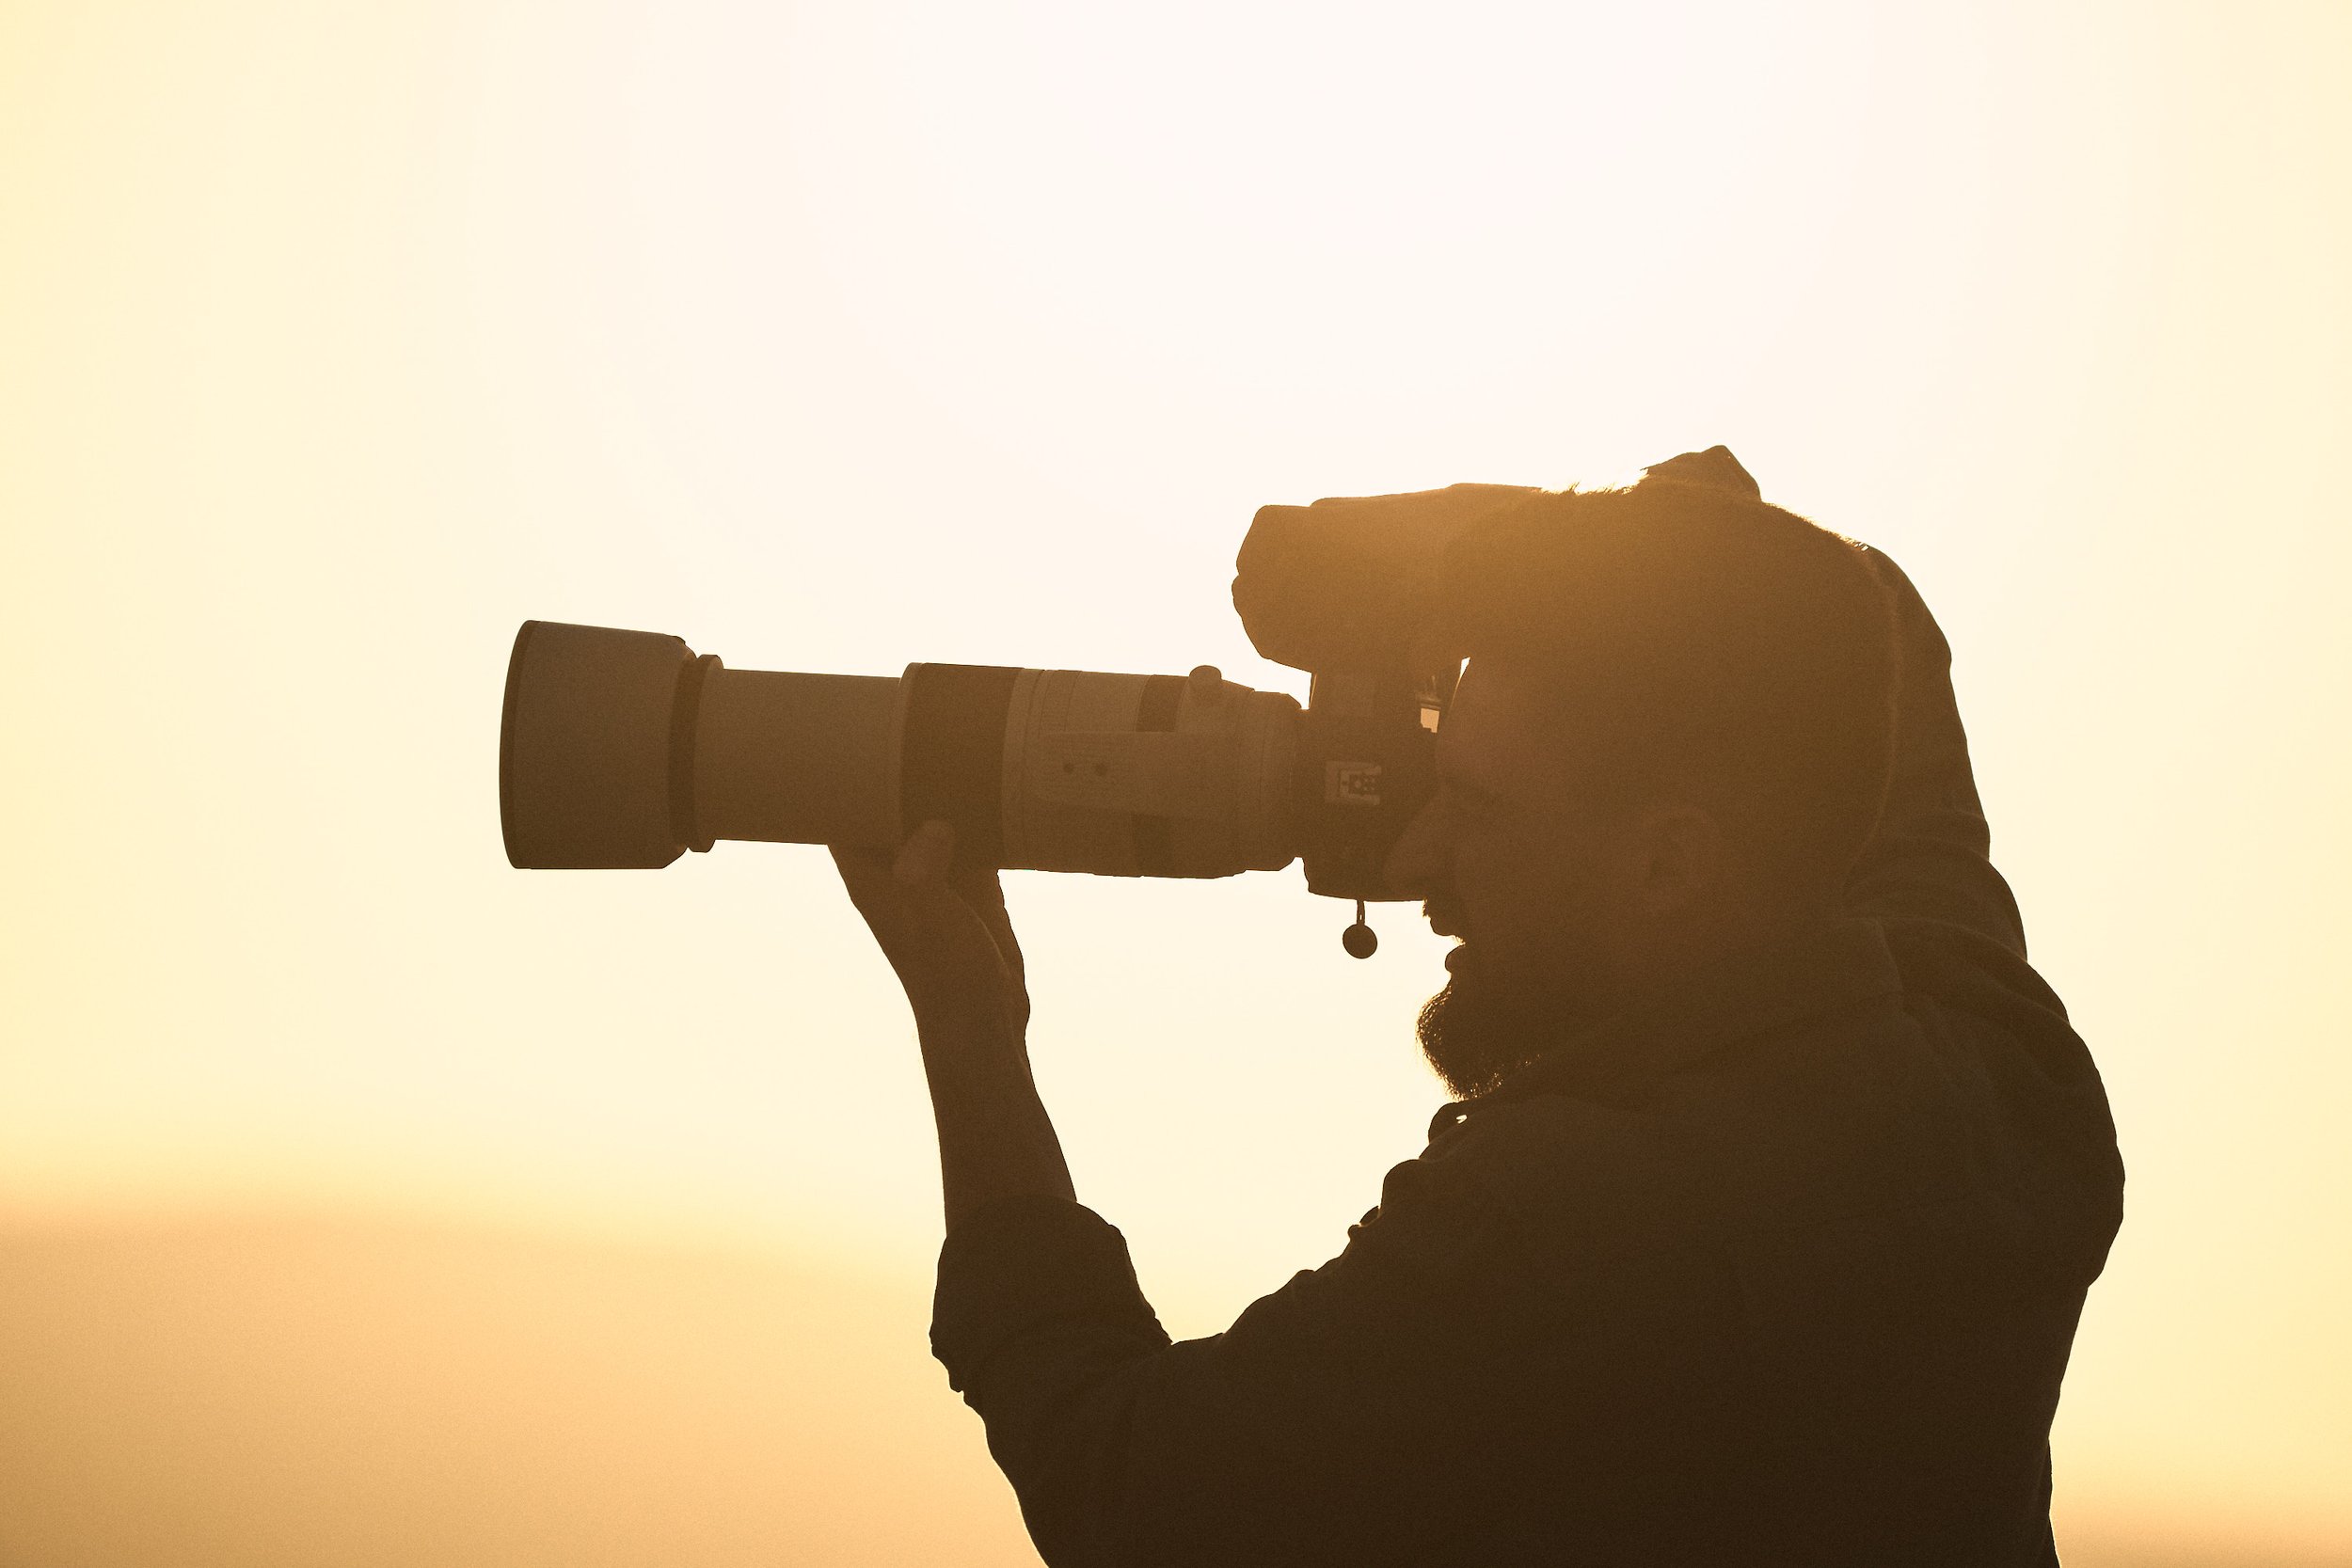
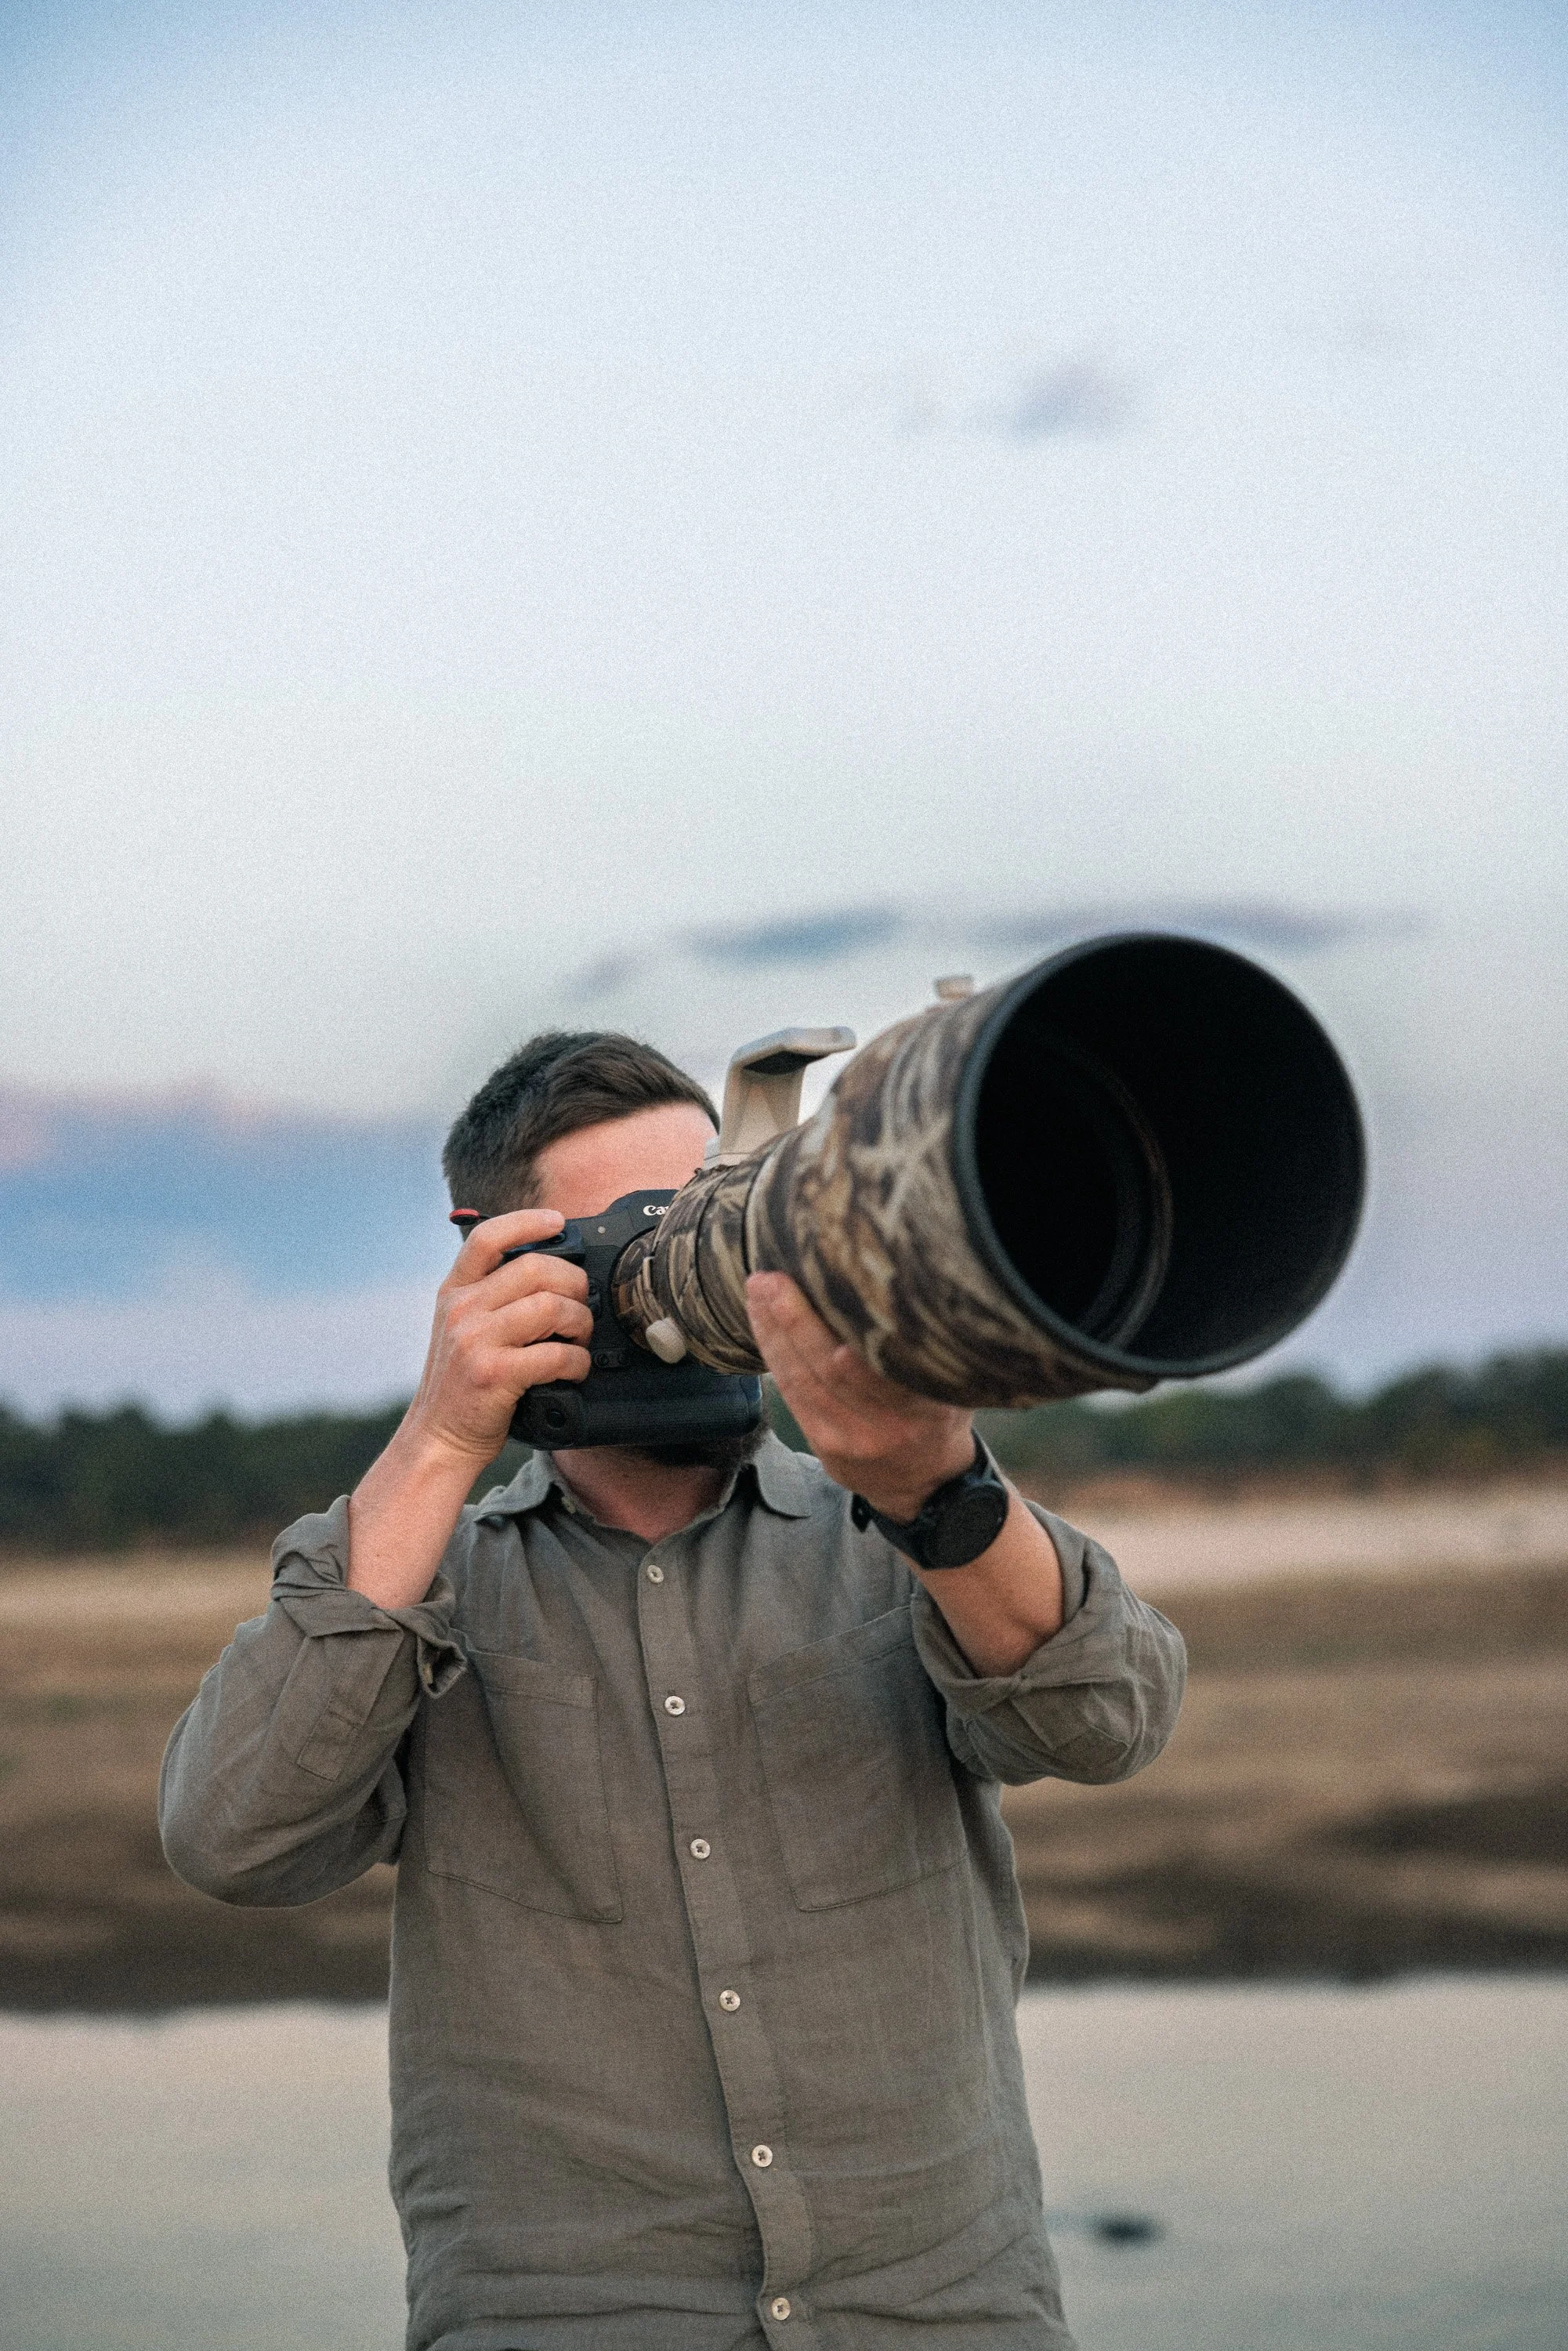
At work in Khwai in May 2025 with my favorite setup - R3+600mm f/4
This update changed not just my post-processing but how I shoot in the field.
I’m no longer obsessed with riding the edge of ISO. Instead, I’m thinking:
Can I freeze the action confidently? → If not, bump ISO.
Will this look better in clean midtones vs underexposed shadows? → Expose more, clean noise later.
Am I sacrificing the moment to keep “safe” settings? → That’s a no-go.
Honestly, I now tell guests on my workshops the same thing:
“Don’t be afraid to go to ISO 8000 if it gets you a better image. We can clean it up later—but we can’t fix a blurry shot.”
And that’s the truth.
Want to see how high ISO and clean edits come together in real life? Here’s a story from the Central Kalahari that shows exactly that—where the light was tough, but the moments were gold.
Practical Tips for Using Lightroom AI Noise Reduction (Now That It’s Usable!)
Here’s how I recommend integrating this into your workflow:
Culling First, Denoise Later
Don’t waste time denoising everything. Cull your keepers first, then apply NR only to what matters.
Use Auto-Mask + AI NR Together
The AI masking tools in Lightroom now let you isolate subject/background. Apply sharpening to one, noise reduction to the other. It’s magic.
Batch by ISO Level
Select all your ISO 6400 shots, denoise as a group with the same settings. Same for ISO 10K or 12.8K.
Let it go overnight
Denoising a large amount of files can take quite a while, depending on the computer you’re working on. I would usually start the batch-adjustment in the evening once I’m done with my work and let it run overnight - everything will be ready to go the next morning!
Still Keep Topaz/DxO in Your Toolkit
For those once-in-a-lifetime shots, don’t hesitate to run them through a stronger plugin. Just not your whole trip catalog.
Final Thoughts: Small Update, Huge Impact
It’s easy to overlook software updates. Sometimes they seem like fluff.
But this one? This changed my entire workflow.
I now shoot more freely, edit faster, and spend less time wrangling bloated DNG files just to get clean results. I can confidently tell my clients their images will be sharp and clean, even when we shoot in bad light. And I can teach my workshop guests to be less afraid of their ISO dials.
So yeah, maybe it’s “just” an AI noise reduction update.
But for me? It’s one of the most important shifts in wildlife photography this year.