There’s nothing more frustrating than missing a once-in-a-lifetime wildlife moment because your camera settings weren’t ready. Whether it’s a bird launching into flight or a lion starting to charge, nature doesn’t wait for you to scroll through menus.
Luckily, there’s a powerful but underused feature on most modern cameras that can save your shot: the custom recall button.
This single setting allows you to pre-save your ideal action preset—shutter speed, aperture, autofocus, ISO, burst mode—and activate it instantly with the press of a button. It’s like a panic switch for fast-moving subjects.
In this guide, I’ll explain how to set it up, how I personally use it in the field, and why it’s one of the smartest tools any wildlife photographer can master.
Why This Feature Matters for Wildlife Photography
If you’ve spent time photographing wildlife, you know how quickly things can change. A peaceful scene can erupt in a second: a lion leaps, a leopard charges, or birds take flight in every direction. In those moments, there’s no time to manually change your shutter speed, switch your AF mode, or adjust your ISO.
That’s where a custom recall setup becomes invaluable.
It lets you:
Instantly trigger your “emergency action preset”
Hold the button to shoot with it
Release the button to return to your normal settings
It’s simple, smart, and designed for exactly the kind of unpredictable conditions we face in the wild.
How to Set Up a Custom Recall Button (Canon Guide)
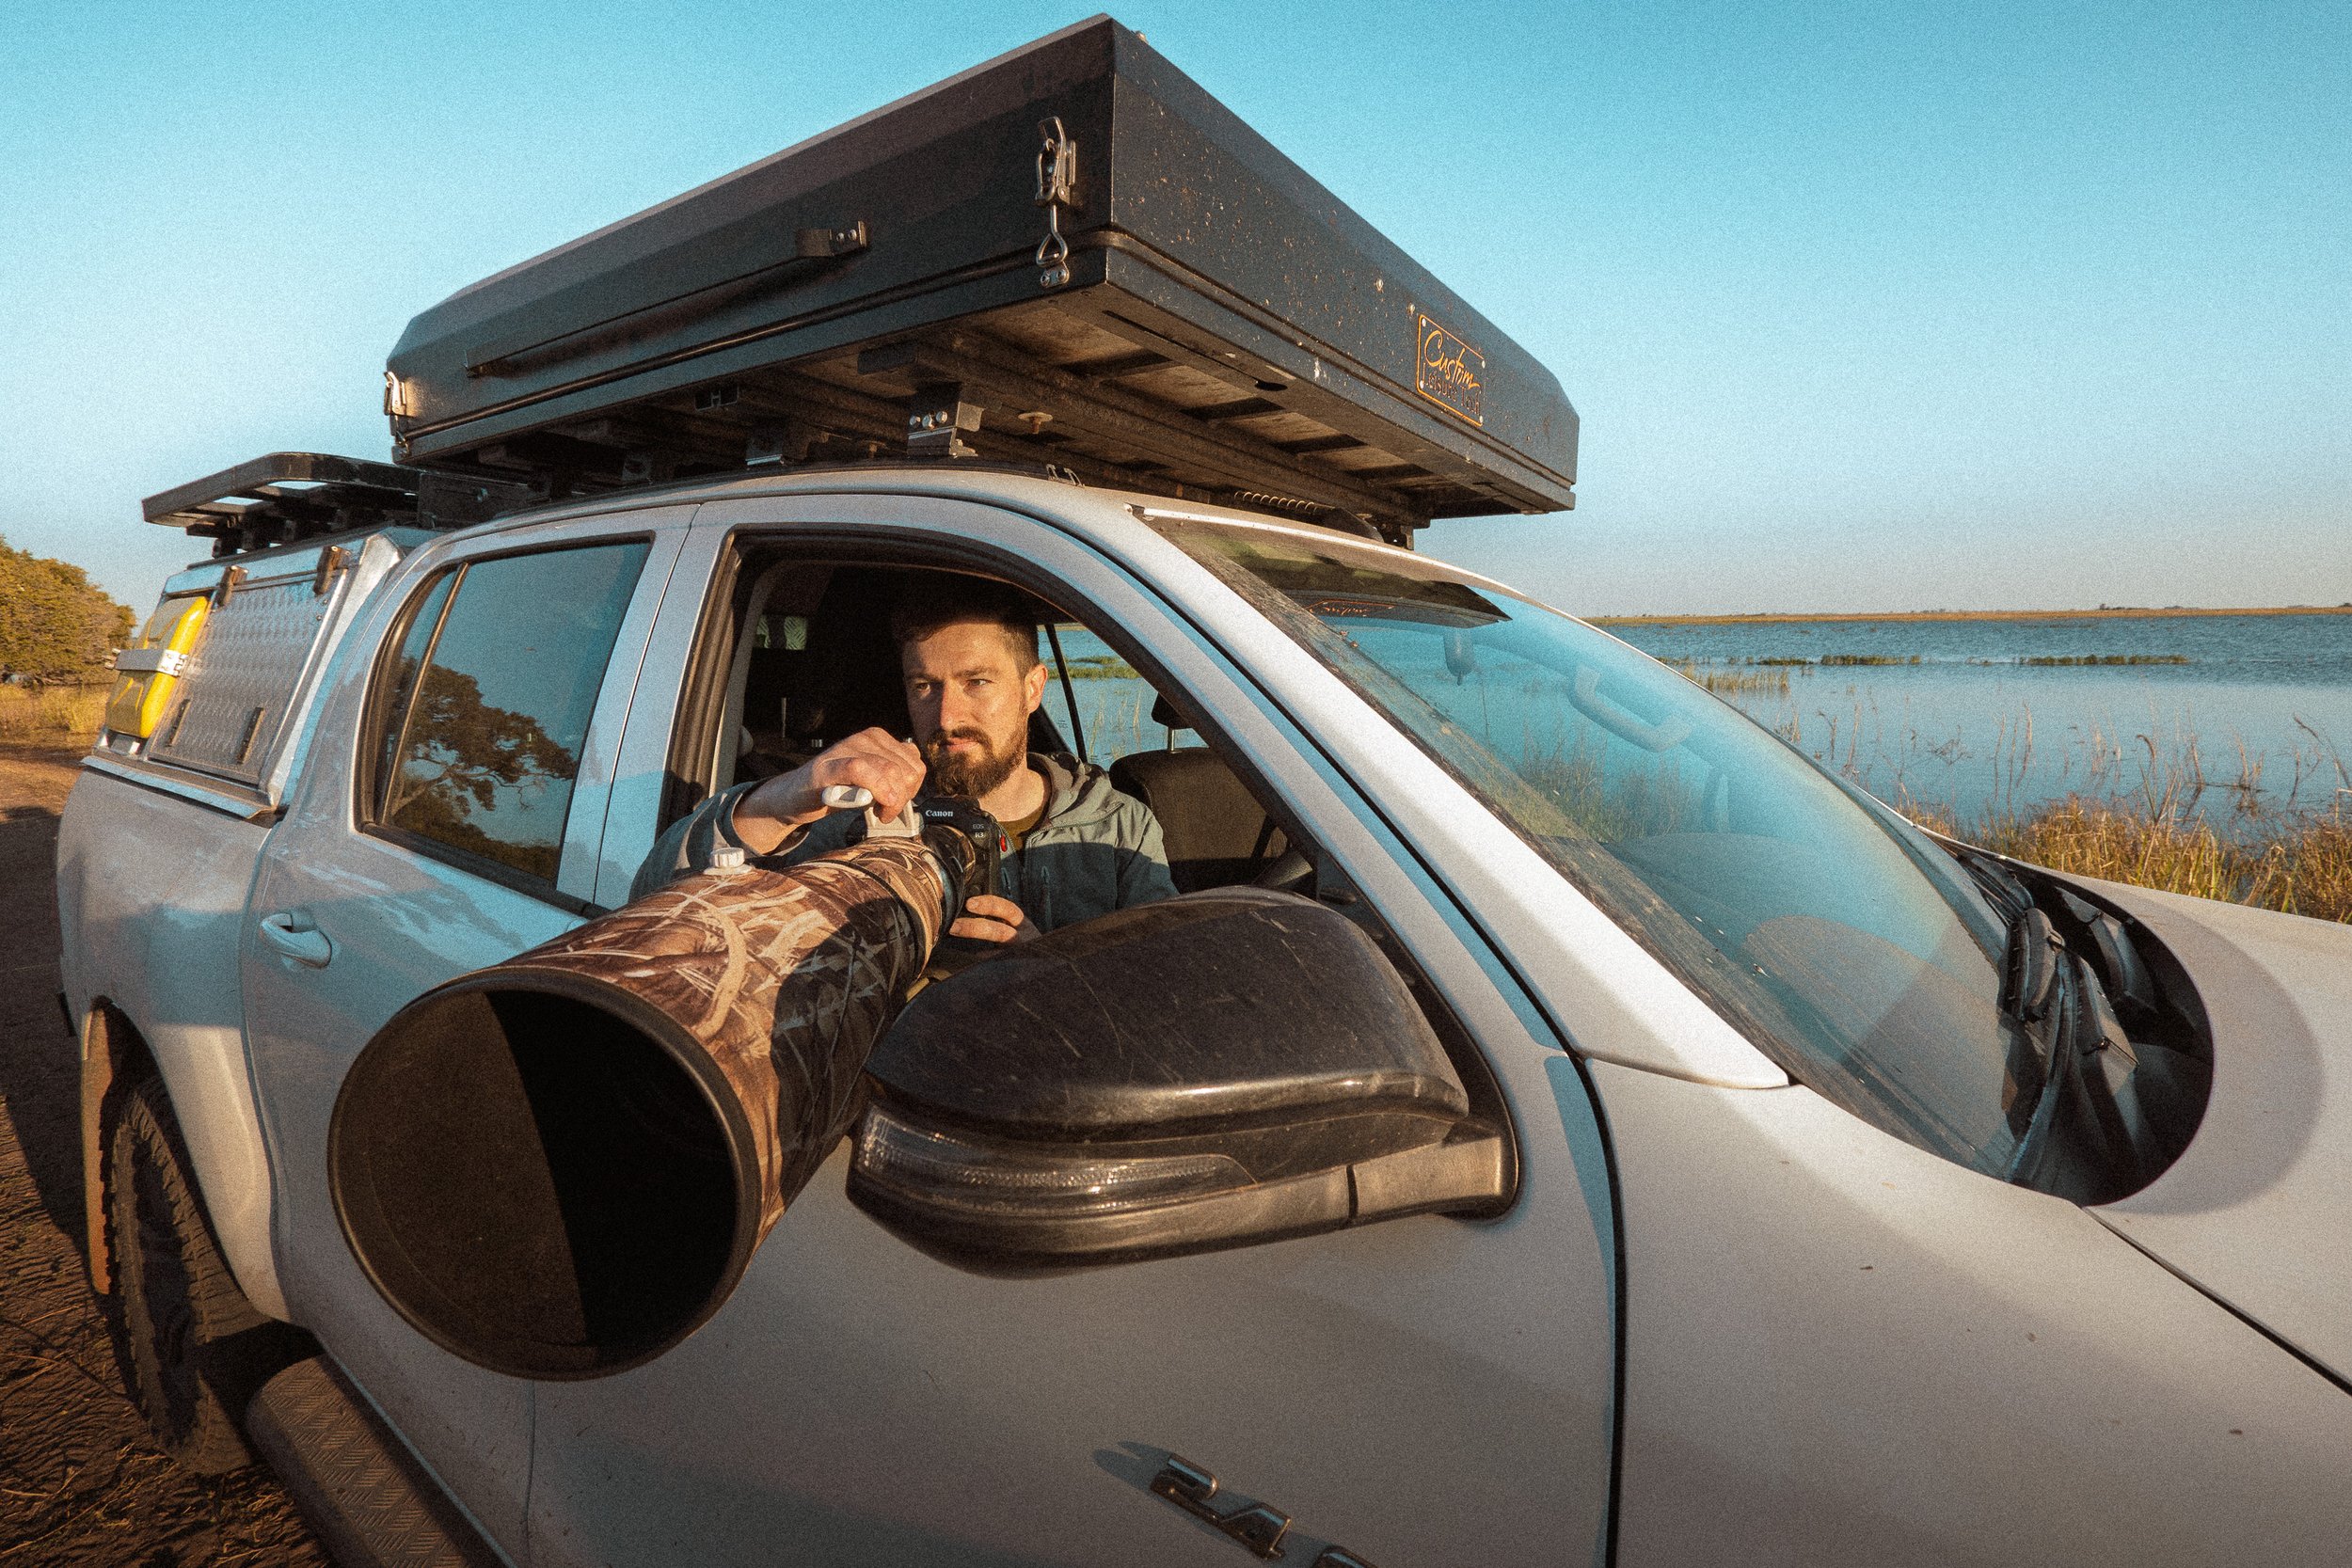
Most modern mirrorless cameras—Canon, Nikon, Sony—support some variation of this feature. Here’s how I set it up on my Canon R5:
Step-by-Step:
Menu → Custom Functions → Customize Buttons
Choose a button that’s easy to reach without taking your eye off the viewfinder. I use the Depth of Field Preview button or a front grip button.Assign ‘Recall Shooting Func. (Hold)’
This tells the camera to activate a saved configuration only while the button is held.Press ‘Info’ to configure your preset. My setup:
Shutter speed: 1/2000 sec (to freeze fast movement)
Aperture: f/2.8
ISO: Auto
AF Mode: Servo / Continuous
Drive Mode: High-speed burst
Subject Tracking: ON
Metering Mode: Partial
Once set, this button instantly overrides your camera’s current configuration. You press, shoot, release—and your camera snaps back to its previous state.
Real-World Scenario: Why I Use It on Every Safari
Here’s a real-world example from the field.
Let’s say you’re shooting a calm scene—maybe a lion resting in golden morning light. Your settings are slow: shutter at 1/500, low ISO, wide aperture. Suddenly, an eagle dives across your field of view.
No time to change modes or scroll menus.
With your recall button:
You hold it down
Shutter jumps to 1/2000
ISO adjusts automatically
Burst mode kicks in
Servo AF locks onto the subject
You shoot the sequence. Action captured. Shot saved.
Then, just release the button, and you’re back to your original setup for the lion. It’s that seamless.
Watch the full video tutorial
Tips for Optimizing This Feature
Test your button placement. Use a location that doesn’t interrupt your shooting posture.
Customize for your subject. You can create variations: one preset for birds in flight, another for low-light action, and a third for high-contrast scenes.
Pair it with good habits. This feature works best when combined with manual mode and thoughtful exposure settings.
Some users prefer placing it on a lens function button (if supported), others on the AF-ON or top-front function buttons. Do what feels natural—muscle memory is key in fast-paced situations.
This custom recall function is a tool that every wildlife photographer should be using. It’s simple to configure, instantly responsive, and can be the difference between getting the shot—or missing it entirely.
🦁 If you haven’t started using this yet, I highly recommend experimenting with it on your next outing. Once you’ve seen how it performs in the field, you won’t want to shoot without it.
🔗 Want a deeper dive into setting up custom autofocus features? Check out this tutorial where I share my secret autofocus weapon!


