Traveling with Big Lenses in 2026: Packing and Security Hacks
Heading into the field with long glass feels like preparing for an expedition. A 600 mm lens isn’t just another tool; it’s a commitment. Those of us who photograph wildlife know that reach brings its own set of challenges long before you take the first image—airline restrictions, weight limits, fragile optics and the very real worry of theft or damage. In this post I’ll share hard‑earned strategies for transporting heavy telephotos safely and efficiently. I’ll draw on lessons learned from years of remote travel, the current airline policies and the latest advances in bag design. Whether you’re flying to Namibia for a workshop, driving across Europe or simply commuting to a local hide, this guide will help you arrive with your gear intact and your mind at ease.
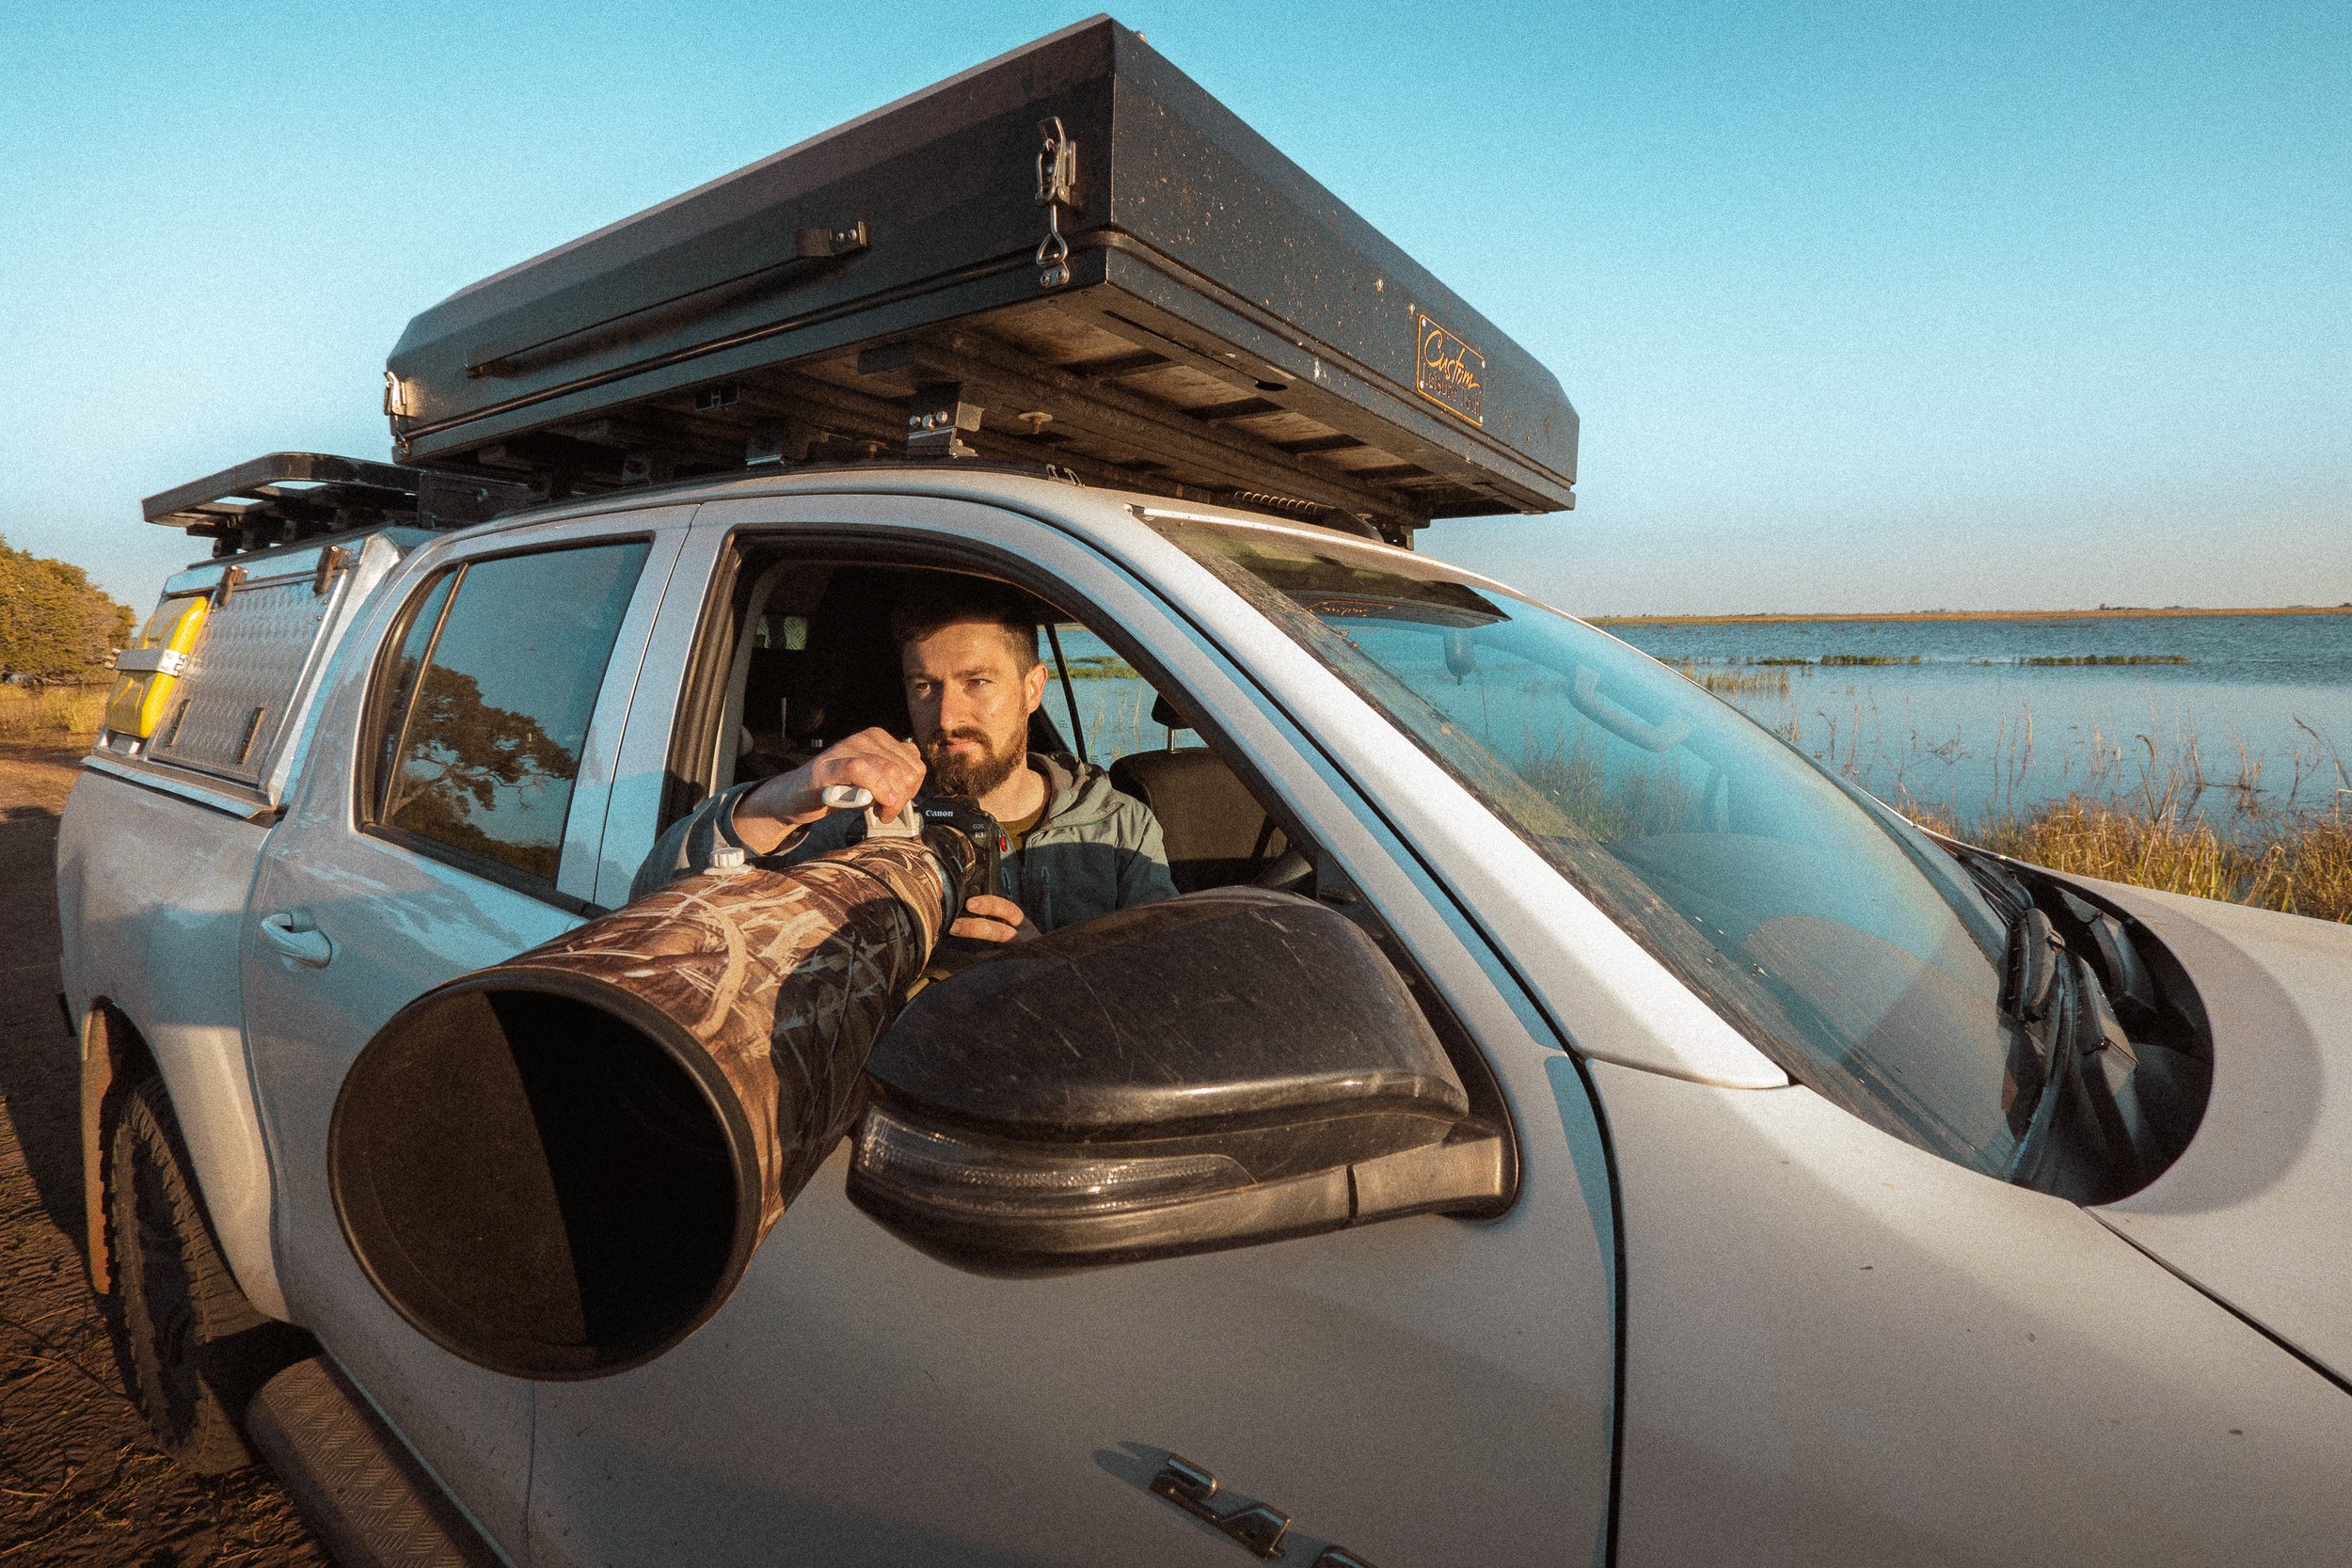
Traveling with big telephoto lenses is always a challenge. Here in Chobe National Park with a 600mm prime.
Why travelling with big lenses is different
Long lenses—300 mm, 500 mm, 600 mm and beyond—offer the reach needed to fill the frame with elusive subjects. But they are large, heavy and expensive. Their size means they draw attention when you’re in transit and don’t always fit within airline carry‑on dimensions. Their weight can test the limits of overhead bins and your own back. And their cost makes them a target for theft and a serious financial risk if they’re damaged. Protecting these tools is therefore as much about logistics and planning as it is about camera technique.
Weight and size restrictions
Airlines have become increasingly strict about weight and size. A typical super‑telephoto lens with a case can weigh four kilograms or more, and when paired with a pro body and other lenses the kit easily exceeds standard carry‑on allowances. Some carriers allow a personal item and a camera bag; others weigh every piece. Always check the specific airline rules before you book. On flights to Africa, for instance, small regional planes often impose even stricter limits than the international leg. When in doubt, call the airline and note the name of the person you spoke with; in the event of a dispute at the gate, a recorded conversation can help.
Fragility and value
Big lenses contain complex optics and delicate image‑stabilisation systems. A hard knock, sudden temperature change or rough handling by baggage handlers can result in misalignment or damage that’s difficult to repair on the road. For this reason, I never check my primary lens. If something must go in the hold it’s always a secondary lens or less critical accessory. Insurance is also essential. Make sure your equipment is covered for travel and consider a policy that protects you worldwide.
Security risks
Expensive gear can attract unwanted attention. Carrying a branded camera bag with large logos in busy airports or city streets advertises your equipment to thieves. When travelling, I prefer discrete backpacks designed for photography—plain black or dark green with no external branding. I also remove or cover logos on camera straps and lens cases. In hotels, use safes or lockable cases; when camping, keep gear within sight or under a seat. A small cable lock can secure a bag to furniture if you need to leave it in a room briefly. These small precautions make a big difference.
Packing strategies for long lenses
Choose the right bag
The foundation of a safe transport system is your bag. In 2026 there are excellent options tailored to large lenses, from roller cases that fit overhead bins to modular backpacks. Your choice depends on how you travel.
Rolling carry‑ons: For airport travel, a roller like the Think Tank Airport Security V3 or Lowepro Pro Roller X300 offers padded compartments for a 600 mm lens with hood reversed, a pro body and additional lenses. These bags meet most international carry‑on dimensions, but always confirm with the airline. The wheels and telescoping handle make navigating terminals easier and reduce strain on your shoulders.
Backpacks: If you need to hike into the bush or move over uneven terrain, a backpack is more practical. The F‑Stop Shinn or the MindShift FirstLight 40L fit a 600 mm f/4 plus other lenses and distribute weight comfortably. Remember that a heavy backpack can exceed carry‑on weight even if it fits size requirements. Some photographers pack the lens in the backpack and carry the camera body separately to stay under weight limits.
Modular systems: Another strategy is to break your kit into two bags: one for the super‑telephoto lens and one for the remainder of your gear. This allows you to classify the lens case as a personal item. Think Tank’s Long Lens Case or Pelican’s air cases can hold a 600 mm lens securely and pair with a smaller backpack for bodies and shorter lenses. I’ve found this particularly useful on airlines that allow a personal item and a cabin bag but enforce strict weight per piece.
Padding and protection
The interior of your bag matters as much as its size. Use padded dividers to create snug compartments. When I travel with a 600 mm f/4, I remove the hood and store it reversed on the lens to save space. I wrap the lens barrel in a clean cloth or neoprene sleeve for extra cushioning. If you carry a tripod head separately, wrap it as well to avoid metal parts rubbing against the lens. Lens caps and rear caps must always be on; a single grain of sand inside a rear element can ruin a session.
Breaking down the rig
Disassembling your kit reduces stress on mounts and makes each component easier to fit. Detach lens from body, remove any tele‑converters and store them separately. For large primes with built‑in foot collars, I sometimes remove the foot to save height and stash it in another compartment. This ensures the lens lies flat and reduces the chance of torque damaging the mount during transit.
Carry a lightweight support system
A sturdy tripod and gimbal head are essential for long lenses, but they’re also heavy. For travel I often use a carbon‑fibre tripod with three or four sections that fits inside checked luggage. I remove the head and store it separately in my carry‑on so I can mount the lens quickly if needed during a layover. Some photographers prefer monopods for weight savings; the choice depends on your shooting style. If you plan on long hikes, consider a smaller tripod like the Leofoto Ranger series, which provides stability without the bulk.
Navigating airports and flights
Even with the right bag, airports present a gauntlet of scales and sceptical gate agents. Preparation goes a long way.
Check in early: Arrive at the airport before the crowds. Agents are often more accommodating when they’re not rushed. If a staff member asks to weigh your bag, politely explain that it contains delicate camera equipment and cannot be checked. Many airlines allow exceptions for “medical or photographic equipment,” though you may need to remind them.
Wear your gear: One trick used by many professionals is to carry heavy items on your person. I use a photographer’s vest with large pockets. Before boarding, I place batteries, lenses or even the camera body into the vest. Once on board, I return everything to the bag and store it overhead. This can shave a kilogram or two off your carry‑on weight during weigh‑ins
Build relationships: If you travel often with the same airline, build rapport with staff. Loyalty programmes aren’t just for points; they can grant you access to priority boarding and more lenient baggage policies. At the very least, treat gate agents and flight attendants with respect. A smile and a calm explanation often open doors that rigid arguments never will.
Stay vigilant: Never leave your camera bag unattended in airports or on buses. Keep your hands on it or your foot through a strap while sitting. On the plane, store the bag in the overhead bin on the side opposite your seat so you can see anyone who opens it. During transit stops, use a small cable lock to secure it to a chair if you need to grab a snack. These habits become second nature and drastically reduce your risk of theft.
Road trips and driving to shoots
When you’re travelling by car, you have more flexibility. You can pack a pelican case in the boot and keep smaller gear in the passenger compartment. However, there are still key considerations.
Temperature management: Extreme heat in a parked car can harm lenses and bodies. Avoid leaving gear in direct sunlight. In desert environments like Namibia, I leave a window cracked to reduce heat build‑up and keep gear in insulated cases. In cold climates, bring gear inside at night; rapid temperature changes cause condensation. Let equipment acclimatise gradually before shooting to avoid fogged elements.
Security: Never leave expensive gear visible. In areas with known theft, cover cases with a blanket or store them in the boot. When stopping for lunch, take the essential items with you. For multi‑day road trips, choose accommodation that allows you to bring gear inside. In safari camps, secure equipment in lockable tents or vehicles when not shooting.
Organisation:Use bins or duffel bags to separate camera gear from other supplies. Each lens should have a dedicated pouch. Label your cables and chargers to avoid rummaging through the car at sunrise. A simple checklist—bodies, lenses, batteries, memory cards, charger, tripod, cleaning kit—reduces the risk of leaving something behind.
Flying with rifles…sorry, telephotos! A humorous aside
Seasoned travellers joke that carrying a 600 mm lens through an airport feels like transporting a prohibited item. I’ve been pulled aside at security multiple times because the lens appears as a dense, cylindrical object on X‑ray. Security agents often ask me to open the bag and explain what it is. I take a moment to describe my profession and show some finished photos. Most agents are curious, sometimes even fascinated. Being calm and friendly turns an interrogation into an opportunity to share our love for wildlife. Remember that many people have never seen a lens of that size. Education diffuses suspicion.
Insurance and documentation
Big lenses represent significant financial investments. Before any trip, make sure you have adequate insurance coverage for loss, theft and damage abroad. Keep receipts and serial numbers on hand; I store scanned copies in a cloud folder and carry printouts in my passport holder. Photograph your gear layout before leaving home, including any wear or scratches. If you need to make a claim, you’ll have proof of condition and ownership.
Final checklists and pre‑departure rituals
The night before departure is not the time to discover a missing gasket or cracked lens hood. I follow a simple ritual:
Clean everything: Dust off lenses and bodies, blow out any sand from your bags and inspect front and rear elements. Clean gear travels better and makes you more mindful of each component.
Charge and backup: Fully charge all batteries and pack extras. Download and back up memory cards, then reformat them in‑camera. Carry at least two chargers and a multi‑country power strip.
Test your kit: Mount each lens on its body, focus on distant objects and check stabilisation. Make sure tele‑converters engage properly and that firmware is up to date. There’s nothing worse than arriving in the bush to find your new lens incompatible with your old camera.
Assemble travel documents: Have printouts of your flights, hotel reservations, workshop details and equipment insurance. Photocopy your passport and visas. If you’re attending one of my workshops, include contact details for our local team.
Pack personal essentials: Comfortable shoes, a hat, sunscreen, water bottle, headlamp and a small first‑aid kit. Travel is about more than gear—your well‑being affects your ability to create images.
Joining me on a workshop
If all this planning feels daunting, remember that you don’t have to do it alone. My workshops to Namibia and South Luangwa include detailed packing lists, pre‑departure Zoom sessions and on‑location support. We go through each participant’s kit and help you decide what’s essential, what’s optional and how to pack it. You learn not just how to carry the gear but how to use it effectively once we arrive.
For a more personalised experience, my 1:1 mentorships cover gear planning in depth. We assess your current equipment, goals and travel style to build a tailored kit list. This often saves students money by preventing unnecessary purchases and ensures they’re prepared for the challenges ahead. If you want to take your fieldcraft and logistical planning to the next level, consider booking a session.
Transporting big lenses isn’t glamorous, but it’s a critical part of wildlife photography. The more you plan, the less you worry, and the more space you create to enjoy the journey. From understanding airline policies to selecting the right bag, from protecting your optics to navigating security with a smile, these practices have been refined over years of travel. Above all, remember that the lens is just a tool. The real art lies in patiently waiting for the right moment, composing with intention and respecting the animals that grace your frame. Safe travels and see you in the field.